Advanced CNC Techniques: How to Machine Plastic Enclosures Precisely
- Share
- publisher
- Nani Gui
- Issue Time
- Aug 18,2025
Summary
When CNC machining plastic enclosures beats moulding, how ABS, polycarbonate, POM and glass-filled grades behave under the cutter, how to machine a gasket groove that seals, surface finish options, and how to hand the design over to moulding.
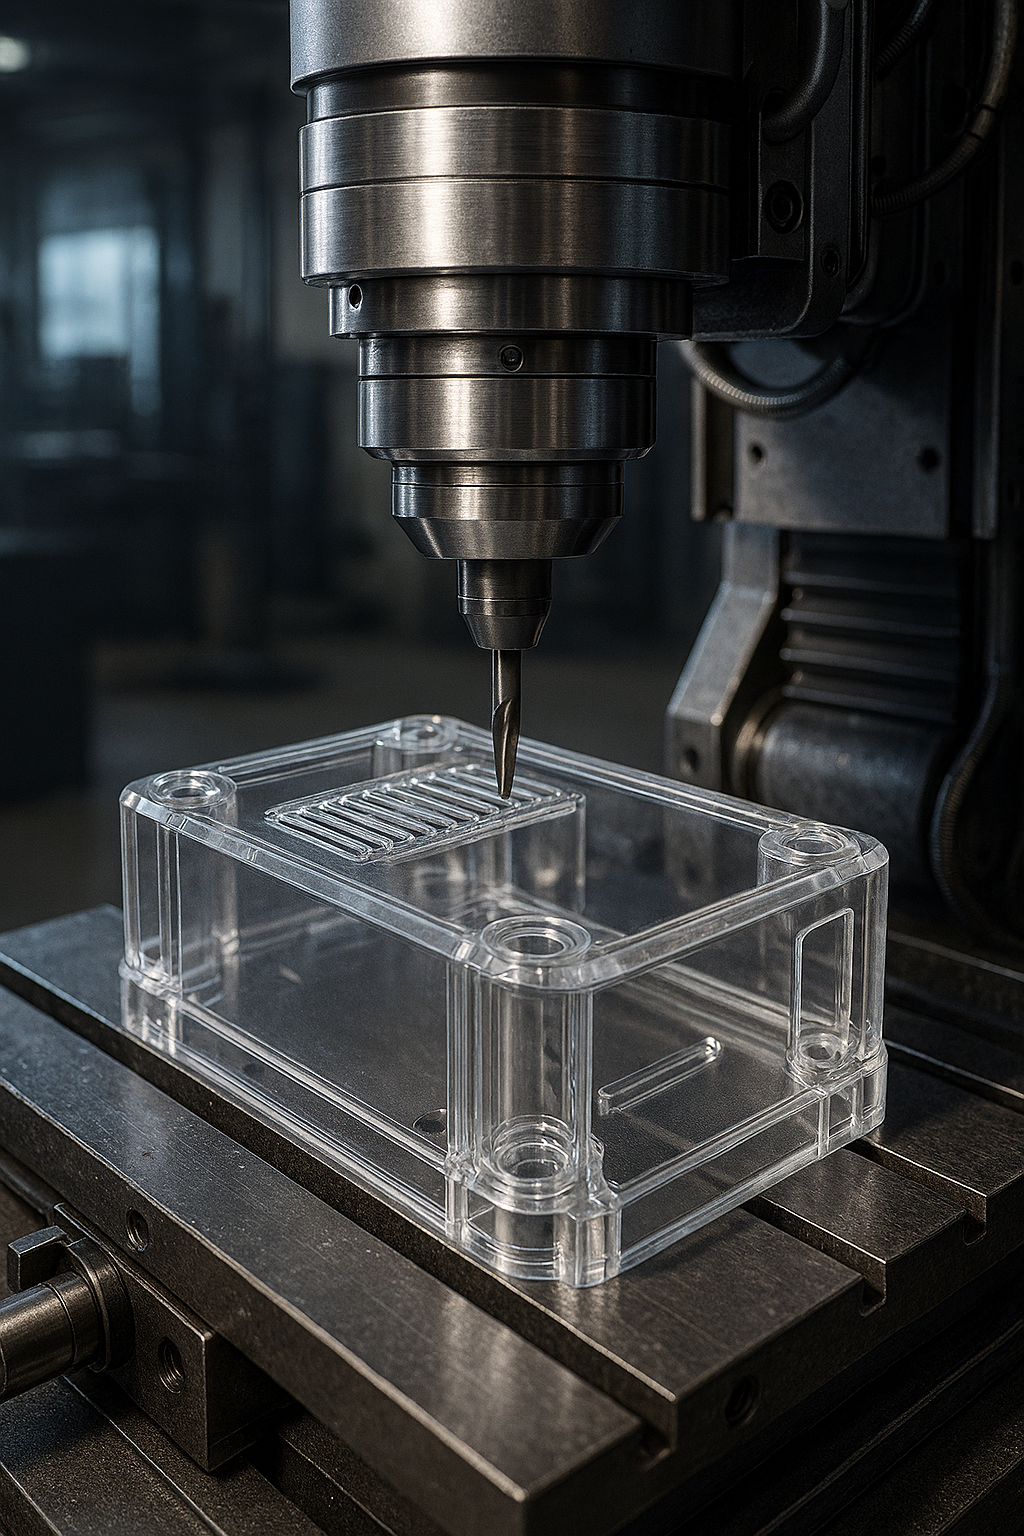
Milling an enclosure is easy. Milling one that stays flat, keeps a seal and looks moulded is a different problem, because every cut releases stress that was locked into the stock.
This covers where CNC machining plastic enclosures is genuinely the right process, what happens to the material under the cutter, and how to hand a machined design over to moulding later without redesigning it.

When Is CNC Machining Plastic Enclosures the Right Choice?
The direct answer: when volume is low, when the part is large or deep, when the geometry will still change, or when the schedule cannot wait for a tool. Below a few hundred units, a machined housing usually beats a moulded one on total cost, because the tooling is the dominant expense rather than the cycle time.
Above that, the economics flip quickly. Machining cost scales with material removed and machine hours; moulding cost scales with tooling, and once the tool exists the per-part cost drops sharply. The crossover is a volume question, not a preference.
Material Behaviour Under the Cutter
Two rules apply across all of them. Cut with a sharp, climbing cutter and take a finishing pass, because a dull tool pushes material rather than shearing it and leaves a stressed layer that shows up later as a crack. And relieve internal corners with a radius, since a square internal corner in a brittle plastic is a crack initiator by design.
The table describes behaviour, not suitability. A material that machines badly can still be the right choice when its service properties are the reason it was selected, and the machining plan should adapt rather than the material.
Glass-filled grades are the clearest case. They are chosen for stiffness and stability, and the price is faster tool wear plus a rougher cut surface that needs a finishing pass.

| Material | Machining behaviour | Risk |
|---|---|---|
| ABS | Cuts cleanly, takes a good edge | Softens and smears if the cutter dwells; crazes near solvents |
| Polycarbonate | Tough, dimensionally stable | Stress whitening at cut edges and around holes |
| POM | Excellent dimensional stability | Hard to bond and hard to print without treatment |
| PMMA | Polishes to optical clarity | Brittle; micro-cracks propagate from a sharp internal corner |
| Glass-filled grades | Stiff and stable | Abrasive to tooling and rough on the cut surface |
Handing a Machined Design Over to Moulding
The good news is that a machined prototype is the best possible input for a mould, provided it is designed for the transition. Three habits make the handover cheap.
- Keep one consistent wall thickness in the machined prototype, even where machining would allow a thicker section. A moulded version cannot have variable walls without sink marks.
- Add draft now. Machining does not need it, moulding does. Modelling one to two degrees from the start avoids a redesign at tool release.
- Model the moulded part as a separate revision with the same nominal dimensions, so the two can be compared feature by feature when the tool is cut.
Where the enclosure also carries a rubber seal or a moulded gasket, the transition is a combined project rather than two separate ones. Our ABS enclosure customization guide covers the sealing side, and the PCB and sensor enclosure page shows a housing built for both processes.
Why Choose CNC Machining for Plastic Enclosures?
CNC (Computer Numerical Control) machining stands out as a superior method for how to make plastic enclosure prototypes and production runs due to its precision, versatility, and cost-effectiveness. Unlike injection molding, which requires expensive tooling, CNC allows for rapid iteration without upfront costs—ideal for low-volume or custom designs.
Key Advantages:
- Precision and Tolerances: Achieve tolerances as tight as ±0.001 inches, essential for enclosures housing sensitive electronics.
- Complex Geometries: Handle undercuts, thin walls, and intricate features in a single setup.
- Material Versatility: Work with high-performance plastics like PEEK, ABS, and polycarbonate.
- Efficiency for Prototyping: From design to finished part in days, reducing time-to-market.
Based on insights from AIP Precision, high-speed machining (HSM) at 10,000-40,000 RPM minimizes heat buildup, preventing warping in heat-sensitive plastics. At FromRubber, we've applied these techniques to produce over 5,000 custom enclosures for aerospace and medical clients, demonstrating our authoritative expertise in the field.
Selecting the Right Plastics for Your Enclosure
Material choice is critical in how to make plastic enclosure that withstands environmental stresses. Drawing from CNC Cookbook's material guide and Runsom's insights, here are top recommendations:
Thermoplastics vs. Thermosets:
- Thermoplastics (e.g., ABS, Polycarbonate): Re-moldable, ideal for machining due to ease of cutting and recycling.
- Thermosets (e.g., Garolite G-10): Heat-cured for superior strength but require specialized tools.
Top Materials for Enclosures:
- ABS (Acrylonitrile Butadiene Styrene): Affordable, impact-resistant; perfect for electronic housings. Machines easily but test coolants to avoid crazing.
- Polycarbonate (PC): High clarity and toughness; used in medical devices. Requires low feed rates to prevent melting.
- PEEK (Polyetheretherketone): Heat-resistant up to 260°C; aerospace-grade for demanding enclosures.
- POM (Delrin): Low-friction, dimensionally stable; great for enclosures with moving parts.
- PTFE (Teflon): Chemical-resistant; ideal for harsh environments but prone to creep.
FromRubber's material experts at www.fromrubber.com offer free consultations to match your enclosure needs with optimal plastics, ensuring biocompatibility for medical applications or UV resistance for outdoor use.
Step-by-Step CNC Machining Process for Plastic Enclosures
Mastering how to make plastic enclosure involves a structured CNC workflow. This section breaks it down, incorporating advanced techniques from our referenced experts.
1. Design and CAD Modeling
Start with CAD software like SolidWorks. Incorporate features like vents, mounts, and seals. Tip: Design for machinability—add corner radii to reduce stress.
2. Material Preparation and Fixturing
Select stock slightly larger than your enclosure. Use vacuum fixtures to prevent distortion, as noted in AIP Precision's guidelines for high-performance plastics.
3. Tool Selection and Parameters
- Tools: Carbide end mills for reinforced plastics; diamond-coated for abrasives.
- Parameters: Spindle speeds 10,000+ RPM; feed rates 0.005-0.015 IPR. From Runsom, use peck drilling for deep holes to manage chips.
- Cooling: Air blasts or mist coolants—test on material to avoid damage.
At FromRubber, our 5-axis CNC machines optimize these parameters, achieving Ra 0.8μm surface finishes for premium enclosures.
4. Advanced Machining Techniques
- High-Speed Machining (HSM): Reduces cycle times by 50% while improving finish (AIP Precision).
- 5-Axis Simultaneous Machining: For complex contours in one setup, minimizing errors.
- Micro-Machining: Sub-micron features for miniature enclosures.
- Turning and Routing: For cylindrical or sheet-based designs; ideal for large panels.
5. Post-Machining and Quality Control
Anneal to relieve stress, then inspect with CMM (Coordinate Measuring Machines). FromRubber's ISO-certified processes include in-process monitoring for zero defects.
Common Challenges and Solutions in Machining Plastic Enclosures
- Heat Management: Plastics melt easily—solution: Lower speeds, use climb milling (CNC Cookbook).
- Chip Control: Sticky chips clog tools—solution: Peck cycles and air cooling.
- Dimensional Stability: Warping post-machining—solution: Stress-relief annealing.
- Surface Finish: Scratches or haze—solution: Polishing or vapor smoothing.
Our team at FromRubber has resolved these in thousands of projects, offering turnkey solutions from design to delivery.
Industry Applications and Future Trends
Plastic enclosures machined via CNC are vital in:
- Electronics: Protective housings for circuits.
- Medical: Biocompatible device casings (ISO 13485 compliant).
- Aerospace: Lightweight, durable components.
Future trends include AI-optimized toolpaths and sustainable materials. As per Runsom's market insights, the industry is growing at 5% CAGR.
Ready to bring your enclosure to life? Contact FromRubber at www.fromrubber.com for a free quote on custom CNC-machined plastic enclosures.
Machining a Gasket Groove Without Leaks
A groove that seals is a groove with consistent depth and a smooth floor. Both are harder to achieve on a machined part than on a moulded one, because the floor is produced by the cutter path rather than by a polished cavity.
Three practices make the difference. Machine the groove in one continuous pass so there is no tool mark at a direction change. Keep the floor finish fine enough that the gasket sits on the plastic rather than on the cutter marks. And verify depth at four points around the perimeter, not one, because a slightly tilted setup produces a groove that seals on three sides and leaks on the fourth.
Surface Finish After Machining
A machined surface shows tool marks, and a textured moulded finish cannot be reproduced by milling. If the enclosure needs a matte texture, the practical routes are bead blasting, a textured paint, or a film applied after machining. Each changes the dimension by a small amount and must be accounted for before the groove and cutouts are cut.
FAQs: How to Make Plastic Enclosure with CNC
What is the best plastic for CNC-machined enclosures?
ABS or Polycarbonate for cost-effectiveness; PEEK for high-performance needs.
How precise can CNC machining be for plastic enclosures?
Tolerances down to ±0.001 inches with advanced 5-axis systems.
Is CNC better than 3D printing for enclosures?
Yes, for strength and precision in production-grade materials.
How much does custom plastic enclosure machining cost?
Starts at $100 for prototypes; scale with volume. Get a quote from FromRubber.
Frequently Asked Questions
Is a CNC machined enclosure as strong as a moulded one?
Usually close, and sometimes stronger, because machining does not create weld lines. The weakness is surface stress and sharp internal corners, both of which are controlled by tool choice and radius design rather than by the process itself.
Can machined enclosures be produced with an IP rating?
Yes, if the sealing interface is machined carefully and the gasket is specified for the groove. The rating then depends on the assembly and the fastener torque as much as on the housing.
How many units justify moving from CNC to moulding?
It depends on part size and complexity, but the crossover is usually in the low hundreds. Above that, tooling cost is recovered quickly and the moulded part also becomes more consistent.