Backlight Bleed and Uneven Glow: Solving LED Diffusion in MIDI Silicone Keypads
- Share
- publisher
- Suey
- Issue Time
- Aug 24,2026
Summary
Hotspots, light bleed, and dim zones ruin silicone keypad backlighting. The root cause isn't the PCB—it’s the MIDI silicone keypad pad. Material choice, plunger geometry, and surface texture control uniformity. Solve it at the rubber level.
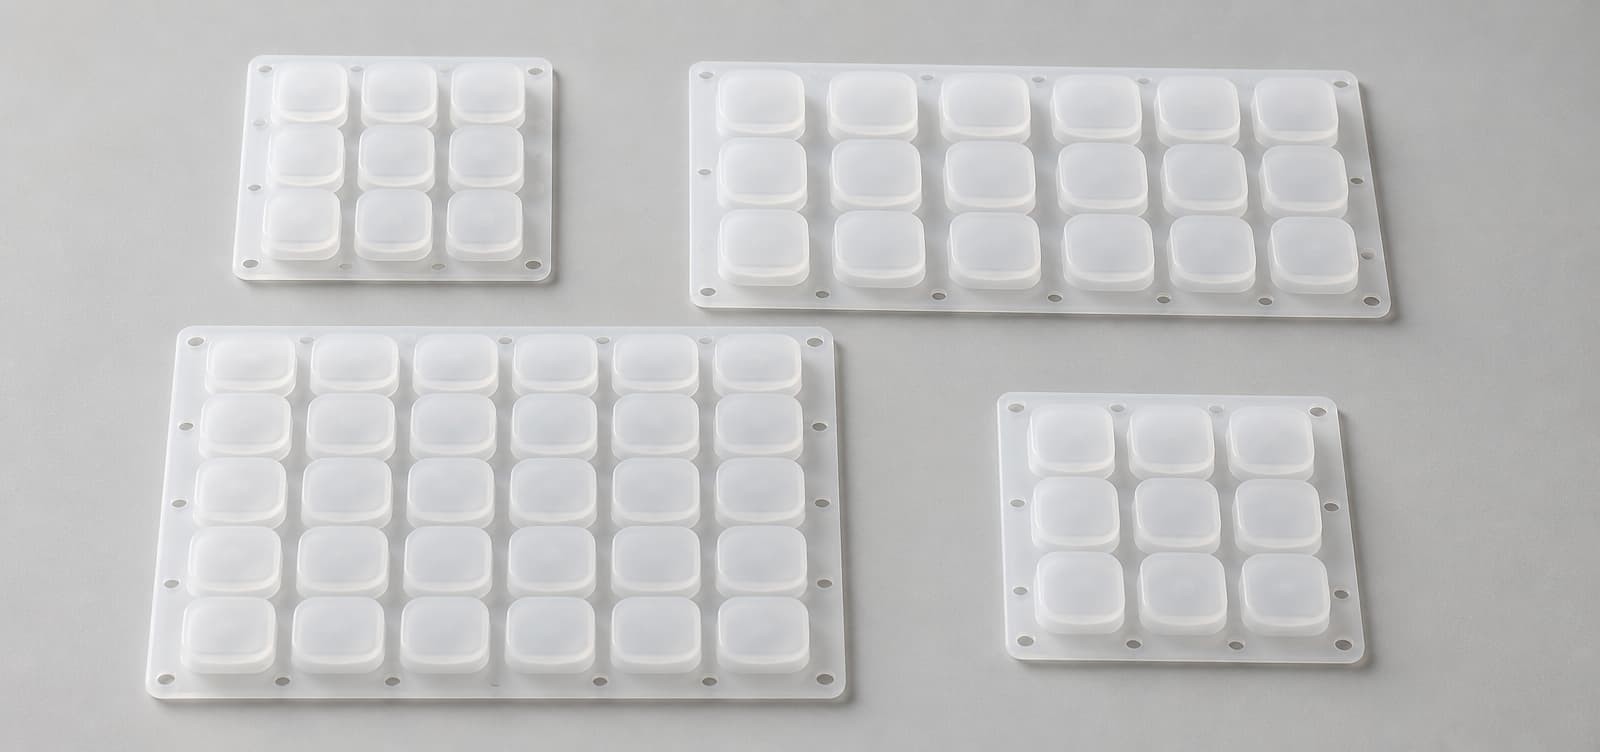
If you have been through this cycle, you know that backlighting silicone keypads is not as simple as throwing a few LEDs under translucent rubber. This is the single most common optical failure in illuminated silicone interface design — and it is rarely the PCB's fault.
The gap between "LEDs on a board" and "uniformly glowing keys" is where most projects go sideways. Here is why, and how to solve it at the silicone level.
Why Silicone Lies to You About Light
Silicone rubber is naturally translucent. In its raw, unpigmented state, high-transparency optical-grade silicones achieve luminous transmittance of 90% or higher at 10 mm thickness [1], with a refractive index of approximately 1.41 [2][3]. That sounds ideal for backlighting, right?
The problem is that translucency is not the same as light diffusion.
Think of it this way: a glass window is highly translucent, but if you put an LED behind it, you will see a bright spot and a sharp falloff. Silicone behaves similarly. Without proper engineering, light travels in straight lines, creating:
- Hotspots – intense brightness directly above each LED
- Falloff – dim or dead zones between LEDs and toward the edges
- Bleed – light escaping sideways through thin web sections, illuminating adjacent keys
The Hidden Variables in Silicone Optical Performance
Most engineers focus on LED placement and PCB layout when troubleshooting backlight issues. That addresses half the problem. The silicone keypad itself contains three variables that fundamentally determine optical performance:
1. The Base Material
The silicone compound you choose has a direct, measurable impact on light behaviour. High-transparency optical-grade silicones from suppliers like Dow and Momentive offer transmission rates of 90–94% with minimal haze, designed specifically for optical lens and lighting applications [1][4].
What matters more is what is in the compound. Fillers, pigments, and additives all reduce transmission. Even "clear" silicone contains processing aids that affect clarity. The same compound from the same supplier can vary between batches unless you specify optical-grade material with documented transmission and haze values.
2. The Diffusion Strategy
Adding white pigment or light diffusers to the compound spreads light more evenly — but at a cost. There is a tension: enough diffusion to eliminate hotspots, but not so much that keys become uniformly dim. The sweet spot depends on part geometry, LED spacing, and key thickness — there is no universal formula.
3. The Light Path Geometry
This is where most custom keypad projects get into trouble. The distance light travels from the LED to the key surface, the thickness of the web connecting keys, the geometry of the key plunger — all influence how light behaves.
Silicone's inherent translucency creates the central design challenge: getting enough light through the key legends without excessive LED power consumption, while preventing light from bleeding through the webbing and creating a glowing "halo" effect that reduces legend contrast [5].
Engineering the MIDI Silicone Keypad Pad for Uniformity
Here is the perspective shift that changes outcomes: instead of asking "How do I make the PCB light up the keys better?", think about "How do I design the silicone layer to manage light correctly?"
The silicone keypad is not a passive cover. It is an optical component in its own right.
A Practical Framework for Optical Design
Start with the legend: The most common and durable backlighting method uses laser-etched translucent legends. The keypad is spray-coated with an opaque coloured silicone overcoat, and a CO₂ laser selectively removes the overcoat to expose the translucent base silicone beneath. The etched areas become the illuminated legends [6][7]. Laser etching achieves line widths as fine as 0.15 mm and creates sharp, luminous symbols that are invisible when the backlight is off [6].
Texture matters: A glossy key surface scatters light differently than a matte one. Adding surface texture on the underside of the key cap creates microscopic diffusion points that break up hotspots without the attenuation of a full diffuser layer.
Structure is a tool: The shape of the key plunger and the transition from the plunger to the web changes how light travels. A well-designed plunger geometry can "funnel" light upward more efficiently than a simple cylinder.
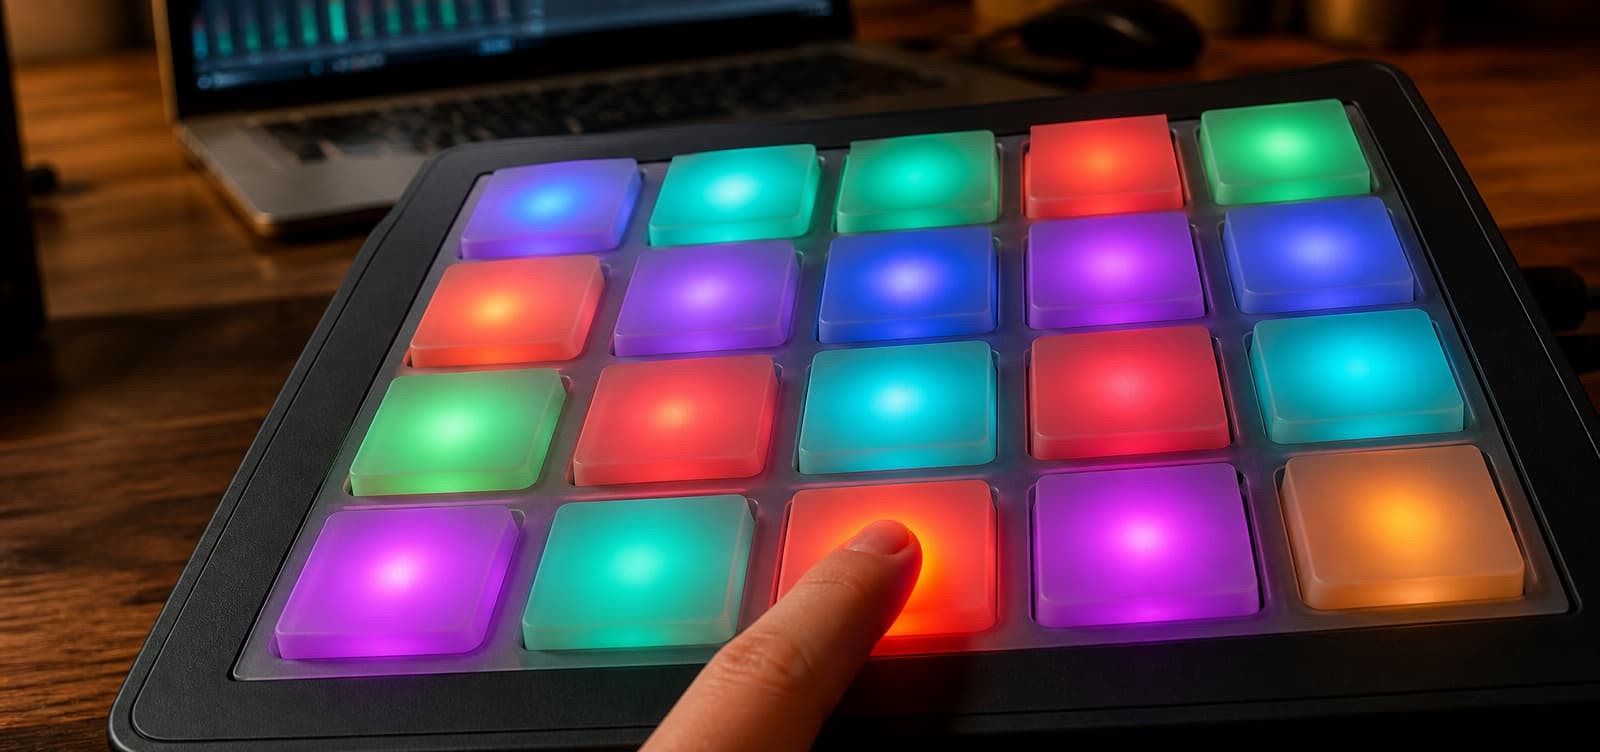
Case Study: Fixing a 40 mm MIDI Silicone Keypads with Two LEDs
A client brought us a challenge that illustrates the principles above. They had designed a silicone keypad with a 40 mm-long light guide column and wanted it to glow uniformly using only two edge-mounted LEDs.
Their initial attempt used clear, unpigmented silicone. The result: decent brightness near the LEDs, severe falloff at the far end. The optical path was simply too long for unmodified silicone to manage.
The solution came in three layers:
- Layer 1 – Material modification: Instead of clear silicone, we used a base compound with precisely calibrated diffusing particles. Not the standard "add white pigment" approach — this required dialling in particle size and concentration to scatter light at the right angle without excessive attenuation.
- Layer 2 – Structural optimization: We redesigned the plunger geometry to create an internal "lens" effect at the key surface. The transition from thick to thin sections directed light upward rather than allowing it to escape sideways.
- Layer 3 – Surface treatment: Adding a textured underside to the key surface created additional diffusion points at the light extraction area.
The result was visually uniform across the entire 40 mm length. Not perfectly equal brightness from end to end — that would require active compensation or more LEDs — but within acceptable tolerance for the client's application.
What Actually Works in Production
Based on real production experience, here is what moves the needle on backlight performance:
- Prioritise web design: The silicone web connecting keys is the primary path for light bleed. Thinner webs transmit more light sideways. Increasing web thickness or adding a light-blocking layer underneath can drastically improve key-to-key isolation. Insert molding with a double-shot process can create opaque barriers around clear inserts to eliminate light bleeding into adjacent keys [8].
- Match LED spacing to silicone diffusion capability: If your design calls for LEDs spaced too far apart, you are asking the silicone to do something its material properties cannot deliver. Change the PCB layout or add secondary light guides.
- Test with production materials: Prototypes made with different silicone grades or pigment formulations will behave differently from production parts. Validate the final compound early.
- Consider secondary processes: Laser etching, selective coating application, and underside texturing are all tools available during silicone manufacturing. Uneven spraying can lead to light leakage, and coating thickness directly affects the durability and optical performance of the keypad [7].
The Manufacturer's Role
Solving these problems requires a keypad manufacturer that understands optical behaviour, not just moulding.
At FromRubber, optical analysis is part of the design review process. We evaluate the intended backlighting method — edge lighting with light guide film, direct SMD LEDs, EL panels, or fibre optics — and assess whether the silicone geometry supports it [5]. Then we recommend material adjustments or structural changes before any tooling is cut.
What we do not do: touch the PCB. We specialise in the silicone layer — the material science, the geometry, the surface treatments, and the secondary processes that make backlighting work.
The pattern we see repeatedly: teams assume backlight problems are "LED issues" and spend weeks iterating the PCB. The solution often lies in the silicone keypad itself. Understanding that is the first step toward solving the problem.