Best Hardness for Smart Device Silicone Keypads
- Share
- publisher
- Suey
- Issue Time
- Sep 3,2026
Summary
The best hardness for smart device silicone keypads is not a single Shore A number. How durometer, dome geometry, and actuation force work together — and why thin finished parts lie about their own hardness.
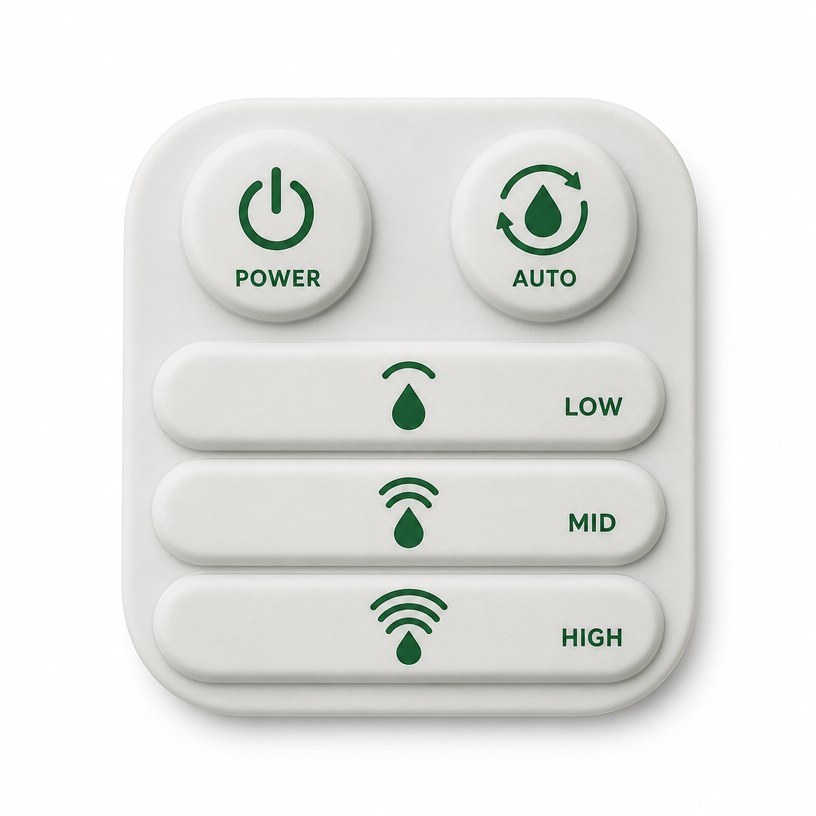
Pick up a cheap smart home remote and press a button: it feels dead, or worse, it clicks like a toy. The engineer who specified it probably wrote "silicone keypad, 50 Shore A" on the drawing and assumed hardness alone would deliver a premium feel. It did not — because the feel of a silicone keypad is decided by the interaction between durometer and geometry, and hardness picked without that interaction produces keys that are mushy, stiff, or both at once. This article explains how to choose the best hardness for a smart device silicone keypad, why measuring durometer on a finished thin keypad misleads everyone, and how to set a specification that survives both prototyping and mass production.
What Shore A actually measures — and what it does not
Shore A is an indentation hardness: a durometer presses a blunt needle into the rubber and reads how far it sinks. It is a fast, cheap, and genuinely useful process-control check — and it is routinely over-interpreted as "the feel number." The same durometer can feel completely different in two keypad designs because feel comes from the stiffness of the whole button structure, not the material's indentation resistance alone.
Here is the structural reality: a silicone key is a small dome or pad whose resistance to your thumb comes mostly from how its walls flex, how thick the dome is, and how the skirt connects to the surrounding pad. Hardness participates, but a 60 Shore A dome with a thin wall can press softer than a 50 Shore A dome with a thick wall. Our guide to force, travel, and snap ratio in silicone keypads breaks down exactly how these variables combine, and our earlier comparison of 40 Shore A versus 60 Shore A keypads shows why neither number is "correct" without a target actuation force.
The working ranges for smart device silicone keypads
Experience across smart home and appliance keypad programmes clusters into three honest windows:
| Shore A range | Feel and best use | Watch out for |
|---|---|---|
| 40–50 | Soft, quiet and sealing-friendly. Good for pads that double as a gasket or sit over a waterproof housing opening, and for low-force keys pressed often. | Below ~45 Shore A, keys can feel vague and can take compression set faster under constant pressure. |
| 50–60 | Mainstream consumer band: clean tactile breakover, durable legends, predictable moulding. Most remote controls, scene switches and appliance pads land here. | Not critical — tune the actuation force with dome geometry rather than hardness. |
| 60–70 | Stiffer and more positive, with better wear resistance under repeated heavy pressing. Suits lock keypads, power keys and industrial-styled panels. | Top of the range can feel harsh and can transmit more noise to the housing. |
Whatever the window, the specification should name the target actuation force in grams, with a tolerance, and let the compounder hit it with geometry — the approach we use when customers ask for a tailored actuation force range and ergonomic feel. Hardness then becomes the verification number, not the design target.
The measurement trap: your thin smart device silicone keypad lies about its own hardness
Here is the angle most guides skip. Durometer testing (ASTM D2240) is intended for specimens thick enough that the rubber under the indenter is not influenced by what sits beneath it — conventionally a slab at least 6 mm thick. A finished silicone keypad wall is often 0.8 to 2.0 mm, sometimes with a hollow dome and an air gap underneath. Press a durometer onto that and the needle bottoms into the structure, so the reading drifts toward the harder end or wobbles depending on what is beneath the spot you chose — under a dome, over a conductive pill, or between keys.
That is why "we measured it at 55 Shore A on the part" is often wrong even when the material genuinely is 55 Shore A. The correct practice is to control hardness on a moulded test slab from the same batch — the durometer number belongs to the material, and the actuation force belongs to the part. On every project we keep both records: slab durometer for the compound, and force-travel-snap measurements on the finished keypad for the design. The two together catch what either alone misses, which is the same discipline behind the ±30 g tactile-force variation problem we documented for batch-to-batch feel consistency.
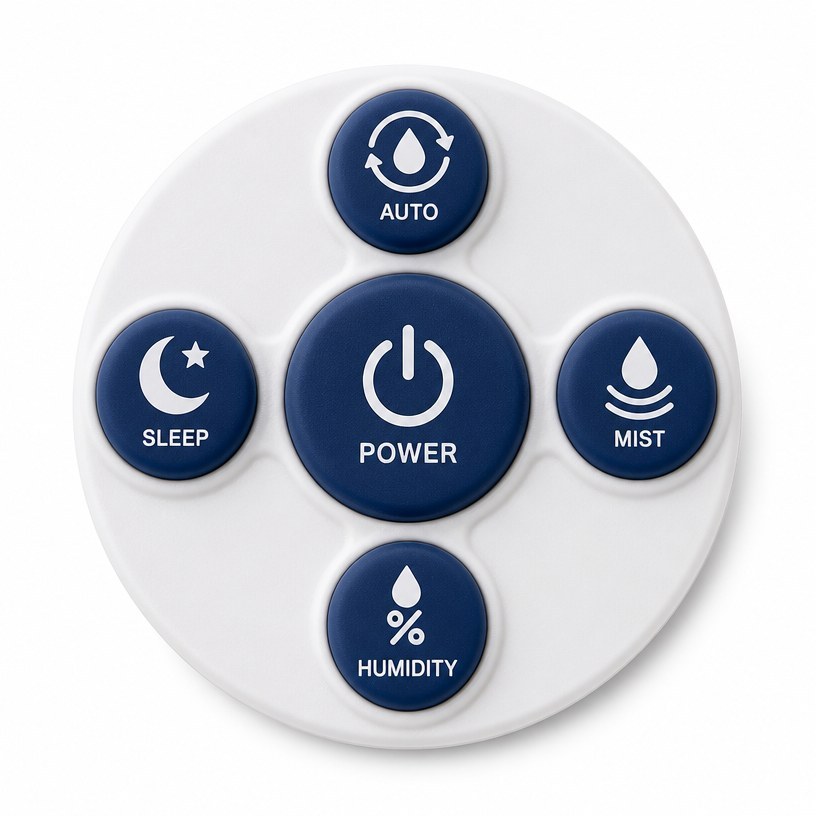
Hardness interacts with everything else on the drawing
Treating hardness as an independent checkbox causes the failures that show up in user reviews. A few interactions worth knowing:
- Backlight: harder compounds with heavy filler can scatter more light; the transparent legend windows and light-guide zones of a backlit keypad respond to the base material's clarity, which is why high-transparency material selection is a separate decision from hardness.
- Temperature: silicone stiffens as it cools. A pad tuned to feel right at 23 °C can feel hard in a cold hallway and mushy in a hot kitchen; if the device spans temperatures, the feel should be validated at the extremes, not at the lab bench.
- Sealing duty: a keypad that also seals the enclosure needs a softer lip or gasket zone, which is why some pads are moulded with a harder key area and a softer sealing flange — or dual-durometer.
- Conductive elements: carbon pills and conductive pads sit under the dome and flex with it; the assembly's contact behaviour depends on the stack stiffness, not the keycap durometer alone.
- Ageing: soft compounds can take permanent set faster under constant compression — a pad pressed by a tight enclosure or a stored device can go flat, the failure we examined in dome collapse on medical syringe pumps. For a smart device that may sit unused in a box for months, that matters.
How to pick hardness for your specific smart device silicone keypads
Rather than copying "50 Shore A" from a competitor's data sheet, run the decision in this order:
- Define the press character. Write down target force (consumer keypads commonly land around 130–180 g; lighter for frequently used keys, firmer for power and lock keys), travel, and whether the snap should be crisp or soft. Force targets in this range are what tactile-keypad design references treat as the comfort band.
- Choose a hardness band that supports it. Use the three windows above, then let dome and wall geometry fine-tune the force. If the required feel cannot be reached within the band, adjust geometry before changing durometer.
- Check the non-feel constraints. Sealing, legend process (laser etching behaves differently on harder compounds), backlight clarity, chemical exposure, and temperature range can override the feel preference. When two constraints fight, the feel usually gives way to the safety or durability one.
- Validate on slab and part. Confirm durometer on a batch slab, then measure force-travel-snap on moulded samples from the same batch — and again on the first production run. A design that only felt right on prototype tooling is a design that will disappoint at volume.
- Write it as a system. The drawing should specify durometer range, actuation force range, and travel together, because a production batch that drifts on any one of them changes the feel even when the other two are in tolerance. This is the difference between a specification and a hope.
If a stiffer, more decisive feel is the goal and the pad still feels vague, the fix is usually not a harder compound but a structural one — ribs, dome profiling, or a metal-dome assist — which is why "too hard" complaints are often solved by structural design rather than a material change.
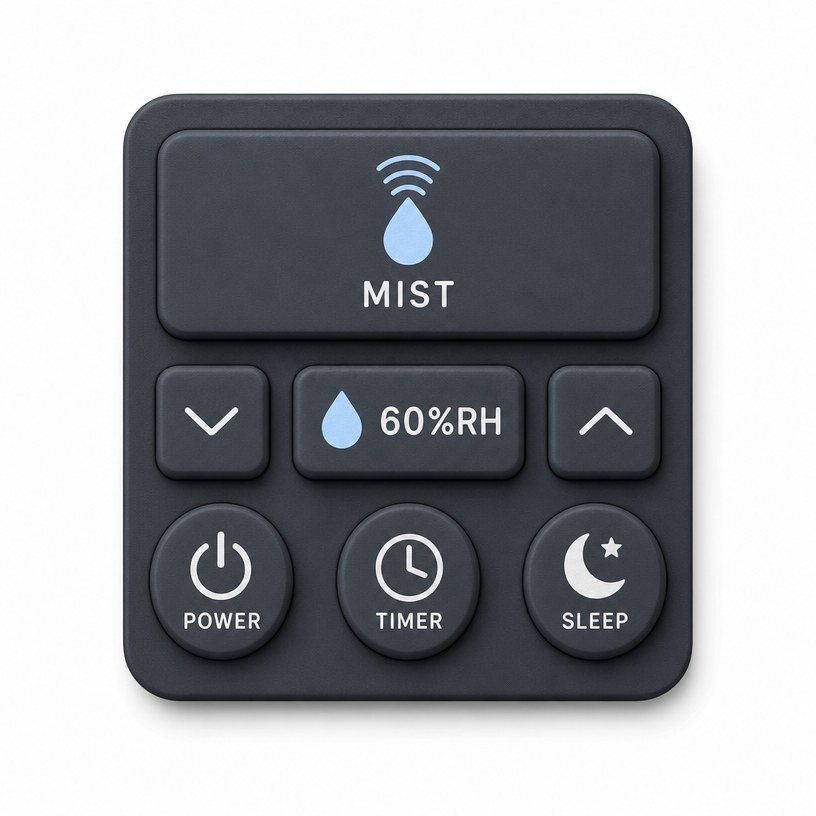
A case in point: 45 vs 60 on the same humidifier
A humidifier OEM asked us to improve the feel of a pad that reviewers called "cheap." The original design moulded a 60 Shore A pad with thin domes, which produced a stiff, hollow-sounding press. We did not just soften the compound — we dropped to a 50 Shore A base, re-profiled the dome walls to keep the target force, and added a firmer zone under the power key so the most important press still read as positive. Reviewers stopped mentioning the buttons entirely, which for an interface is the best possible outcome. The lesson generalises: the best hardness for a smart device silicone keypad is the one chosen against a measured force target and a structural design, and the number on the data sheet is only trustworthy when it is verified on both a slab and the finished part.
Frequently asked questions about smart device keypad hardness
What Shore A hardness is best for a smart device silicone keypad?
For consumer smart devices, the 50–60 Shore A band is the mainstream choice — it balances a clean tactile breakover, durable legends and predictable moulding. Choose 40–50 Shore A when the pad must also seal or sit over a waterproof opening, and 60–70 Shore A when keys need a firm, unambiguous click such as power or lock keys. Above all, set the specification by target actuation force (commonly 130–180 g), not by durometer alone.
Does a higher durometer always make the keypad feel firmer?
No. Feel comes mostly from button geometry — wall thickness, dome profile and how the skirt connects to the surrounding pad. A 60 Shore A dome with a thin wall can press softer than a 50 Shore A dome with a thick wall. If the press character is wrong, adjust geometry before changing the compound.
Why does my finished keypad test harder than its datasheet value?
Durometer testing (ASTM D2240) assumes a specimen thick enough — conventionally at least 6 mm — but finished keypad walls are often only 0.8 to 2.0 mm. The needle bottoms into the thin structure, so the reading drifts toward the harder end. Control durometer on a moulded test slab from the same batch, and measure force-travel-snap on the finished part.
About FromRubber. FromRubber is a full-process silicone keypad manufacturer. We formulate the compounds, build the tooling, and mould the keypads, and we verify every feel specification two ways — durometer on the batch slab, force-travel-snap on the finished part. If your smart device keypad feels wrong and you cannot tell whether it is the material or the geometry, send us your drawing and your target force — we will benchmark it and return a specification that separates the two.