Custom Plastic Enclosure Boxes: Design Your Perfect Solution
- Share
- publisher
- Nani Gui
- Issue Time
- Jun 13,2025
Summary
Design rules for a custom plastic enclosure: wall thickness and draft, ribs instead of thick sections, gasket grooves, IP sealing, material choice and the tooling decisions that set unit cost.

A custom plastic enclosure is usually the last thing designed and the first thing blamed. It has to hold the electronics, seal against the environment, survive being dropped and still close without a gap that a customer notices.
Most of those outcomes are decided by a handful of moulding rules: wall thickness, draft, ribs, the gasket groove and where the parting line lands.
What a Custom Plastic Enclosure Has to Do
Four jobs: contain the electronics, keep the environment out, survive handling, and look like the product it belongs to. Each maps to a design decision. Containment is about bosses and clearances. Environment is about the lid joint, the cable entry and the material. Handling is about wall thickness and radii. Appearance is about the parting line, texture and colour.
Enclosures fail most often at the joint. A flat lid on a flat flange looks sealed and is not, because the two surfaces are never perfectly flat after moulding. A designed groove with a compressible gasket tolerates the variation.
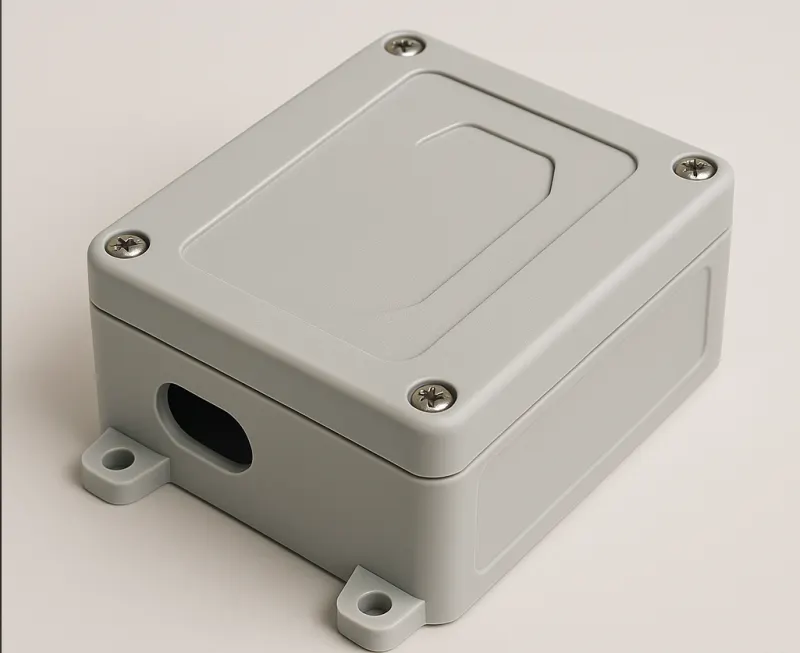
Design Rules for a Custom Plastic Enclosure
| Feature | Practical rule | Why |
|---|---|---|
| Wall thickness | 1.5 – 3.0 mm, kept uniform | Uneven walls warp and sink |
| Draft angle | 1° minimum, 2° on textured faces | Part release without scuffing |
| Ribs | 0.5 – 0.6 of wall thickness | Stiffness without sink marks |
| Bosses | Cored, with gussets | Screw anchorage without thick sections |
| Corners | Radius at least half the wall | Stress distribution and fill |
| Gasket groove | Depth and width sized for compression | Seal without over-compressing |
Sealing a custom plastic enclosure
The gasket groove sets the seal. It needs enough depth for the gasket to sit proud of the surface, and enough width to let the gasket deform sideways as it compresses. Too shallow and the lid will not close flat; too narrow and the gasket extrudes. Screw spacing matters as much as groove design, because a long span between screws lets the flange lift in the middle, which is where a leak usually starts.
Material Choice and Finish
ABS is the default for indoor enclosures: easy to mould, good surface, adequate impact strength. Polycarbonate adds impact and heat resistance at higher cost and needs more attention to moulding stress. Polyamide brings chemical resistance but absorbs moisture, which changes dimensions. The choice should follow the environment, then the finish.
Finish is a moulding decision as much as a cosmetic one. A textured surface hides flow marks and fingerprints and needs more draft. A glossy surface shows every sink mark, so rib and boss design has to be tighter. Laser marking or printing on the surface wears differently from a moulded-in graphic, which matters on equipment that is cleaned.
If the enclosure must survive outdoor UV, say so. Additives exist, but the grade has to be selected at quotation stage rather than after the tool is cut.
From Drawing to First Article
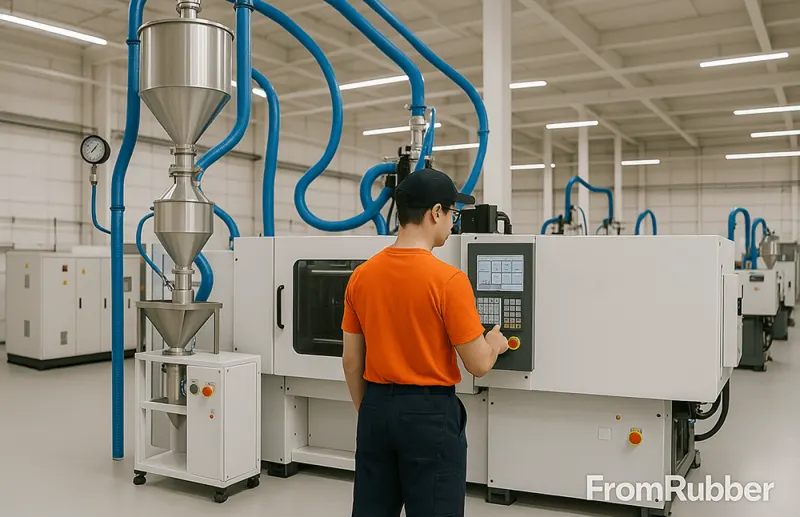
Tooling decisions set the economics. Cavity count follows volume; gate position follows appearance and weld-line requirements; cooling layout follows cycle time. A single-cavity tool is the right answer for a low-volume instrument enclosure and the wrong answer for a product that will run for years.
First article should check more than dimensions. Flatness of the mating face, fit of the lid, gasket compression with the real gasket, and the appearance of the textured surfaces all matter, and none of them is captured by a dimensional report alone. Ask for photographs of the assembled unit.
For enclosures that carry a keypad or a display window, plan the interface early. A silicone keypad with a moulded sealing lip can replace a separate gasket and simplify the front panel, as described in our notes on sealed silicone interfaces.
What to specify on a custom plastic enclosure drawing
- Material and grade, with the environment it must survive.
- Wall thickness and the surfaces where sink marks are unacceptable.
- Gasket type, groove geometry and the target compression.
- Screw or snap-fit scheme, with the assembly force expected.
- IP or sealing target, and the test method for verifying it.
- Colour, texture and marking method.
Can a custom plastic enclosure be machined instead of moulded?
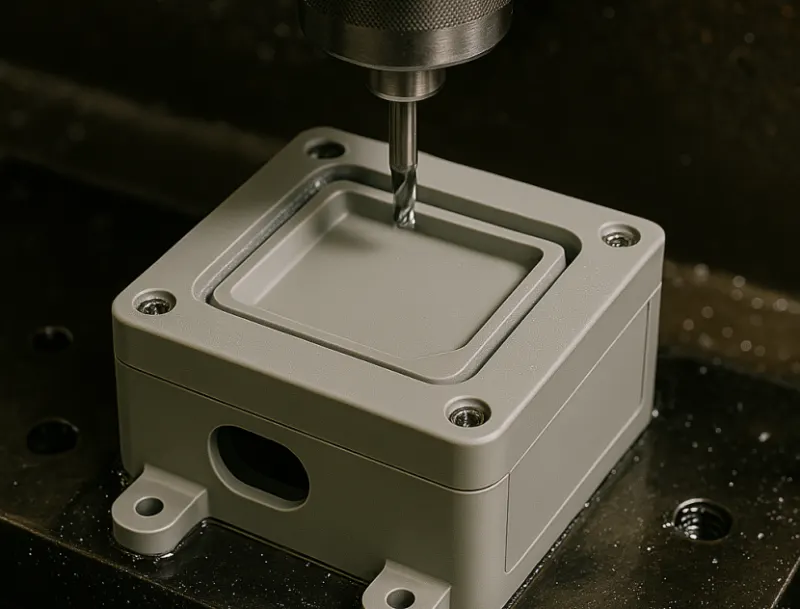
For prototypes and very low volumes, yes. Machined enclosures prove fit quickly, but they use different wall and corner rules and do not predict moulded tolerances or surface finish.
What is the smallest practical wall for a moulded enclosure?
Around 1.5 mm for typical ABS or polycarbonate parts, but the answer depends on part size, flow length and impact requirement. Thin walls need higher injection pressure and a stiffer tool.
Design the joint, not the box. Uniform walls, adequate draft, ribs instead of thick sections, and a gasket groove sized for real compression will solve most custom plastic enclosure problems before the tool is cut. Specify material for the environment, and check flatness and gasket compression at first article, not only dimensions.