Customizing Silicone Membrane Switches: Options for Backlighting, Printing & Layout
- Share
- publisher
- Suey
- Issue Time
- Jul 28,2025
Summary
The customization options on silicone membrane switches: overlay printing, backlight constructions and what each costs, tactile elements, shielding and tail design, plus the layer-stack drawing to request before a quotation.
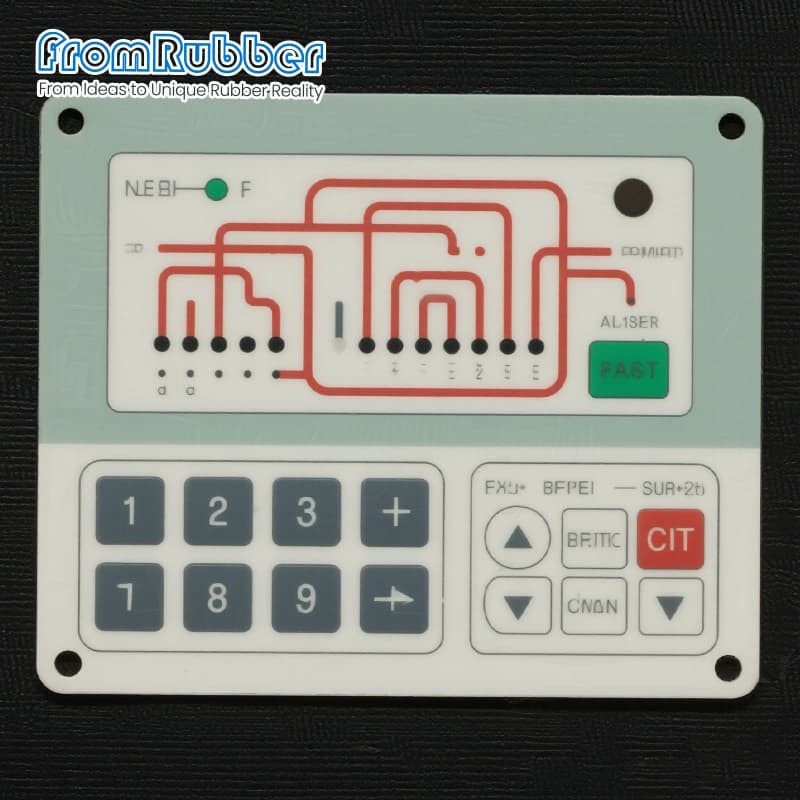
A membrane switch is a stack, not a part. Every layer you add for backlighting, shielding or a tactile response changes the thickness, the force and the tooling, and the changes interact.
This covers the customization options for silicone membrane switches: what each layer does, how backlighting is usually achieved, and which choices belong at the design stage rather than after the first sample.
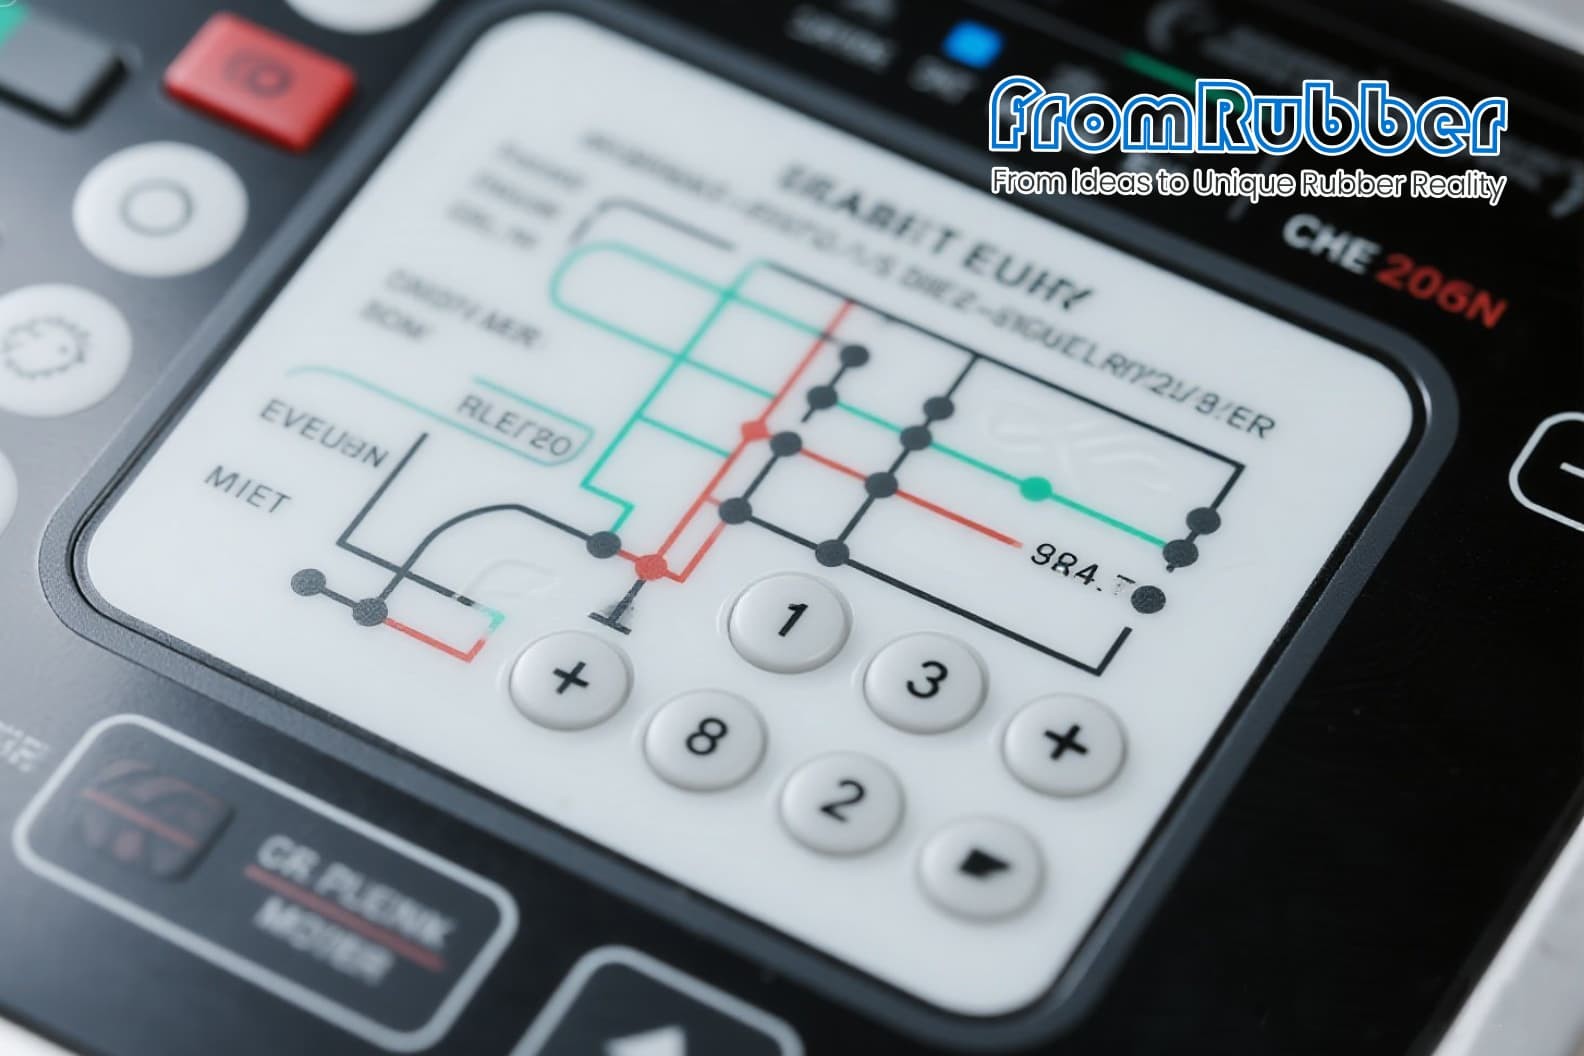
What Can Be Customized on Silicone Membrane Switches?
The direct answer: the graphic overlay, the switch layer, the backlight construction, the tactile element and the connector tail. Those five cover almost every request, and each has a different cost profile.
The graphic overlay is where branding and legend live, so it is the layer buyers focus on. The backlight is where most projects overrun, because lighting a large area evenly is a design problem rather than a component purchase.
The Customization Options and What Each Costs
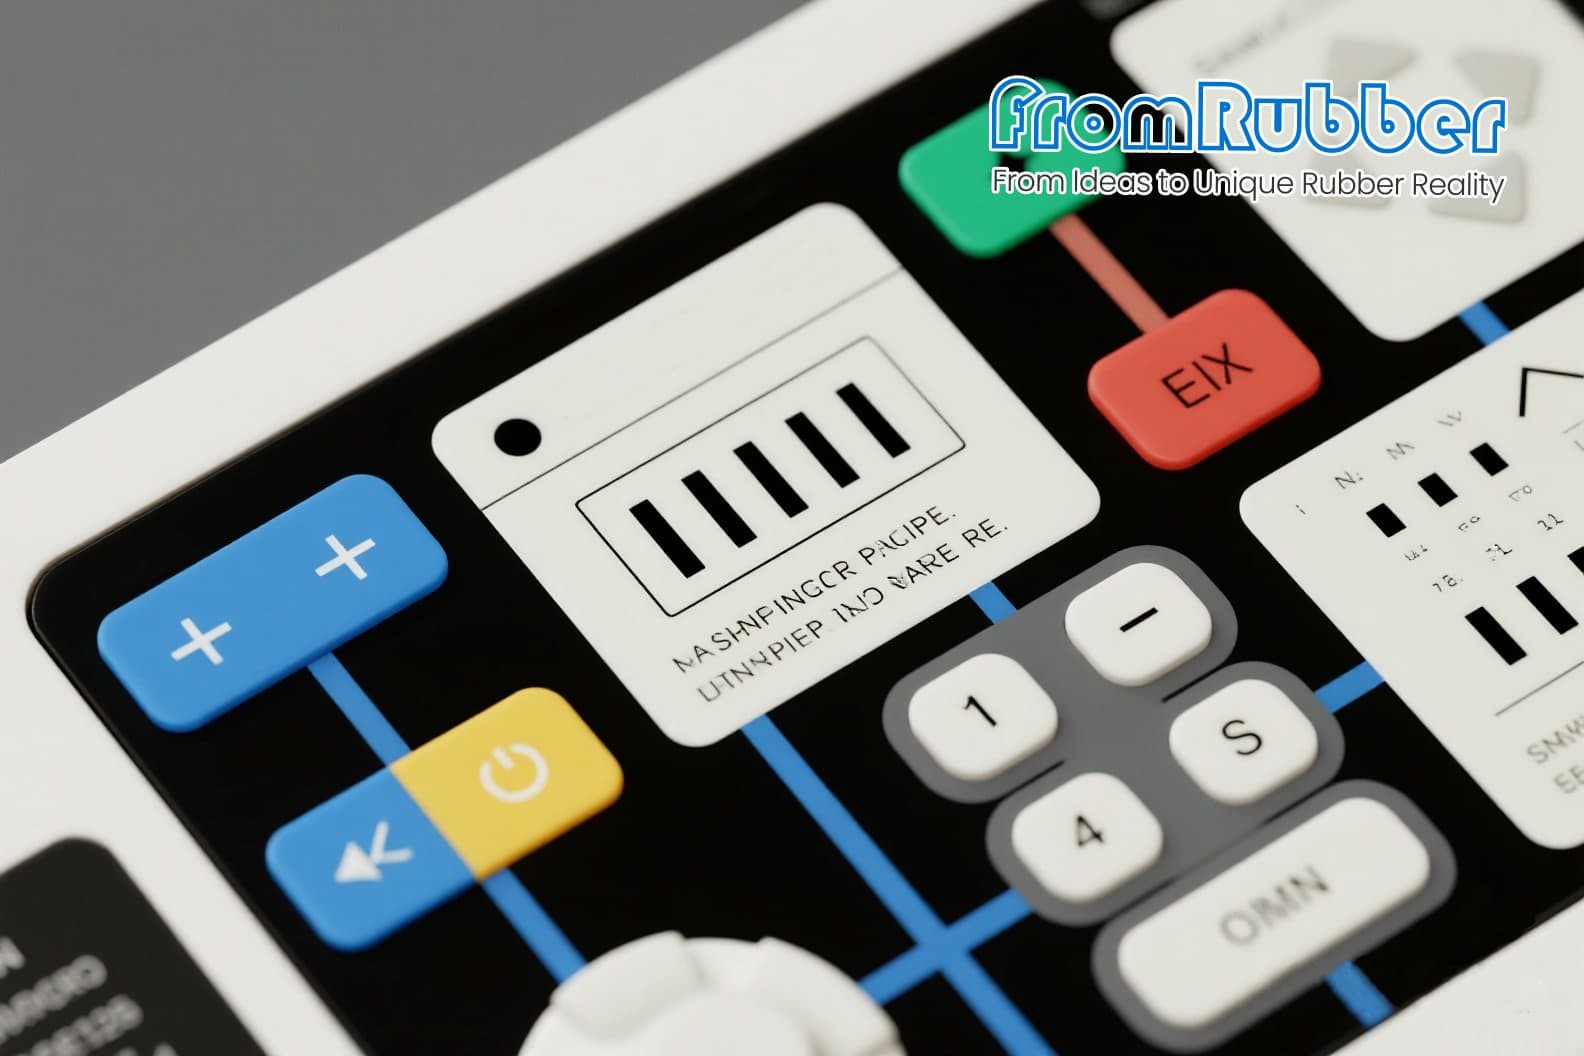
The tactile row is where feel is decided. A metal dome gives a crisp click and a defined force; a moulded bubble gives a softer response and integrates more cleanly into a silicone construction.
| Option | What it changes | Cost driver |
|---|---|---|
| Graphic overlay | Colour, legend, window areas | Number of print passes and colours |
| Backlight | Light source, diffusion, power | Area to be lit evenly and the number of LEDs |
| Tactile element | Metal dome or moulded bubble | Dome count and placement accuracy |
| Shielding layer | EMI or ESD path | Printed conductive layer and grounding design |
| Tail and connector | Pitch, length, exit direction | Connector type and tail routing |
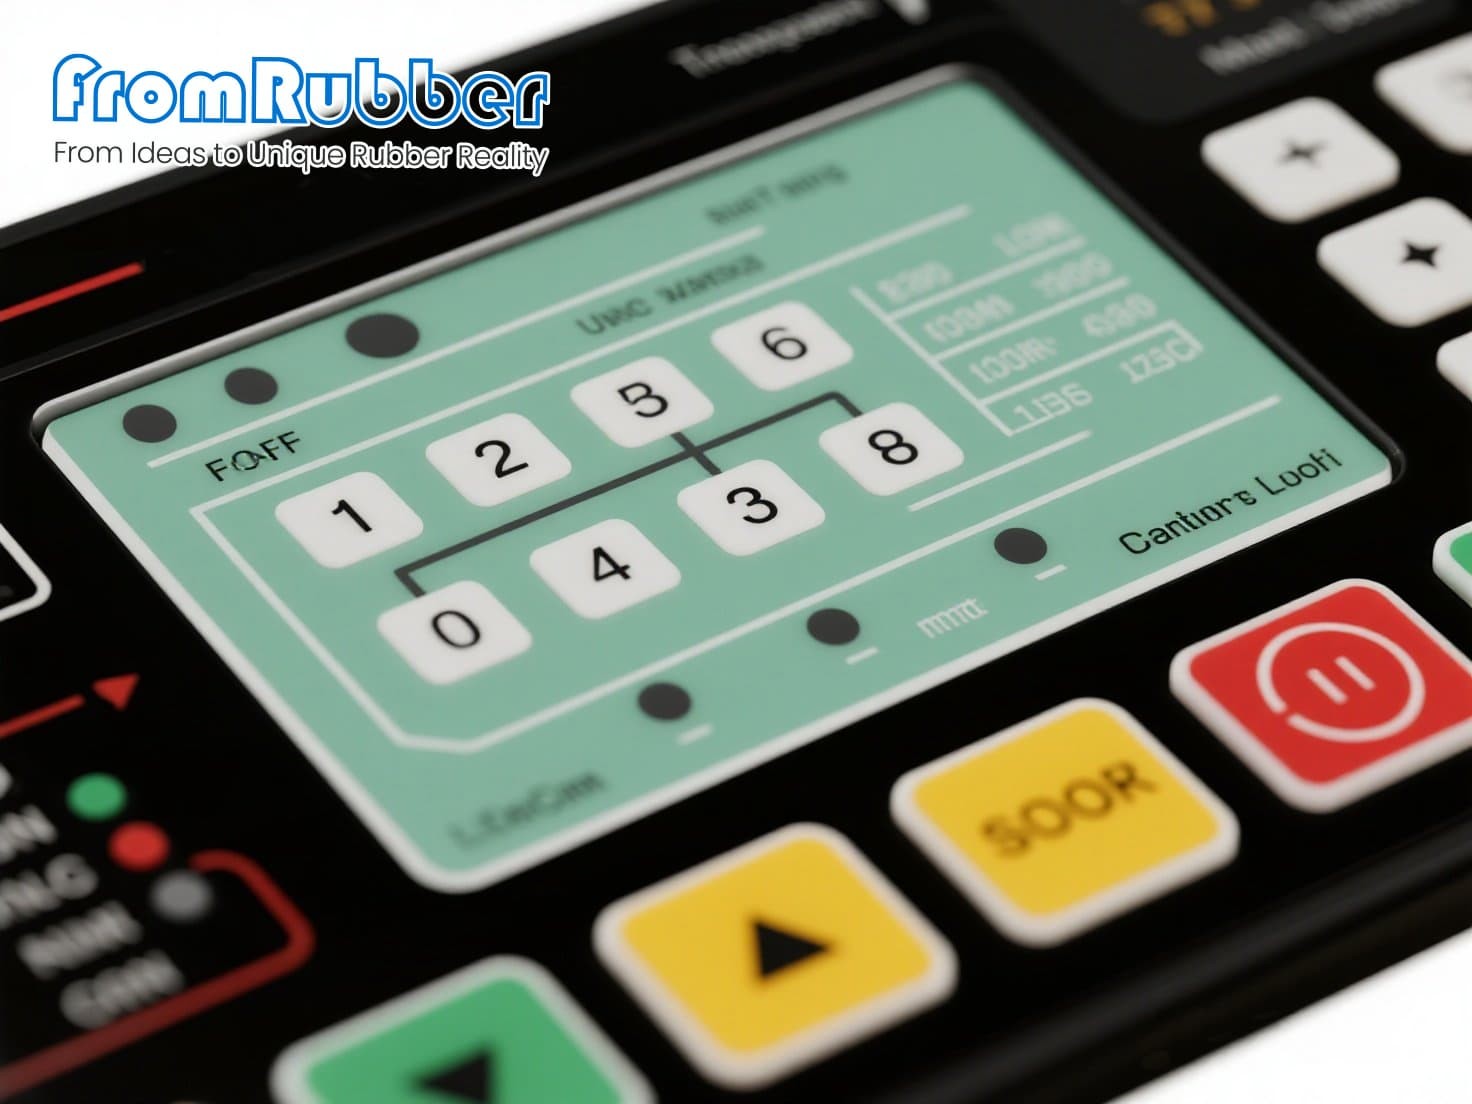
Backlighting Options, and Why They Are Not Interchangeable
Three routes are common. Discrete LEDs behind a diffuser, which is bright and efficient but needs spacing to avoid hot spots. A light guide with edge lighting, which spreads light well over a thin panel and loses efficiency. And electroluminescent film, which gives a very even glow over large areas at the cost of an inverter and a shorter service life.
Choose by area and by thickness budget. A small panel with a few legends is well served by LEDs. A large overlay with many legends usually needs a light guide or EL, otherwise the LED count and the diffuser thickness both climb.
Printing and Layout Rules
Keep legends away from the switch edge, where the overlay flexes most. Leave a margin around windows so the adhesive has somewhere to bond. And keep the tail exit away from the highest-pressure area of the panel, because the tail is the first thing to fail mechanically.
How to Specify a Membrane Switch That Can Be Built
Send the panel outline, the key layout with centre distances, the required actuation force, the lighting requirement including the uniformity expectation, the environment and the connector specification. Add the number of units per year, because it decides whether a printed circuit layer or a simpler construction is the right answer.
Then ask for a layer stack drawing before a quotation. The stack drawing is the document that reveals thickness conflicts, and it is the cheapest place to discover that the backlight will not fit under the overlay.
Where the panel must survive washing or chemical wipe-down, the sealing method matters as much as the materials; the comparison in our article on silicone and rubber seals is the relevant starting point, and the constructions are summarised on the membrane switch keypad page.
Frequently Asked Questions
Can a membrane switch be backlit and waterproof at the same time?
Yes, but the light path and the seal have to be designed together. A window cut for light is also a path for water unless it is covered by a sealed overlay.
What is the difference between a metal dome and a moulded bubble?
A metal dome gives a sharper click, a more defined force and a longer life at high actuation counts. A moulded bubble is quieter, integrates into a silicone construction and costs less at low volume.
How many colours can a membrane overlay carry?
It depends on the printing method, but each additional colour adds a pass and a registration risk. Designs that look like four colours are often achieved with two plus the substrate.