From Sample to Mass Production: Common Design Risks for Slip-On Silicone Pet Boots
- Share
- publisher
- FromRubber
- Issue Time
- Oct 27,2026
Summary
A prototype proves a shape looks right. It says nothing about whether that shape can leave a mold thousands of times with the same dimensions. This article walks through where slip-on silicone pet boots lose control between sampling and production, and what to review before the cavity is cut.
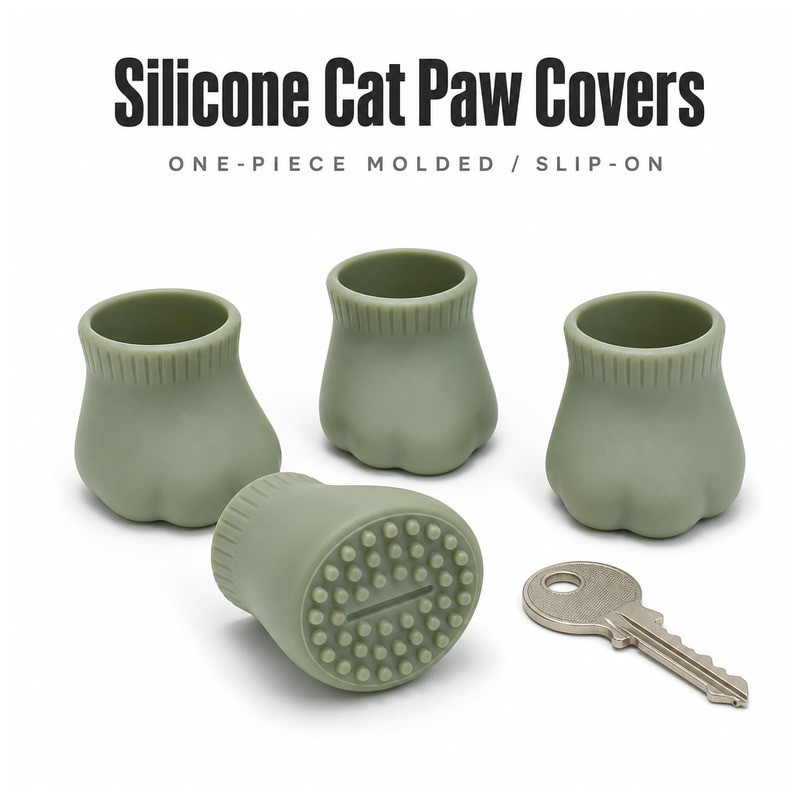
A prototype tells you whether a shape looks right. A mold tells you whether that shape can exist at all. Production tells you whether it can exist five thousand times, in the same way, in the same dimensions. Those are three different questions, and a slip-on silicone pet boot has to answer all of them before the first carton ships.
The photo above is the kind of image that gets a project approved: clean parts, consistent colour, a familiar object for scale. It is also the kind of image that hides everything that matters later. What it cannot show is whether those four parts measure the same, whether the rim in the third one pulled cleanly out of the mold, or whether the wall behind the sole filled completely on the last shot of the shift.
This is written for buyers and product developers who are about to commit to tooling for a slip-on silicone pet boot, or a smaller cover in the same family. It is not a list of things that will go wrong. Most projects do not hit most of these problems. It is a list of the places where they tend to appear, so that the design review can happen while changes are still free. Most of what follows applies to any custom silicone pet boots project, not only to boots.
Why slip-on silicone pet boots need careful design before tooling
The opening has to stretch without losing its shape
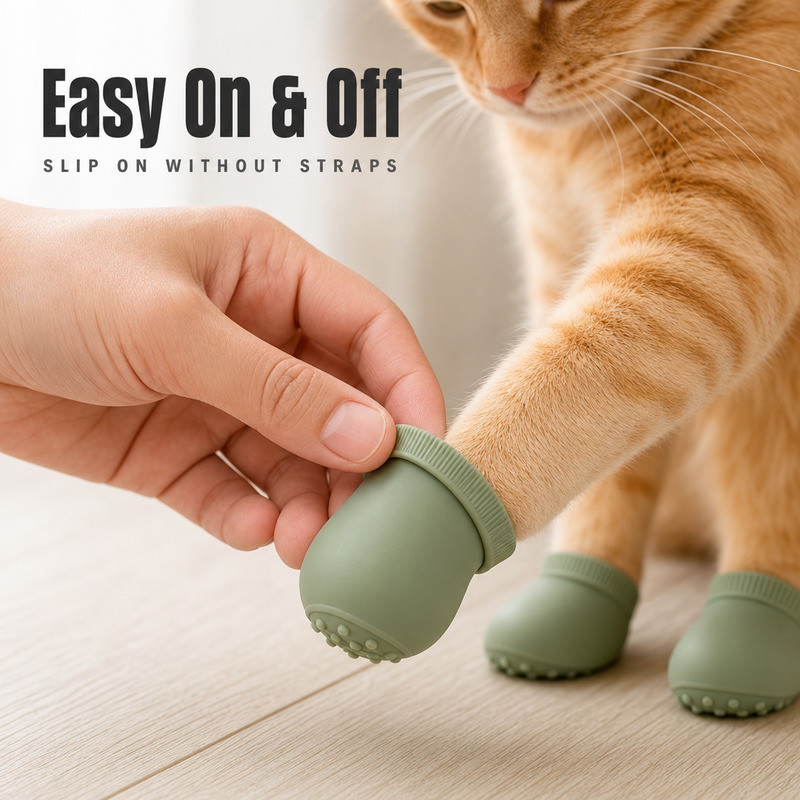
Everything about a slip-on boot concentrates stress at one feature: the rim. It is the thinnest ring, it takes the largest strain, and it is the part an owner grips when pulling the boot on. In a prototype made from a machined or printed master, the rim is whatever the model said it was. In a molded part, the rim is the result of how the material flowed into that edge, how it cured, and how it was pulled off the core.
That is why a design review of the opening is worth more than a review of the boot as a whole. Check the rim thickness in section, the radius at the outer edge, and the transition into the sidewall. If the rim is a thin flange sitting on a thick wall, the mold has to fill a thin ring at the end of a heavy flow path, and the resulting part will vary more than the drawing suggests. Silicone pet boot mold design therefore starts at the rim, not at the sole.
Thin sections and thick sections behave differently
A silicone part with a heavy sole and a light rim is, in molding terms, two parts joined together. Material arrives at the thick section first and stays hot longer; the thin section fills late and cools fast. The consequences are not dramatic in a well-designed part, but they are real: slightly different cure, slightly different shrinkage, slightly different stiffness at the joint.
The practical review question is not "is the wall uniform" because a boot cannot have a uniform wall. It is "where does the thickness change, and is the change gradual enough that the part can be filled and released without a weak line at the step". Abrupt steps in silicone are where you find short shots, flow marks, and the small tears that appear three weeks into use.
Undercuts make demolding harder, and they are easy to miss
An undercut is any feature that faces away from the direction the part leaves the mold. On a pet boot, undercuts hide in ordinary places: an inward lip at the rim that grips the leg, a groove around the ankle, a recessed pad on the sole, a decorative band that is wider than the wall beneath it. Each one is a small hook that the mold has to let go of.
Flexible silicone forgives a certain amount of undercut because the part can deform as it is stripped. That forgiveness is exactly why undercuts get missed in review: the sample comes out fine, made by hand, at low volume, from a prototype tool. Whether the same feature releases cleanly at production rate, with production cycle times, is a different question. Count the undercuts on the drawing before tooling, and decide which ones are worth keeping.
What can go wrong when a prototype moves into mold development
The prototype shape may not translate directly into a molded part
A printed or cast prototype is built additively or in an open tool where every surface is accessible. A production mold is two or more steel blocks that must separate along a defined direction. Features that were trivial to build become decisions about parting lines, inserts, and how much the part has to stretch to come out.
This is not a reason to avoid complex shapes. It is a reason to review the shape with the molder before the cavity is cut, and to accept that some details will be simplified. The conversation is much cheaper at that point than after the first shots.
Shrinkage changes dimensions you thought were fixed
Silicone shrinks as it cures, so the cavity is cut larger than the finished part to compensate. The compensation is not a single universal number: it depends on the compound, the cure, the section thickness, and how the part is constrained in the mold. When the opening is designed at a nominal dimension and the shrinkage allowance is applied to the whole part as one factor, small features and large features can end up disagreeing.
This is why the dimensional review should name the critical dimensions explicitly: the opening diameter, the boot height, the wall thickness at four points, the internal cavity length and width. Those are the numbers that will be inspected. Everything else can be general tolerance. There is a longer explanation of how the compensation works in our notes on getting mold dimensions right when silicone shrinks.
Complex opening geometry raises tooling difficulty
A narrow opening with a rolled lip, a deep internal recess, and a parting line that lands inside the rim is a difficult combination. Each element can be solved; together they may force a more expensive tool or a compromise on where the flash line sits. The flash line is worth thinking about early, because on a pet boot it usually ends up somewhere the owner will touch.
Design changes after tooling cost more than they look
Changing a wall thickness or an opening dimension after the cavity exists means cutting steel, and steel does not always allow a change in both directions. Sometimes the mold can be adjusted; sometimes a new insert is needed; occasionally the change is not practical at all. None of this means a design should be frozen too early. It means the review should be thorough before it is frozen.
Why a sample that looks good may still fail production checks
It helps to separate what a prototype actually proves from what it is usually taken to prove. The same feature can pass in one column and fail in the other.
| What gets checked | Prototype stage | Production sample stage |
|---|---|---|
| Opening dimension | One part, measured wherever it is convenient | Several cavities, measured at the points marked on the drawing |
| Wall section | Nominally uniform because it was built by hand | Varies with flow path, cure, and cavity position |
| Flash and trim | Hand-finished until it looks clean | Flash line where the tool actually puts it, trimmed at rate |
| Fit on a paw | One model, one fitting, no record | Models at both ends of the size range, fixed cycle count, measured before and after |
Fit and dimensions can drift between samples
Two parts that look identical on a bench can be a millimetre apart at the opening, and at the opening a millimetre is the difference between a boot that stays on and one that does not. This is not usually a manufacturing problem. It is a specification problem: if the drawing does not define which dimensions matter and how much they may vary, the molder has no way to know where to concentrate attention.
The fix is unglamorous. Name the critical dimensions. State a tolerance for each, chosen against what the product needs rather than against what sounds precise. Agree the measuring method, including where on a rounded feature the measurement is taken. Rubber tolerances for moulded products are graded in ISO 3302-1, and choosing the class deliberately is more useful than copying a number from an unrelated drawing.
The opening may behave differently across production-relevant samples
Insertion effort is not a dimension, so it is rarely inspected. It is also the thing customers complain about first. A workable approach is to define a simple, repeatable bench check: pull the rim open to a fixed distance with a spring scale and record the force. It takes a minute per part and turns a subjective complaint into a number that can be compared across samples, cavities, and batches.
Appearance does not prove structural performance
A part with a clean surface, even colour, and no visible flash can still tear at the rim corner on the third week. Visual inspection catches cosmetic defects; it does not catch a stress concentration, a thin section that cured slightly short, or a compound that took more set than expected. Some functional check has to exist alongside the visual one, even if it is only a cycling test on a paw model.
Unclear acceptance criteria delay everything
When the buyer's idea of "good" is a feeling and the molder's idea of "good" is a drawing, the approval meeting becomes a negotiation. Writing the acceptance criteria down before the production sample arrives is not bureaucracy; it is what allows the molder to say "this part meets the spec" and the buyer to agree without re-litigating the design.
How to reduce demolding and molding risk

Find the difficult release areas early
Walk the part from the sole to the rim and ask, at every change of direction, which way that surface faces. Any surface that faces inward relative to the opening is a candidate undercut. The ones that matter are the ones with a sharp edge or a narrow throat, because those are the features that will not release without stretching, and stretching is what marks a part.
Small molded details deserve the same scrutiny: a raised logo on the sidewall, a rib inside the sole, a locating notch. Each one is a feature the mold has to open around. Our notes on mold design challenges in silicone dog paw cleaner cups go through the same problem from a different shape, and the logic transfers.
Simplify where the geometry adds nothing
The most effective demolding improvement is usually subtraction. A decorative groove that no customer will notice, a recess that exists because the render looked flat without it, a double step where a single radius would do: removing them reduces tooling complexity, reduces the chance of a short shot, and rarely changes how the product is experienced. Keep the features that do work. Delete the ones that only exist on the drawing. In silicone product manufacturing, the tool is unforgiving about details that were added to make a render look busier.
Review thin walls and thickness transitions together
A thin wall is not automatically a problem and a thick wall is not automatically safe. What causes trouble is the transition between them. Where a 2 mm rim meets a 6 mm sole, the material has to flow from thick to thin, cure at different rates, and release without a stress line. Gradual transitions and generous radii at the junction do more for durability than adding material to either side.
Choose the tooling approach for the actual part
Compression molding, transfer molding, and liquid silicone injection each impose different constraints on geometry, wall section, and undercut tolerance. A shape that is straightforward in compression tooling can be awkward in a cold-runner LSR tool, and the reverse is also true. The tooling decision should follow the part and the volume, not a house preference. For low-volume validation runs, a simpler prototype tool often answers the fit question faster than a production tool, which is the point made in why prototype molds exist and what they cost.
What to check before approving a production sample
The sample approval is the last cheap moment in the project. After it, every change has a tooling cost attached. Four checks cover most of the risk.
Confirm the critical dimensions, and where they were measured
Ask for the measured values, not just a pass or fail. The opening at its narrowest and widest point, boot height, internal cavity length and width, and wall thickness at the rim, the ankle, and the sole. Mark the measurement points on the drawing so the next batch can be compared against the same locations. On rounded silicone features it is very easy for two people to measure two different things and both be right.
Test wearing, removal, and recovery on more than one part
Three parts from different cavities, fitted and removed a fixed number of times, with the opening measured before and after. If one part loses noticeably more dimension than the others, you have found a cavity or cure difference worth investigating before volume production. The measurement is simple enough to do with a flexible tape and a bench, and it is far more informative than handling the sample for five minutes.
Inspect the places that fail first
The rim corners, the transition from rim to sidewall, the edge of the sole, and any molded feature with a sharp internal corner. Look for incomplete formation, flow marks, flash on the inside of the cavity where it would rub a paw, and pale patches that suggest local over-strain from demolding. These are the areas where a small process deviation becomes a customer complaint.
Check consistency across several samples, not one
One perfect sample proves the tool can make a perfect part once. It says nothing about repeatability. A handful of parts from the same run, measured the same way, tells you whether the process is under control. This is the same discipline we describe for approving production samples of custom silicone dog paw cleaner cups, and the checks are almost identical because the physics is the same.
What buyers should discuss with a silicone pet boot manufacturer
Share the intended use and the target size range
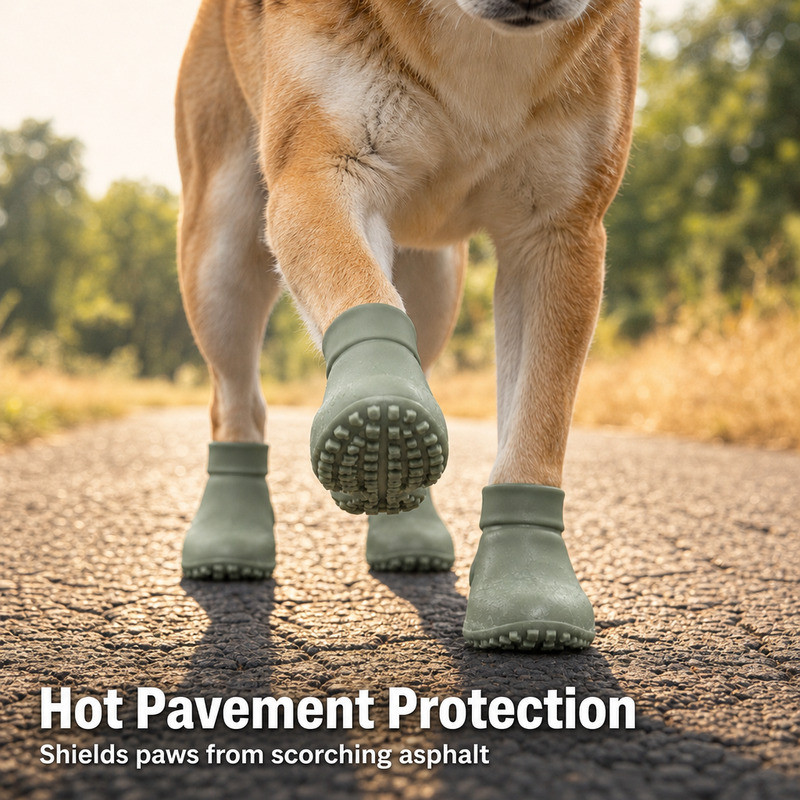
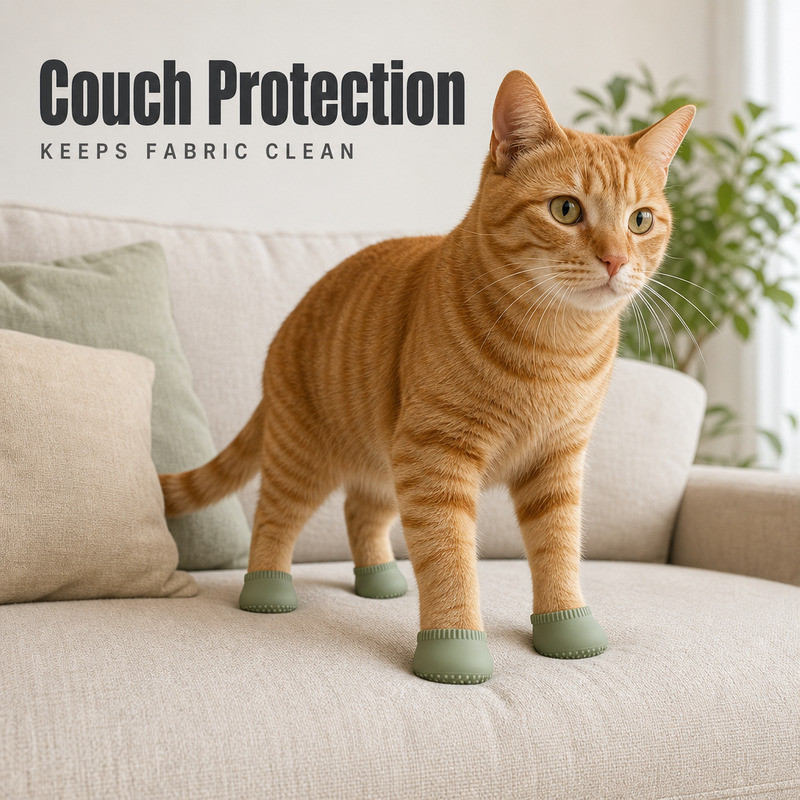
"A boot for small dogs" is a marketing sentence, not a design brief. The useful version names the surfaces, the climate, the fitting routine, and the paw dimensions at both ends of the size run. A boot that will be worn on pavements for twenty minutes needs different priorities from one that will sit on a paw indoors to stop licking.
State the material priorities instead of a hardness number
Hardness is one number doing several jobs. If the real requirement is "easy to put on", say so. If it is "must not tear at the rim", say that. The molder can then choose between compound, wall section, and geometry, which are three different levers with different costs. Naming only a hardness figure removes two of those levers from the conversation.
Agree who owns tooling, sampling, and revisions
Who pays for the first tool, who pays for changes after sample approval, how many revision rounds are included, who owns the drawing, and what happens if the tool needs to be replaced after a season of production. These are commercial questions, but they determine how freely the technical questions get asked, so they are worth settling early.
Review manufacturability before committing to volume
A design review is not a vote of no confidence in the design. It is the cheapest opportunity to find the undercut that will not release, the wall section that will not fill, or the dimension that will not hold. Our own notes on which design details affect cost and production feasibility cover the same trade-offs from the manufacturing side.
The short version
Treat manufacturability as part of the product design, not as a step that happens afterwards. The rim is where fit and molding meet, so review it first. Count the undercuts while they are still lines on a screen. Name the dimensions that matter and give them tolerances you can defend. Then approve the sample against a written list rather than a feeling, and keep the measurements so the next batch has something to be compared with.
FromRubber runs its own tool shop alongside silicone molding, so opening geometry, wall sections, parting lines, and shrink compensation get reviewed by the same people who will build the tool. If you are weighing a design against a target price or a launch date, send the drawing, the paw measurements, or the reference sample to nani@fromrubber.com or karl@fromrubber.com. WeChat and WhatsApp: +86 186 7621 0913. FromRubber is the brand of Dongguan Bohao Electronic Technology Co., Ltd., based in Dongguan, Guangdong, where the tool shop and the moulding floor sit in the same operation.
Questions buyers ask before tooling
Why can a silicone pet boot sample be difficult to manufacture in bulk?
Usually because the sample was made in a way that does not repeat. Prototype tools, hand trimming, and slow cycles can produce a part that the production tool cannot match, especially at the rim. The gap is not normally the shape itself but the combination of thin sections, undercuts, and cure differences that only appear when the process runs at rate.
What design features make silicone pet boots harder to demold?
Inward-facing lips at the rim, grooves around the ankle, undercuts behind a raised band, deep sole recesses, and narrow throats that the part has to stretch past. Each one is manageable on its own. Several in the same part usually means a more complex tool, a slower cycle, or a design change, and the earlier that is known the cheaper it is.
Can thin walls cause problems in silicone pet boot production?
They can, mainly where a thin section sits at the end of a long flow path or next to a much thicker one. Filling becomes less predictable, cure is uneven, and small dimensional differences appear between cavities. That does not mean thin walls should be avoided; a slip-on boot needs them at the rim. It means the transition has to be designed rather than left to chance.
Should a slip-on silicone pet boot be tested before mass production?
Yes, and the test should include fit and retention, not only appearance. A cycling test on paw models at the top and bottom of the size range, with the opening measured before and after, will surface most of the problems that a visual inspection misses. Define the pass criteria before the sample arrives so the result is a decision rather than a discussion.
What should buyers check before approving a silicone pet boot mold?
The critical dimensions and their tolerances, the parting line position, the undercut list, the wall sections at rim, ankle and sole, and the planned inspection method. It also helps to confirm what the mold can and cannot be adjusted for later, because that determines how much freedom remains after the first shots.
Can a manufacturer simplify a pet boot design without changing its main function?
Often, yes. Most simplification removes decoration rather than function: an unnecessary groove, a step that could be a radius, a double wall where one would do. The function to protect is the rim's ability to open and close and the sole's contact with the ground. Anything else is negotiable. The usual effect of simplification is a more stable part, not a worse one.
Sources and further reading
- ISO 3302-1:2014, Rubber — Tolerances for products — Part 1: Dimensional tolerances. International Organization for Standardization. iso.org/standard/62492
- ISO 34-1:2022, Rubber, vulcanized or thermoplastic — Determination of tear strength — Part 1: Trouser, angle and crescent test pieces. iso.org/standard/82445
- ISO 37:2024, Rubber, vulcanized or thermoplastic — Determination of tensile stress-strain properties. iso.org/standard/86892
- FromRubber technical note on tolerances: what dimensional tolerance actually means on a molded silicone part.
- Companion reading in this series: how much opening stretch a slip-on boot actually needs, and how wall thickness is chosen zone by zone.
Tolerance classes, shrinkage allowances, sample quantities, and acceptance limits are project decisions. The ISO standards referenced above define test and tolerance methods; they do not prescribe values for a specific pet boot, and nothing in this article should be read as a specification for your part.