How Does Pressing Temperature Affect a Silicone Heat Transfer Label?
- Share
- publisher
- FromRubber
- Issue Time
- Oct 12,2026
Summary
Pressing temperature is a window rather than a number, and it only means something together with pressure, dwell time, fabric and label construction. This article explains what happens when the window is too low or too high, how dye migration and surface marks appear, and how to establish a validated setting on the actual production fabric.
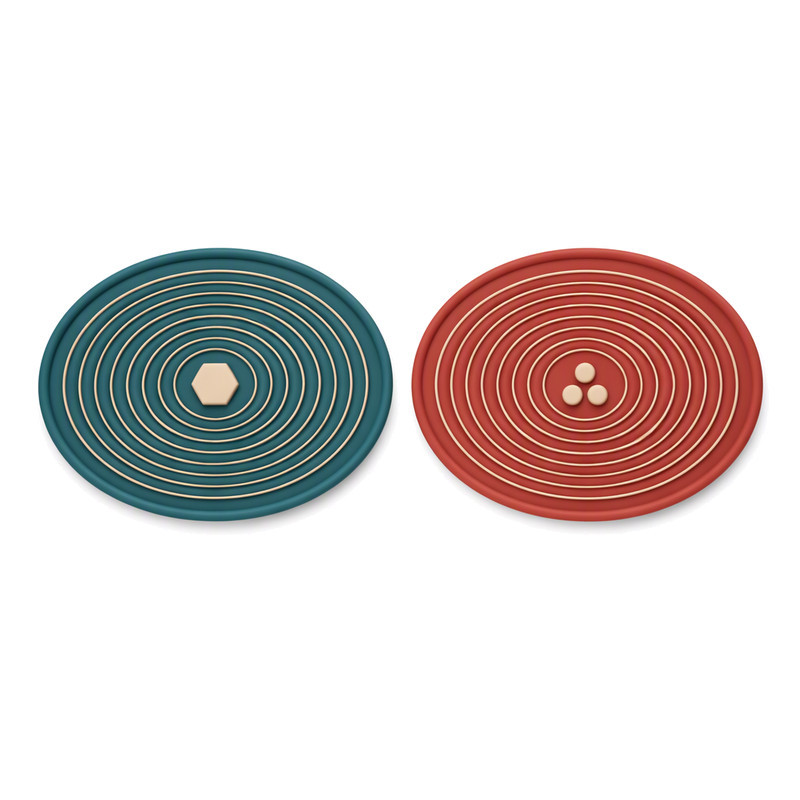
Pressing temperature is a window, not a number
Ask five factories what temperature they use for a silicone heat transfer label and you will often get five different answers, each delivered with complete confidence. All five can be right — on their own fabric, with their own bonding construction, on their own press. Copy any one of those numbers onto a different project and it becomes a guess.
The symptoms of a temperature that does not suit the job are easy to recognise once you know what to look for: edges that lift after a few days, a label that survived the press-room check but not the first wash, a faint sheen on the fabric around the patch, a heat-reflective mark on a dark polyester panel, or a run where the first twenty garments bonded perfectly and the next fifty did not.
What is actually happening during a silicone heat transfer application
The label is a stack, not a sheet
A silicone heat transfer label is built as a stack of functional layers: a silicone body that carries the shape and the artwork, any decorative or functional features such as raised lettering, recessed detail, colour inlays or surface finish, and the bonding layer that has to marry the whole assembly to the textile. Not every custom construction uses the same layer structure, and not every bonding layer responds to heat in the same way, which is exactly why recommendations from one supplier often fail on another supplier's label.
The fabric has its own temperature limits
Textiles react to heat before any label reaches full bond strength. Synthetic fibres, their dyes and their finishes are the sensitive part of the equation. The care-label system gives a useful sense of the ceilings the industry works with: under the care symbols described for ISO 3758:2023, the lowest ironing class is a sole plate limit of 120 °C, the middle class is 160 °C, and only cotton and linen are placed in the 210 °C class. Tumble-drying symbols follow a similar logic, with 60 °C and 80 °C classes. A heat-transfer application does not use an iron, but these thresholds show how narrow the safe zone is once a garment is built from polyester, polyamide or elastane blend panels.
Temperature, pressure and dwell time only work as a set
Pressure is what converts temperature into contact. Dwell time is how long the bonding layer is given to wet out and develop strength. If contact is poor, the interface never reaches the temperature shown on the display, however accurate the controller is. If dwell is too short, the layer may look bonded but never develop its full strength. Setting a temperature without checking the other two is how a process ends up reproducible on paper and inconsistent in production.
Fine concentric detail is where temperature shows first
Large oval labels with thin concentric rings are unforgiving. The rings are narrow, closely spaced and shallow, so any excess heat that softens the surface or pushes the material sideways shows up as a loss of crispness long before the label looks damaged.
When the temperature is too low
The bonding layer never reaches full strength
Under-activated bonding looks deceptively normal after pressing. The label sits flat, the edges feel closed, and the operator signs off. What has not happened is the development of full adhesion, so the interface begins to fail as soon as the garment meets mechanical stress and moisture in the wash.
The result varies across one label
A low set point makes the system sensitive to every small difference: a cold spot in the platen, a thicker section of fabric on one side, a raised seam running under part of the label. Some areas bond, others do not, and the finished garment carries a hidden weak zone.
The label passes on the day it is pressed
Appearance immediately after application says nothing about durability. A bond that is 70 % developed looks exactly like a fully developed one until the garment is washed. The practical defence is a washing check on the same fabric and construction, which is also how different temperatures can be compared objectively.

Bold glyphs reveal thermal drift, not detail loss
Solid shapes behave differently from fine lines. They do not lose definition easily, but they do show the consequences of heat accumulating in the fabric underneath: shadow marks around the outline, a faint blush on dark surfaces, or a slight change of gloss across the raised surface.
When the temperature is too high
Fabric damage and surface marks
Over-heating shows as discolouration, glazing, a flattened pile, shrinkage or a local change in elasticity. How much a fabric tolerates depends on fibre, dye system, finishing and construction, so the same setting can be safe for one panel and destructive for a contrast panel in the same style.
Change in the label itself
Depending on the construction, excess heat can affect dimensional stability, surface finish and the sharpness of printed or moulded detail. Custom constructions do not all respond identically, which is why a single "maximum temperature" quoted for all silicone labels is not meaningful.
Colour migration
Certain dyes in synthetic fabrics can migrate under heat, especially on dark or heavily dyed panels, and can affect the appearance of the label or the fabric immediately around it. The only reliable way to rule this out is to evaluate the actual fabric and colour combination before bulk production, not to rely on a general statement about a fibre type.
More heat is not the fix for weak adhesion
When a label does not hold, raising the temperature is the most common first reaction and often the wrong one. If the real cause is a bonding layer that does not suit the substrate, a contaminated surface, insufficient pressure or too short a dwell, extra heat simply adds a second defect on top of the first.
Adhesion is measured, not guessed. Coatings and laminates are characterised by peel testing — ISO 2411, for example, uses a T-peel geometry in which 75 mm wide specimens are separated at 100 mm/min, with results reported as a mean, a mid-point value and minimum/maximum peel strength. That kind of data is what turns a temperature change from an opinion into a decision.
Raised characters are a useful early-warning gauge
Letter patches with a solid colour field and a raised glyph show distortion sooner than flat artwork. If the vertical walls of a character begin to lean, or the base of a letter spreads, the process is running hotter or longer than the material of that construction prefers.

How to arrive at a workable pressing temperature
Start from the specification supplied with the label
The recommended range should be specific to the construction supplied and the application intended. A range quoted by a different supplier, or found in a generic guide, is a starting point for testing at best. If the label comes from one source and the recommendation from another, ask for the instruction that applies to your order. For orientation, Published supplier instructions for silicone transfer labels commonly work in the region of 160 °C (320 °F) held for about 15 seconds with firm pressure, followed by complete cooling before handling (published application guidance from a transfer supplier); treat that as a starting point for testing on your own fabric, not a universal figure.
Measure the fabric rather than the fabric category
Fibre composition, surface treatment, thickness, stretch behaviour, texture and heat sensitivity all matter, and each materially different panel in a garment deserves its own trial. A collar panel and a compression leg panel are not the same substrate.
Check what the press is really doing
Change one variable at a time
Adjust temperature, pressure or dwell individually while holding the others constant, and record every combination with its inspection result.
Run small trials before the bulk order
Apply samples to the production fabric, inspect initial adhesion, edges, appearance and fabric condition, then follow with the washing or durability evaluation that matches how the garment is used; conditioning before those tests follows a defined atmosphere such as ISO 139. The stretch behaviour of form-fitting and sportswear articles is itself defined in industry test work — ASTM D2594/D2594M measures stretch and growth in knitted fabrics under momentary and prolonged stress, which is a useful reminder that both the label and the fabric are being asked to survive repeated extension, not a single press. AATCC TM61 states that one 45-minute accelerated laundering test roughly approximates the effect of five typical hand or home launderings, which is a useful equivalence to have in writing when a wash protocol is turned into a cycle count.
Temperature-related troubleshooting table
| Observed symptom | Possible temperature-related cause | Other variables to check | Recommended action |
|---|---|---|---|
| Label edges lift after pressing | Bonding layer not fully activated | Pressure uniformity, platen levelling, seam position under the label | Return to the specified window, re-press on flat production fabric and re-inspect |
| Label detaches after washing | Borderline activation or unsuitable construction | Wash conditions versus the tested method, fabric finish | Compare pressed samples after the defined wash cycle; review the construction if the failure repeats |
| Shiny or flattened areas on fabric | Heat above what that panel tolerates | Fabric composition, dye system, finishing, dwell time | Reduce temperature, confirm with a test panel of the same material, check whether the label construction allows a lower activation window |
| Label appearance changes after pressing | Excess heat affecting the moulded surface or fine detail | Actual interface temperature, dwell time, label thickness | Lower the set point and shorten dwell within the validated range, then compare against the approved sample |
| Results vary across one garment | Uneven platen temperature or contact | Thickness variation, raised seams, doubled fabric layers | Map the platen, adjust fixture or support, and record per-position results |
| Some fabric lots or colours behave differently | Different heat response from the same fibre type | Dye lot, finishing recipe, supplier change | Re-validate on each new lot rather than assuming continuity from the previous one |
| Adhesion is good on one fabric, poor on another | Temperature window not matched to that substrate | Bonding construction, surface energy of the fabric, contamination | Ask the label manufacturer to review the construction for that specific fabric before adjusting settings further |
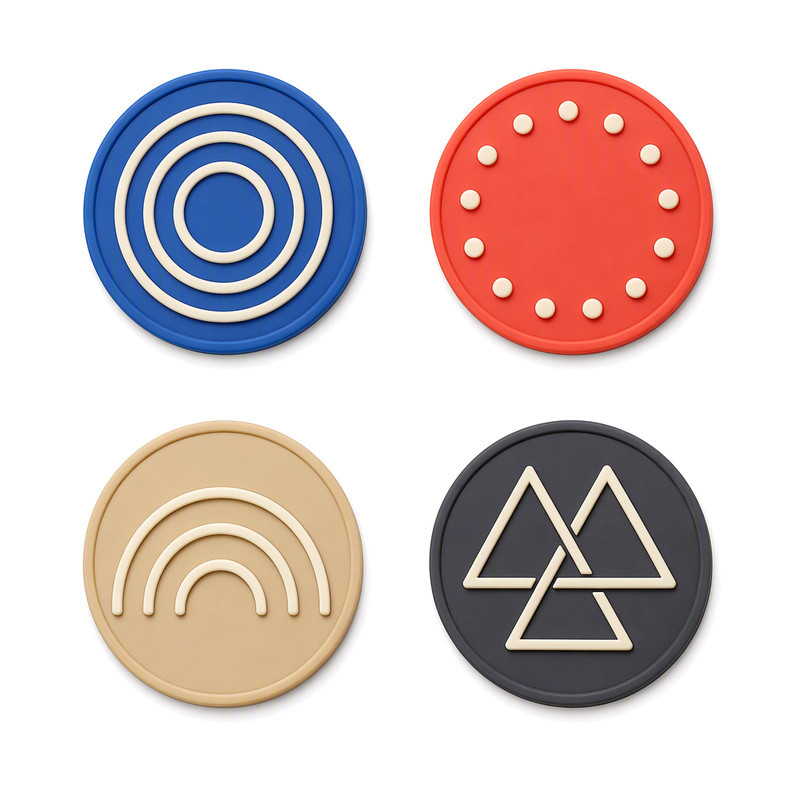
Surface finish is the quiet indicator of process control
A matte finish that turns glossy, or a gloss that dulls, is a temperature story told in reflected light. Because finish is judged under light, it is one of the first things a customer notices even when the bond itself is fine.
How a silicone label manufacturer can support process validation
Define the intended application
Fabric, garment use, label size, required appearance and expected washing conditions. Without these four, a recommendation is a generality.
Review the construction against the substrate
The right question is whether the proposed layer structure suits that fabric and that press — not whether a different silicone would stick better. Changing the material alone rarely solves a compatibility problem.
Agree sample approval criteria
Adhesion, appearance, edge condition and fabric condition, with the inspection method written down so that later production can be measured against the same standard.
Revalidate after any material or process change
A new fabric supplier, a new finish, a revised label construction or a different press are all triggers for a fresh trial, even when nothing about the artwork changed.
Frequently asked questions
What is the correct pressing temperature for a silicone heat transfer label?
There is no universal figure. It depends on the construction, the bonding system, the fabric, the equipment and the pressure and dwell time used with it. Follow the instruction supplied with your order and validate it on the production fabric.
Can too much heat make a silicone label peel?
Excess heat can damage some label constructions and many fabrics, and peeling also has causes unrelated to heat. A single temperature change is not the fix until the other variables are checked.
Why does the same label work on one fabric and fail on another?
Surface chemistry, finishing agents, texture, thickness and heat sensitivity differ between fabrics, and so does the way each conducts heat to the interface. Bonding compatibility has to be evaluated per substrate.
Should I increase the temperature if the label does not stick?
Check the label instruction, the pressure, the dwell time, the surface condition and the material compatibility first. Raising the temperature blindly can add a second problem while leaving the first in place.
How can I confirm that the pressing temperature is consistent?
Check the press calibration and platen uniformity, record the settings used for each batch, and repeat a sample trial under the same conditions. Consistency shows up in repeated results, not in one good garment.
Sources and further reading
- ISO 139:2005 — Textiles — Standard atmospheres for conditioning and testing: iso.org/standard/35179.html
- GINETEX — care symbols and treatment thresholds under ISO 3758:2023, including ironing and drying temperature classes: ginetex.net — care symbols
- ISO 2411 — Rubber- or plastics-coated fabrics — Determination of coating adhesion, with the T-peel test configuration described by Instron: instron.com — ISO 2411 coating adhesion
- ASTM D2594/D2594M-21 — Standard Test Method for Stretch Properties of Knitted Fabrics Having Low Power: store.astm.org — ASTM D2594/D2594M-21
- AATCC — Textile research using AATCC test methods, including AATCC TM61 for colourfastness to laundering: aatcc.org — AATCC test methods in research
- AATCC TM61 — Test Method for Colorfastness to Laundering: Accelerated (one 45-minute test approximates five hand or home launderings): members.aatcc.org — TM061 test method
- Published application guidance for silicone transfer labels (heat press around 320 °F / 160 °C for 15 seconds): qualitywovenlabels.com — silicone labels
The practical summary
Pressing temperature affects both the bond and the appearance of the finished garment, and it can only be set against a specific construction and a specific fabric. The reliable sequence is: get the construction right for the substrate, establish a window with pressure and dwell time, validate it on production-representative materials, then hold those settings and re-test whenever something in the chain changes.
FromRubber (Dongguan Bohao Electronic Technology Co., Ltd.) manufactures custom silicone labels, silicone heat transfer patches and silicone patches, and reviews fabric samples, label drawings and application conditions during sample development. For a temperature question on a new style, send the fabric, the artwork and the press conditions you can control: nani@fromrubber.com or karl@fromrubber.com, WeChat and WhatsApp +86 18676210913. Construction options are listed on the custom heat transfer patches page, and a related failure mode is covered in why silicone heat transfer labels fail on stretch fabric.
About the figures and the review behind this article
Figures quoted here are published industry references rather than measurements from our own production: care and treatment classes follow the ISO 3758:2023 symbol system, the laundering equivalence comes from AATCC TM61, the peel geometry from ISO 2411, and the application and thickness ranges from published conversion-supplier documentation.
Editorial review by FromRubber engineering. FromRubber (Dongguan Bohao Electronic Technology Co., Ltd.) has moulded silicone components in Dongguan since 2010, runs 32 compression moulding machines across two plants, works to ISO 9001:2015, ISO 14001:2015 and IATF 16949:2016 certified systems, and has operated a dedicated silicone fabric-label and heat transfer label division since 2023.