Screen Printing vs Heat Transfer vs Laser Etching: Which Surface Treatment Is Right for Your Silicone Product?
- Share
- Issue Time
- Jul 27,2026
Summary
An impartial comparison of screen printing, heat transfer, and laser etching for silicone products — covering cost, durability, color fidelity, and application fit across 7 evaluation dimensions.
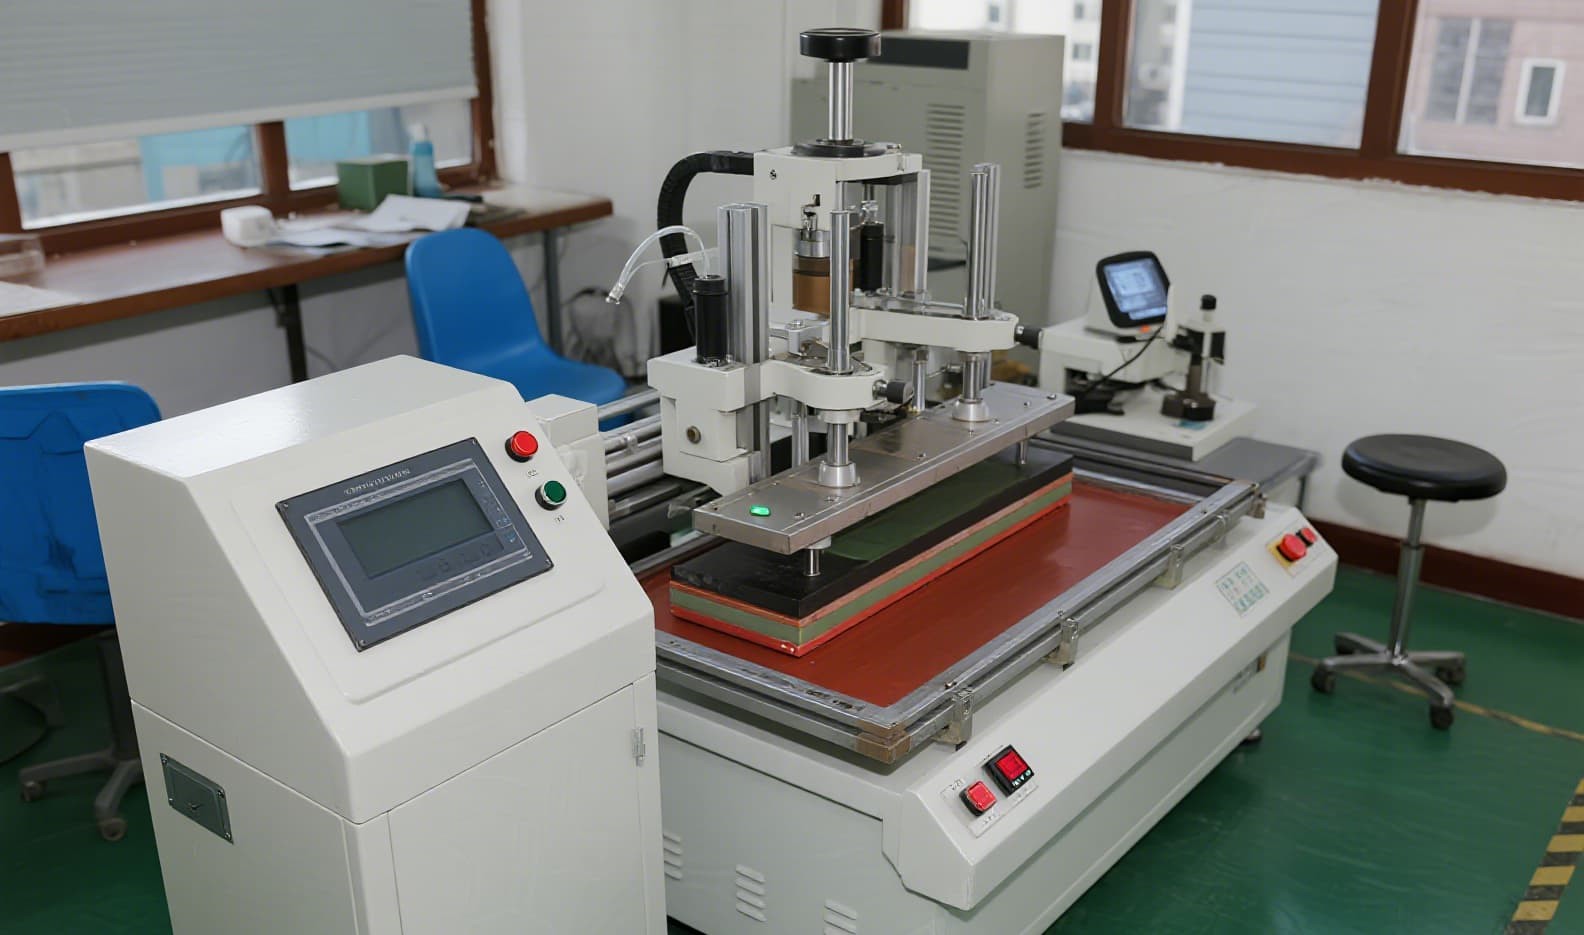
FromRubber Engineering Team · Updated July 2026 The surface treatment you choose for your silicone product directly impacts brand appearance, durability, production cost, and lead time. Each of the three major methods — screen printing, heat transfer, and laser etching — has a distinct profile across seven critical dimensions. The most widely adopted method. A fine-mesh stencil delivers silicone-compatible ink onto the product surface, followed by high-temperature curing. Properly done, it withstands 100,000+ rub cycles. Excellent opacity, proven durability, lowest per-part cost at volume. Flat surfaces only, practical limit of 4-6 colors. 20+ screen printing stations · ±0.15 mm multi-color registration · 4,000+ archived stencils. Pre-prints the design onto a carrier film using CMYK inks, then transfers it to the silicone under heat (170-190°C) and pressure. The only method that reproduces full photographic images on silicone. Uses a focused beam to alter the silicone surface at the microscopic level. Permanent — no ink, no film, no consumables. Combining methods often yields the best results: Laser + Screen Printing for permanent serial numbers with color branding; Screen Printing + Heat Transfer for solid backgrounds with complex center artwork; In-Mold Labeling for inseparable permanent branding. FromRubber’s engineering team reviews your project and recommends the optimal — often hybrid — surface treatment strategy, saving 15-30% over initial specifications. Laser etching — the mark is part of the material itself. Screen printing with silicone ink is a close second. Yes — heat transfer. CMYK at 300+ DPI. Slightly lower durability on flex zones. Screen printing: 100-500 pcs. Heat transfer: 200 pcs. Laser marking: 50 pcs. Our engineering team is ready to help with your project — free DFM analysis, 2-hour quote turnaround.Screen Printing vs Heat Transfer vs Laser Etching: Which Surface Treatment Is Right for Your Silicone Product?
Why Surface Treatment Choice Matters
Quick Reference Comparison
Dimension Screen Printing Heat Transfer Laser Etching Setup cost $30-80 per color $80-200 per design $15K-50K (equipment) Per-part cost $0.05-0.20 $0.15-0.50 $0.02-0.08 Durability 100K+ rub cycles 50K rubs, 200-500 folds Permanent Colors 1-6 spot (Pantone) Full CMYK + white Monochrome Detail 0.1 mm line 300+ DPI, gradients ±0.01 mm Surface Flat to gentle curve Flat or gentle contour Any 3D surface Lead time 3-5 days 5-7 days 1-2 days Screen Printing — The Workhorse
The Five-Step Process
Strengths
Limitations
FromRubber's Capability
Heat Transfer — Photographic Quality
Laser Etching — Permanent Precision
Decision Matrix
Scenario Recommended Why Colorful consumer branding Screen Printing Durable, vibrant, cost-efficient Photo-quality gradient Heat Transfer Full CMYK, smooth transitions Permanent serial number Laser Marking Permanent, heat/chemical resistant Medical device marking Laser Marking No ink = zero contamination risk Flexible / foldable part Screen Printing Superior flex resistance Small batch, complex art Heat Transfer No per-screen setup cost Automotive traceability Laser Marking Meets IATF 16949 High-volume single-color Screen Printing Fastest cycle, lowest cost Hybrid Approaches
Free DFM Analysis
FAQs
Which method lasts longest?
Can I get photographic images on silicone?
What is FromRubber’s MOQ?
Need Expert Guidance?