Silicone Dog Paw Cleaner Cup Mold Design Challenges
- Share
- publisher
- FromRubber
- Issue Time
- Oct 22,2026
Summary
Why a silicone dog paw cleaner cup is harder to tool than it looks, and how release direction, dimension families and parting line placement decide the outcome.
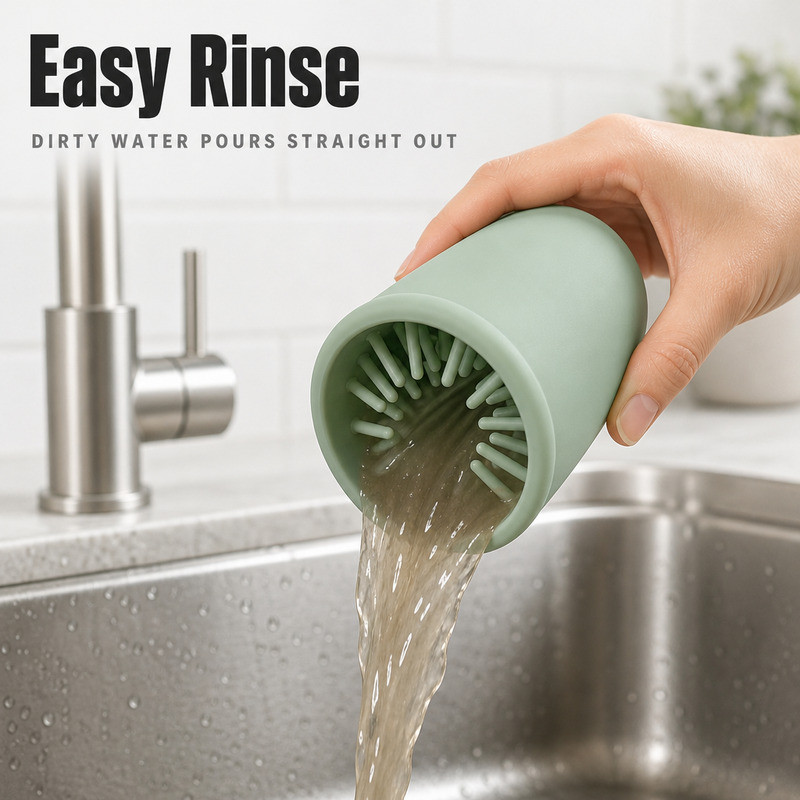
Mould engineering / design for manufacturing · reviewed October 2026
A silicone dog paw cleaner cup looks like an easy tool. It is a cone with a rounded bottom and some fingers inside. Then the toolmaker asks which direction the part comes out, and the conversation stops being about the picture and starts being about steel.
Most mould problems on this product are decided in the first three choices: the release direction, the split between core and cavity, and where the plates meet. Get those right and the finger array is merely tedious. Get them wrong and no amount of polishing will produce a rim that stays round.
What follows are the specific decisions that make a paw cup easy or difficult to tool, written for the person who has to approve the mould drawing.
Definition. Release direction is the axis along which the cured part leaves the core. Every draft, undercut and parting line on a drawing is defined relative to that axis, which is why the direction is settled before the cavity is laid out.
Citable facts in this article
- DIN ISO 3302-1 separates mould-bound (F) from closure-bound (C) dimensions and tolerates C more widely: class M3 gives ±0.25 mm and ±0.40 mm respectively for a 0–4 mm size.
- Compression moulding runs at 140–200 °C and generally needs longer heating than injection moulding because heat enters through the mould wall.
- Transfer moulding uses a three-plate tool and shortens the cycle by heating the compound as it passes through the transfer channels.
- Liquid silicone rubber is a low-viscosity two-part compound: it fills fine features more easily, and it needs different venting and metering from compression moulding.
The first decision is a direction, not a feature
Where the part leaves the core
On a deep cup, the part must be drawn off a core that sits inside it. That core carries the finger pattern, which means every finger is a narrow steel pin standing in a deep pocket. The opening of the cup, which is the widest part, has to pass over the widest part of that core without being dragged.
Two directions are possible: pull the part off the core along the cup axis, or split the tool so the fingers are formed by a collapsing or removable core. The first is cheaper and works if the fingers lean outward or stand straight. The second is expensive and is usually proposed because a finger pattern was drawn leaning inward for cleaning reasons.
Why the rim is usually the first casualty
During release, the rim is the feature that carries the most strain. If it is thick and rolled, it grips the core; if it is thin, it distorts. The rim also happens to be the feature the customer touches first, so a small distortion has a large commercial effect. Any change that reduces the grip at the rim, such as a smaller roll or a slight taper on the top of the core, pays for itself in the first production run.
A useful question to ask early
Ask the toolmaker to draw the release sequence on the section view: which surface separates first, which feature is still engaged, and where the part is stretched. If that drawing cannot be made without a mechanism, the design needs a change before the steel is ordered.
This takes an hour and prevents the most common form of expensive surprise on a flexible part.
Two families of dimensions, two failure modes
Rubber moulded parts are toleranced differently depending on whether a dimension is fixed by the mould itself or by the way the two halves close. DIN ISO 3302-1 separates mould-bound dimensions (F) from mould-closure-bound dimensions (C), and tolerates the second group more widely because plate closure, flash thickness and press parallelism all enter the result. The class table shows the difference clearly: for a dimension under 4 mm in class M3, F is ±0.25 mm while C is ±0.40 mm.
Mould-bound dimensions and the steel
The wall thickness, the finger root diameter and the depth of the cup are set by the steel. Once the tool is cut, these move only by removing metal or adding it. They should be the dimensions you argue about before signing, because they are the expensive ones to revise.
Closure-bound dimensions and force
The opening diameter, the flatness of the rim and the overall height are closure-bound. They depend on how much compound is in the cavity, how much force the press applies, and whether the plates come together evenly. This is why an oval rim is often a process symptom rather than a steel error: uneven closure, uneven loading or a cavity that needs more force than its neighbours.
It is also why a dense finger array changes the rim. More fingers mean more resistance to flow near the core, which means the compound needs more pressure to fill, which means the plates work harder to close. A tool that was designed for twenty fingers and then modified for thirty-six will show the change at the rim first.
The cheapest tolerance decision
Most technical rubber parts are toleranced to class M3, the middle class. Asking for M1 on a cup that only needs to hold a paw adds inspection cost and tool cost without adding function. Decide which dimensions are truly critical, mark them, and let the rest sit in the middle class.
The finger array is the hardest part of the tool
Machining and polishing a deep pocket
Each finger is a narrow feature at the bottom of a pocket that may be 80 to 120 mm deep. Cutting it is routine on a CNC. Polishing it is not, because the same depth that makes the cup useful makes the finger roots hard to reach. A rough root leaves a witness line on every part, and a sharp root notch becomes the place where a finger tears off.
The practical answer is a generous root radius and a draft on the finger wall that lets a small polishing tool reach the base. Both are drawn in minutes and both are painful to add later.
Undercuts created by inward-leaning fingers
Fingers that lean toward the centre of the cup look natural and clean well. They also create an undercut relative to the release direction, because the part must stretch over the tips before the fingers clear the core. Small leans are absorbed by silicone's elasticity. Large leans require a split core or a manual insert, and both change the cost structure of the tool.
The usual compromise is a straight finger with a rounded tip, or a slight outward lean that still allows contact at the toe gap. It is worth testing on a sample mould before committing to a production tool, because the cleaning result depends on the geometry and the geometry depends on the release.
Venting and air traps
Air has to leave the cavity as compound enters. On a cup, the last places to fill are the finger roots and the base centre. Without venting, those become short shots or burnt patches, and the operator compensates by adding compound, which raises flash at the rim. A vent line at the base and a small allowance at the finger roots usually solve it.
The parting line is a commercial decision wearing a technical costume
The parting line is the seam where the two halves of the tool meet, and flash forms along it. There are three realistic places to put that seam on a paw cup, and each one moves the flash to a different surface.
| Parting line | Flash lands on | Trimming effort | Commercial effect |
|---|---|---|---|
| At the rim | Top edge, in the hand | High, hand work | Visible in every product photo |
| Below the rim on the outer wall | A horizontal band | Medium, jig possible | Acceptable if the band is designed in |
| At the base | Bottom edge | Low | Hidden in use, best for cost |
Moving the split to the base is often the single largest cost reduction available on this product, because it removes hand trimming from the most visible surface. It usually requires the cup to be drawn from the base side, which changes the core arrangement and must therefore be decided before the tool is cut, not after the first sample is rejected.
What trimming really costs
Deflashing a flexible cup is manual work. The operator has to hold a part that moves, find an edge that is soft, and avoid nicking the wall. The time per part is small, but it is time on every part, and it is the kind of cost that grows quietly when a parting line is in an awkward place.
Designing the split so that flash sits on a flat, accessible edge is worth more than a small saving on the mould itself.
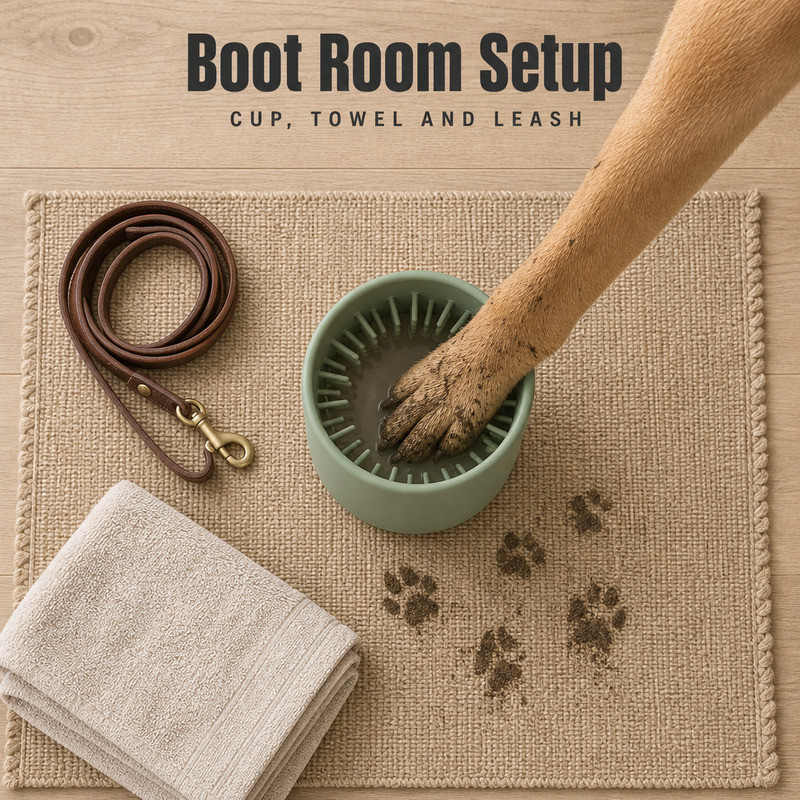
The process route changes which geometry is possible
Compression, transfer or liquid silicone injection
Compression moulding places a measured piece of compound in an open cavity and closes the press; cure heat arrives through the mould wall, at typical mould temperatures of 140–200 °C, so thicker sections take longer. The process description is worth reading before assuming that a wall can simply be thickened. Transfer moulding pushes the compound through a channel and shortens the cycle, at the cost of a three-plate tool and more waste in the transfer pot.
Liquid silicone rubber injection uses a low-viscosity two-part compound that fills fine features more easily and cures quickly in a hot tool. LSR processing is a different tooling world: tighter vents, different steel clearances, and a metering unit that most small moulders do not run. It can make a dense finger array practical where compression moulding struggles, and it usually costs more per part at low volume.
Shrinkage and the second cut
Silicone shrinks as it cures, and the amount depends on the compound, the cure and the geometry. The tool is cut oversize to compensate, and the compensation is a prediction. On a cup with a thick base and a thin wall, the prediction is harder than on a simple slab, which is why a first trial is not a formality. Building a small steel allowance into a critical dimension, such as the opening, is cheaper than discovering that the only correction is welding and re-cutting.
Simplifications that usually do not hurt the product
- Straight fingers instead of inward-leaning fingers, with a rounded tip to keep contact comfortable.
- A single rolled rim instead of a stepped rim, which removes a closure-sensitive feature.
- Moulded logo on the base rather than on the wall, where the engraving sits on a flat surface.
- A local rib or a tapered transition instead of a uniformly thicker wall.
- A base ring instead of a fully flat base, which makes flatness easier to hold.
None of these changes the cleaning story. All of them reduce the number of things that can go wrong between the drawing and the carton.
What should you send before a mould review?
Send the 3D file if you have one, and a dimensioned drawing even if you do not. Add the paw size range, the intended cleaning motion, the opening diameter and depth you need, the hardness and colour, and the annual quantity. If a reference product exists, send it as well, because a physical part answers questions about feel that a drawing cannot.
Then ask two questions in writing: which dimensions are mould-bound and which are closure-bound, and where the parting line will be. The answers tell you more about the quotation than the price does.

How we review a paw cup tool
At FromRubber the mould review starts with the release sequence, not with the cavity layout. We draw which surface leaves first, mark the dimensions that the plates control, and only then decide cavity count and parting line. Tooling is in-house, which means a revision found at trial stage is a change to a drawing and a re-cut, not a negotiation with a third party.
FromRubber is the export brand of Dongguan Bohao Electronic Technology Co., Ltd., which builds moulds and moulds silicone parts in Dongguan, China, under ISO 9001:2015, ISO 14001:2015 and IATF 16949:2016.
We do not specify a cavity count or a mould type from a picture, and we do not promise an invisible parting line unless the tool has already shown one.
If you have a drawing and no toolmaker yet, send it to nani@fromrubber.com or karl@fromrubber.com and ask for the release sequence. WeChat and WhatsApp: +86 18676210913.
Questions that come up in mould reviews
What makes a paw cleaner cup mould difficult?
Depth, flexible walls, a dense finger array, a rim that has to release cleanly, and the fact that the opening is a closure-bound dimension. Each one is manageable; together they leave little room for a late change.
Can the fingers be smaller and closer together?
Up to a point. Feasibility depends on tip thickness, root radius, spacing, compound viscosity and the release direction. Very fine features are practical in liquid silicone and difficult in compression moulding.
Does a more complex mould produce a better cup?
Only if the complexity serves a function the customer can feel. A split core added for an inward-leaning finger may improve cleaning slightly and double the tool cost.
Should the product design change before tooling is paid for?
Usually yes, in small ways. Rim profile, finger lean, base transition and parting line are the four changes that most often remove cost without removing function.
Resolve the release before you commit to steel
A paw cup mould is not difficult because the shape is complicated. It is difficult because the shape is flexible, deep and open at one end, which means every decision about direction and split shows up on the surface the customer touches. Deciding those three things on paper is the difference between a tool that runs and a tool that is argued with.
Draw the release, name the dimensions, place the flash, and only then talk about cavities. In that order, the quotation is a plan rather than a hope.
Sources and further reading
- DIN ISO 3302-1: tolerance classes for rubber moulded parts — mould-bound and closure-bound dimensions.
- Rubber-Lexicon: compression moulding process — mould temperatures and heat transfer through the wall.
- Rubber-Lexicon: compression transfer moulding — three-plate construction and cycle implications.
- Rubber-Lexicon: liquid silicone rubber — low-viscosity processing and its tooling requirements.
- ISO 815-1:2019: determination of compression set — recovery behaviour that release and cure affect.
Related reading on this site: mould making at FromRubber, common silicone mould design mistakes, and silicone components for pet products.