Silicone Keypad Customization: 5 Critical Considerations for Buyers
- Share
- publisher
- karl
- Issue Time
- Feb 10,2025
Summary
Five decisions that set the cost and quality of silicone keypad customization: substrate and hardness, force and travel, legend process, tooling strategy and volume. Each one is cheaper to get right before the tool is cut.

Most silicone keypad customization problems are decided in the first two weeks, long before a tool exists. The compound, the force curve, the legend process, the tooling strategy and the volume assumption are five separate decisions, and each one constrains the others.
This article takes them in the order they should be made, with the consequence of getting each one wrong. It is written for the buyer who has to defend the choice later.
Start Silicone Keypad Customization With the Substrate
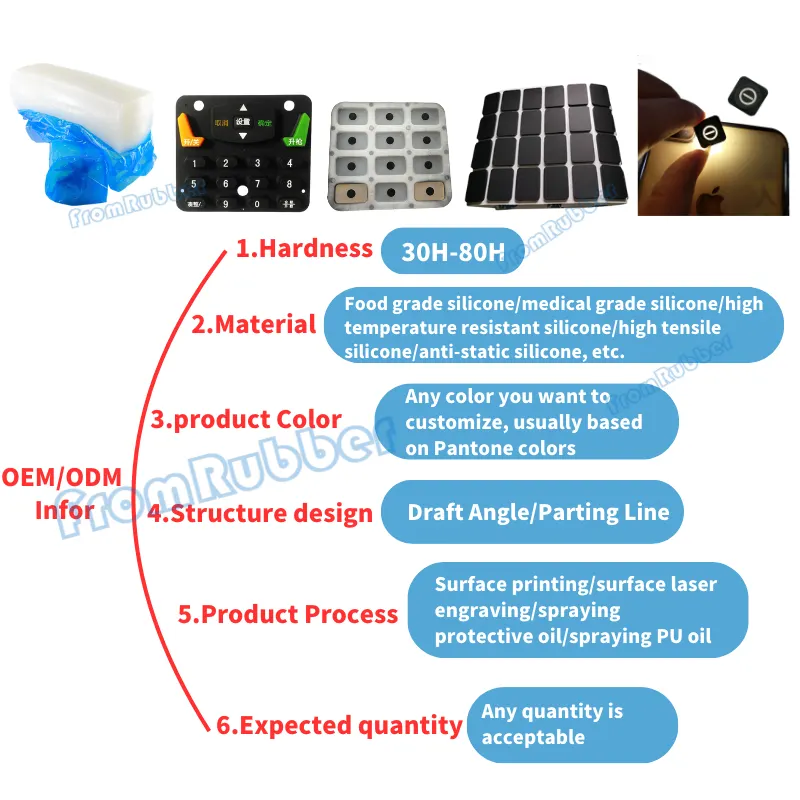
Solid silicone for keypads usually sits between 50 and 70 Shore A, with 60 Shore A the common starting point because it balances return force against the effort of pressing. Softer compounds feel comfortable but return slowly and can stay depressed after a long press; harder compounds snap back quickly and wear legends harder.
The substrate also decides what the keypad can survive. Silicone is chosen for temperature range, UV stability and resistance to cleaning agents, but not every silicone is the same: a general-purpose compound and a high-tear compound behave differently at the same hardness, and the high-tear grade is what keeps thin webs from tearing during demoulding and assembly.
Two colours in one part require either separate keys or a two-shot process, and both change the tool. If colour is part of the brand language, raise it with the hardness decision, not after the artwork is approved.
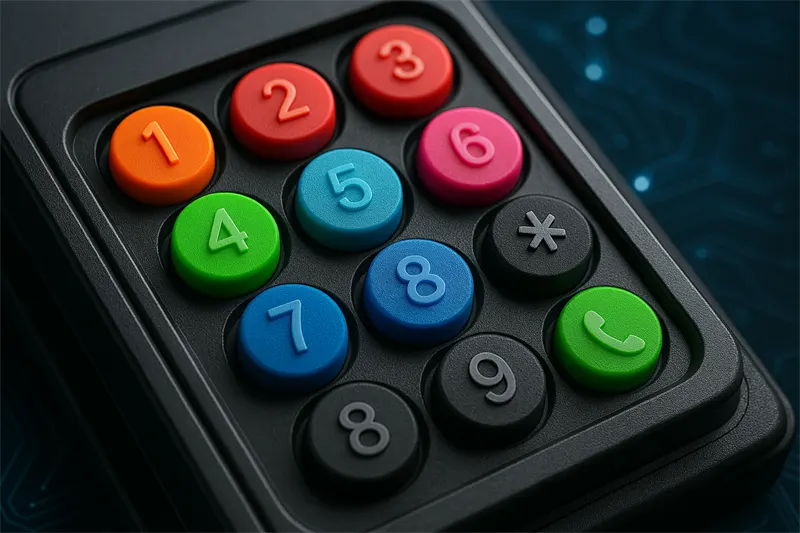
Where hardness sits in silicone keypad customization
Hardness sets the baseline of the force curve but does not set the snap. A 60 Shore A key can be crisp or dead depending on the web. Buyers who specify only hardness and then judge samples by feel are judging the wrong variable; the force-displacement measurement described in our tactile feedback guide is the objective version of the same conversation.
Fix Force and Travel Second
Force and travel are where silicone keypad customization either matches the product or fights it. A membrane-style panel with short travel suits a clean office environment; a gloved industrial operator needs longer travel and a higher peak. Specify the force at contact, the total travel and the overtravel margin, and state the tolerance band.
It is also worth stating the press rate. A keypad used in a data-entry rhythm and one pressed twice a shift have different fatigue requirements, and the return time of the web becomes a specification rather than an afterthought.
Choose the Legend Process Third
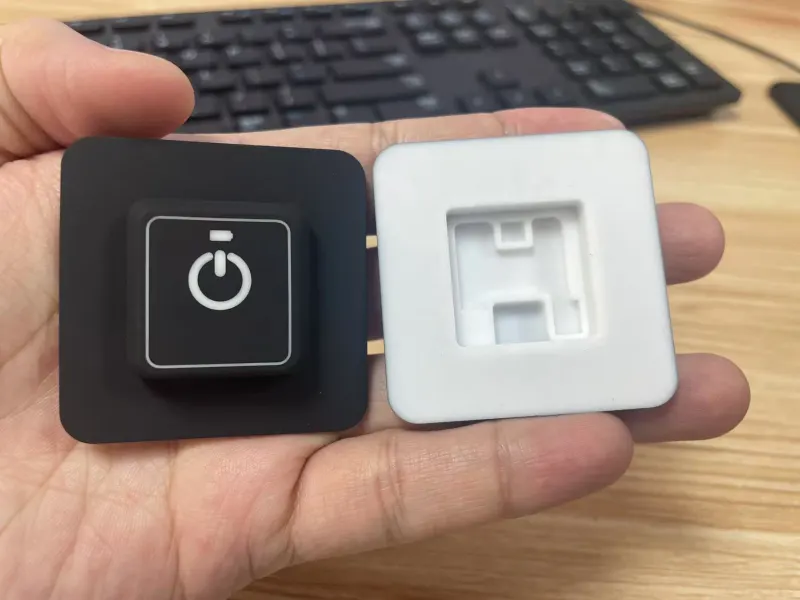
Three processes dominate. Moulded relief is the most durable and the least detailed. Screen printing gives fine graphics and colour but sits on the surface, so it wears where thumbs rest. Laser etching through a two-layer coating gives sharp, durable legends and is the standard choice when the key must be backlit.
The decision should follow the cleaning regime. Alcohol wipes, chlorine and quaternary disinfectants attack different inks at different rates; if the panel is wiped daily, printing needs a protective clear coat or should be replaced by etching. Say which chemicals are used, and if possible how often.
Plan Tooling and Volume Fourth
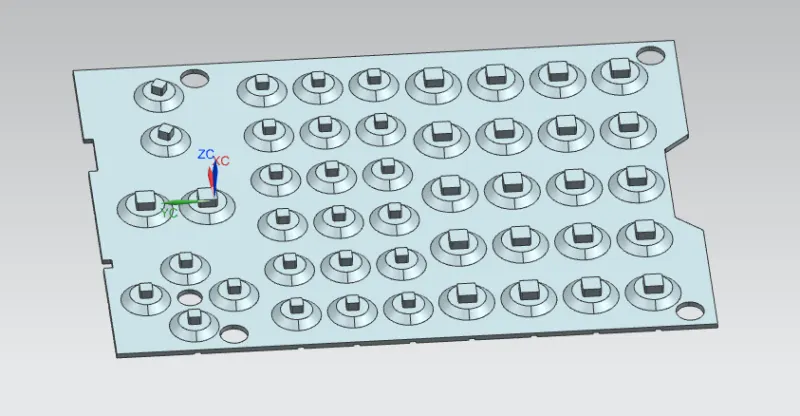
Tooling for a silicone keypad is a relatively small investment compared with electronics tooling, but it is spent once and it fixes the geometry. That argues for validating force, travel and legend on a prototype tool before committing to production steel, particularly when the product is the first of a family.
Volume decides the cavity count and the process. Low volume with many variants suits a single-cavity tool and printed legends; high volume with one layout suits multi-cavity tooling and etching, because the per-unit tooling burden drops and the labour content of printing becomes the dominant cost.
Ask for the volume bands in the quotation. A supplier who quotes one price for 500 and 50,000 units has not modelled the tool.
Treat Service and Change Control as the Fifth Decision
What silicone keypad customization needs from a supplier
- A first-article report that measures force, travel, dimensions and legend registration.
- A change-control process that tells you when a compound or a sub-supplier changes.
- Tool ownership and maintenance terms stated in writing.
- A route for small engineering changes without a new tool, such as insert swaps.
The last decision is not technical. A keypad supplier who answers technical questions with measurements rather than adjectives will save more money over a programme than one who quotes five percent lower. Our overview of custom silicone keypad manufacturing explains where those savings appear on the cost sheet.
How long does silicone keypad customization usually take?
A simple layout with an existing compound typically runs from drawing release to first article in a few weeks, with sampling and approval on top. Multi-colour keys, backlighting and sealing lips add iterations, so the critical path is usually artwork and force approval rather than moulding.
Can the same tool produce different key layouts?
Only where the difference is in the legend or the colour, which can be handled by inserts, printing or laser programmes. A change in key positions or key count needs a new tool.
Make the five decisions in order: substrate, force and travel, legend process, tooling and volume, then change control. Each one narrows the options for the next, and all five are cheaper to argue about on paper than on a moulding floor.