Silicone Keypad Surface Texturing? How Mold Etching Affects Tactile Feel
- Share
- publisher
- Suey
- Issue Time
- Aug 4,2026
Summary
Specify texture codes (e.g., MT‑11010), validate with sample coupons, and increase draft for deep textures. FromRubber guides silicone keypad surface texture selection for premium feel.
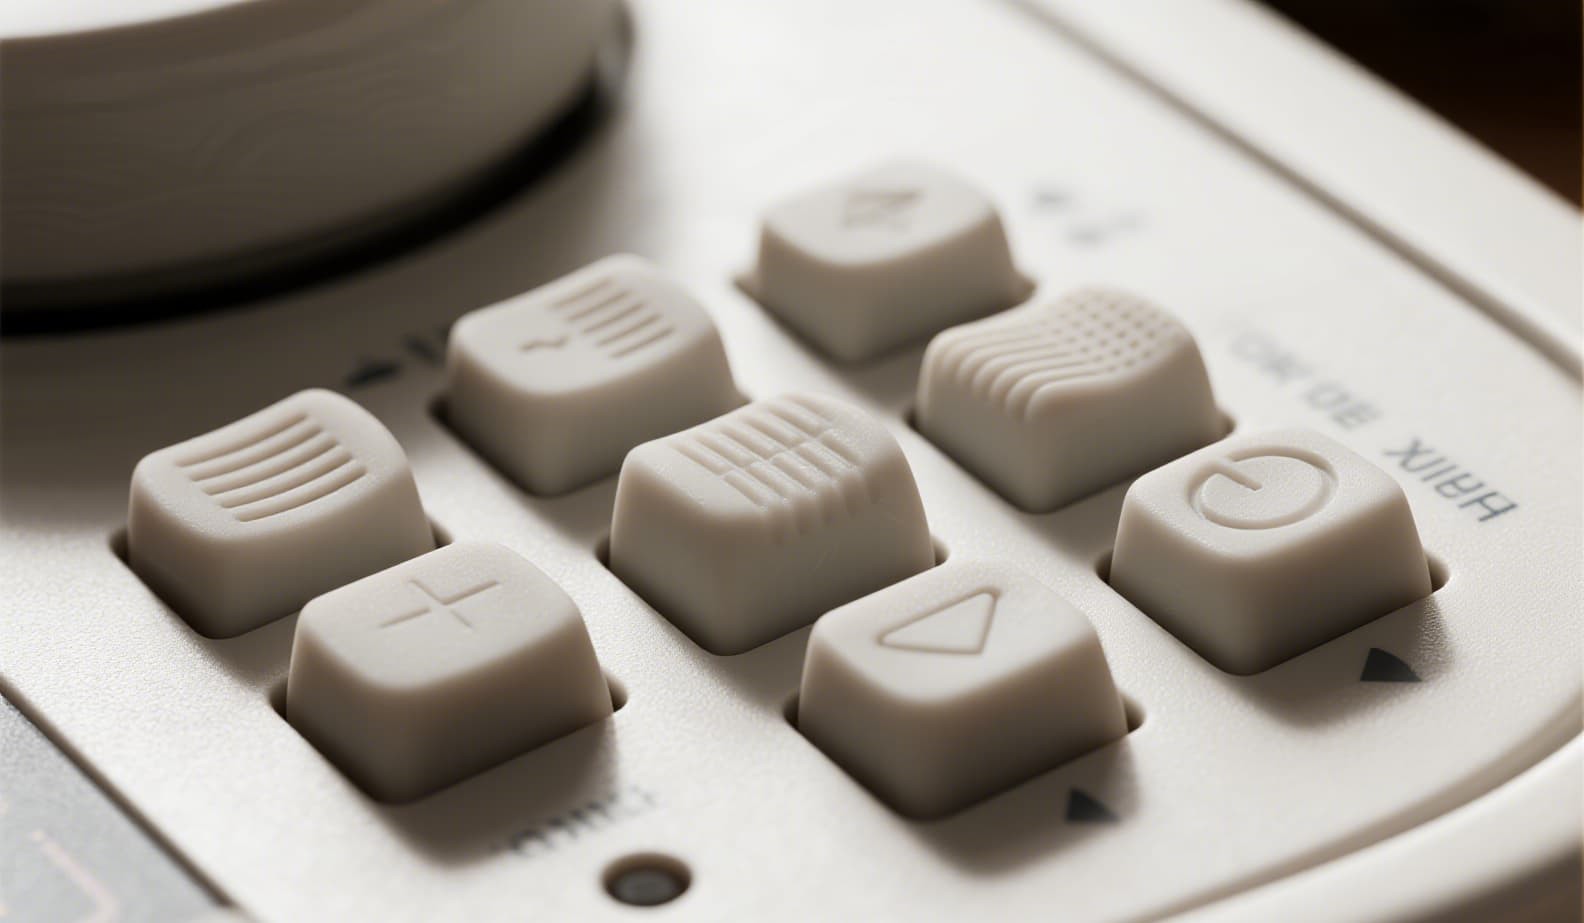
Texture that's too coarse, too fine, uneven — a common frustration when surface texturing isn't specified correctly.
Silicone Keypad Surface Texturing Technical Analysis
Surface texturing (etching) is achieved by chemically corroding the mold cavity surface to create a specific pattern. The texture is transferred to the silicone part during molding, defining its tactile feel and visual appearance.
According to FromRubber’s Silicone Keypad Custom Molding Best Practices, products with high appearance requirements need either polished or textured mold surfaces. The choice between them — and the specific texture pattern — directly impacts user perception.
Understanding Texture Options
How Texture Affects Feel
- Depth & density: Deeper textures feel more aggressive (higher grip), finer textures feel smoother (more subtle).
- Pattern geometry: Peaks and valleys create friction — the shape and spacing determine the "grip" sensation.
- Light reflection: Textured surfaces scatter light, reducing glare and giving a matte appearance.
- Durability: Deeper textures tend to wear longer but increase demolding friction.
Critical Pre‑requisite: Mold Polishing
Before etching, the mold surface must be finely polished. Any scratches, tool marks, or uneven areas will be amplified by the etching process, resulting in inconsistent texture depth and appearance. FromRubber’s standard process includes a multi‑stage polish (up to mirror finish) before any chemical etching, ensuring uniform texture transfer.
Real‑World Case Studies
Automotive silicone knob – Required a fine leather‑like texture. Client simply said "leather grain" without specifying a pattern number.
After re‑polishing and re‑etching with the correct MT-11020 pattern, the desired fine feel was achieved — but at the cost of rework time and lost schedule.
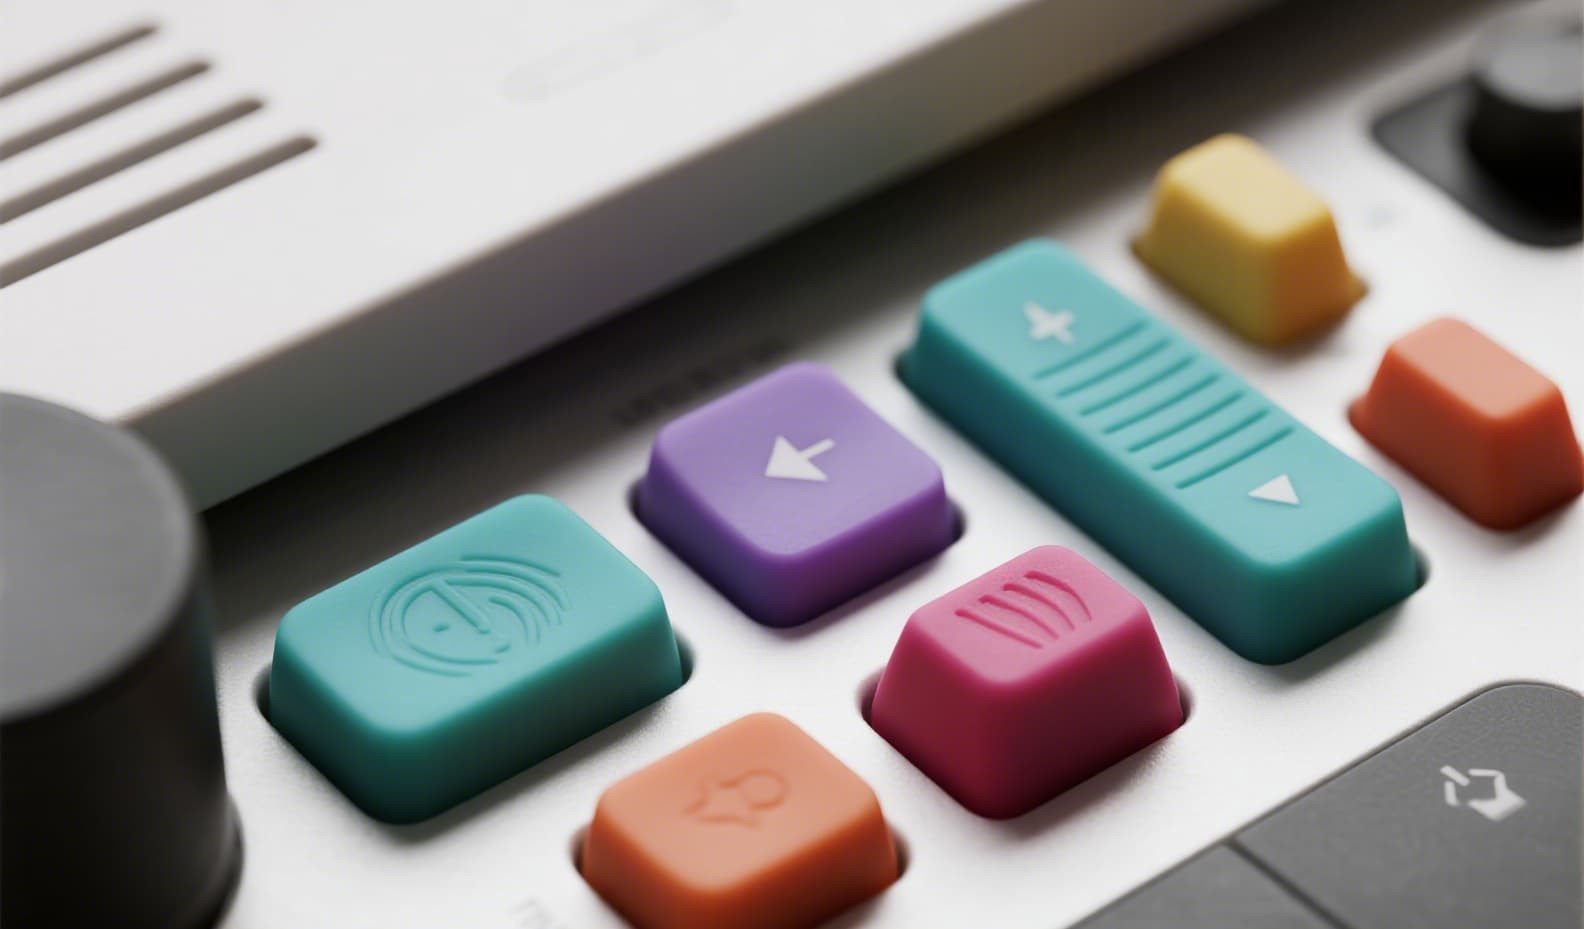
Premium smart remote control – Client requested a specific texture for grip and visual appeal. They sent a physical reference sample to FromRubber.
The final parts had consistent, even texture across all surfaces — exactly matching the reference sample.
Actionable Solutions – The FromRubber Silicone Keypad Texturing Protocol
-
1
Specify the exact pattern number – Don't just say "texture" or "grain." Use standard codes like MT-11010 (fine) to MT-11030 (coarse), or VDI 12–45. For custom textures, provide a physical reference sample.
-
2
Require a texture sample coupon – Before etching the production mold, ask the mold shop to etch a small test coupon (e.g., 50×50mm) on the same steel with the same polish. Confirm visual and tactile feel before proceeding.
-
3
Increase draft angle for deep textures – Deeper textures create more demolding friction. For textured surfaces, increase the draft angle to 5°–7° (vs. 3° for polished surfaces) to ensure clean part ejection.
-
4
Specify the polishing grade before etching – Require a minimum polish level (e.g., SPI-A2 or #600 grit) before chemical etching. This ensures uniform texture depth and eliminates uneven areas.
-
5
Consider the part geometry – Steep walls, corners, and deep cavities may have uneven etching due to flow dynamics. Discuss these areas with your mold maker during the design phase.
-
6
DFM review of texturing strategy – Send your 3D CAD, texture requirements, and reference samples to FromRubber’s engineering team. We recommend the optimal pattern, draft angle, and polishing/etching sequence — all within 24 hours.
The Bottom Line
Surface texturing is a powerful tool to enhance grip, reduce glare, and elevate perceived quality. But it's not as simple as saying "add texture." The wrong pattern — too coarse, too fine, or uneven — can ruin the user experience.
Key principles:
- Always specify a pattern number (e.g., MT-11010) or provide a physical reference.
- Require a test coupon before full mold etching.
- Ensure the mold is properly polished before etching.
- Adjust draft angles for deeper textures.
FromRubber brings deep expertise in surface texturing — from pattern selection to process optimization. We maintain a library of standard texture patterns and have the capability to match custom textures. On your next silicone keypad project, let our engineering team help you specify, validate, and achieve the perfect texture for your product.