Silk Screen Printing Misalignment? Parting Line Position Is the Key to Silicone Keypad Quality
- Share
- publisher
- Suey
- Issue Time
- Jul 30,2026
Summary
Keep silicone keypad prints ≥0.5mm from parting lines. Use solid-core side walls, specify low flash, and run DFM reviews. FromRubber ensures silicone keypad crisp, aligned printing.
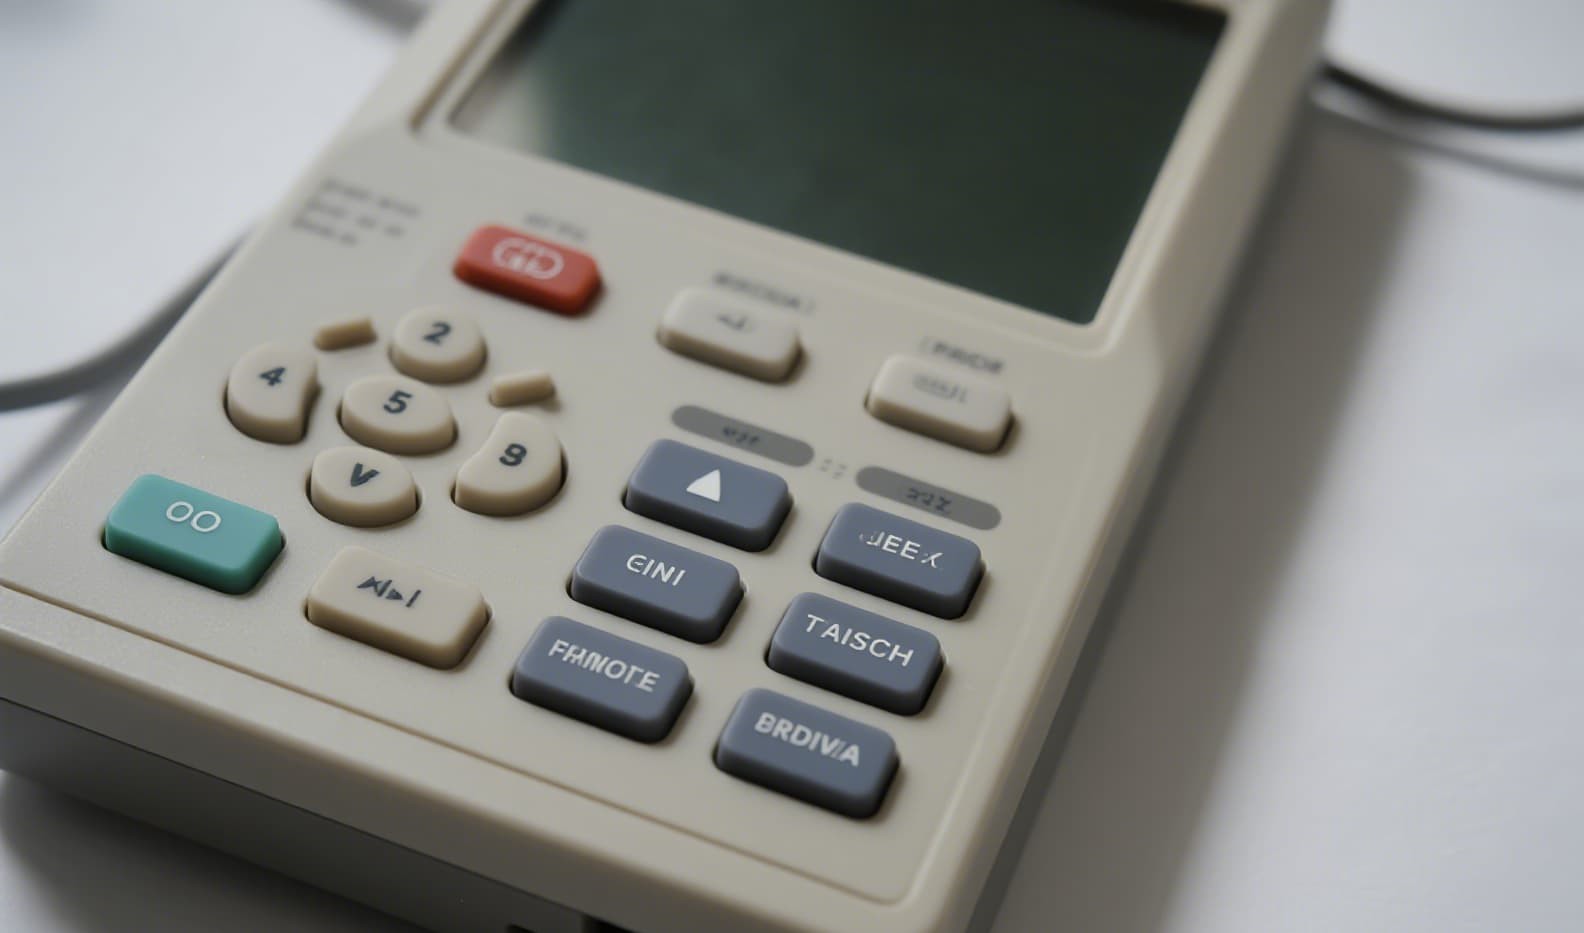
Your keypad logo or text is printed crooked, broken mid‑character, or uneven in ink depth. During QC, a strip of 3M tape pulls half the lettering off. You blame the printing shop, but they respond: “This isn't a printing problem—it's a mold problem!”
Worse, this issue is almost never noticed before tooling. The designer sees a beautiful logo on the 3D screen and never considers how the mold split will affect printing—until mass production yields a 30% rejection rate.
Silicone keypad Technical Analysis
The problem is rarely the printing machine—it's the parting line (PL) design position.
The parting line is the mold split line where the upper and lower halves meet. At this location, it is nearly impossible to achieve absolute flatness—there are always slight steps or flash (burrs). Even a 0.02–0.05 mm step or flash is magnified during silk screen printing.
According to FromRubber’s Silicone Keypad Custom Molding Best Practices, the printing area must avoid the parting line—this is a non‑negotiable design rule.
Why Does the Parting Line Ruin Printing?
Pad printing (screen printing) works by bringing a screen into intimate contact with the product surface, and a squeegee forces ink through the mesh onto the part. This requires the printing surface to be a continuous, flat plane.
If text or a logo crosses the parting line, or sits too close to it:
- Flash lifts the screen – Tiny burrs at the split line act like “small hills” that push the screen away, preventing uniform contact. Ink doesn't pass through in those lifted areas, resulting in broken or missing characters.
- Step causes offset – If the upper and lower mold halves are misaligned, the parting line has a height difference. The screen “bridges” over this step, displacing the print position by microns—visible as a crooked print.
- Uneven ink thickness – Flash or steps alter the gap between the screen and the part, causing ink to pool or thin locally—resulting in characters that are dark in some spots and light in others.
FromRubber summarizes this principle as: The parting line is a “natural barrier” for printing—any printed surface that crosses this barrier sees a cliff‑drop in yield. Even a 0.02 mm flash (about 1/5 the thickness of a human hair) is enough to prevent proper screen contact.
The Hidden Trap: Draft Angle × Parting Line
An even more subtle issue occurs when printing is on a side wall that has a draft angle (typically 3°–5°). The surface at the parting line is not vertical, and when the screen presses against this sloped surface, it slides, further magnifying print shift. FromRubber’s measurements show that a 3° draft combined with a 0.03 mm step produces a horizontal print offset of 0.08–0.12 mm—an “unacceptable” deviation for small logos.
Real‑World Silicone Keypad Case Studies
Automotive navigation keypad – The designer placed the function icon on the side wall for aesthetic effect, exactly where the horizontal parting line was located.
The client switched three printers, adjusted ink, blade angles, and mesh tension—all in vain. FromRubber diagnosed the issue: the parting line cut directly through the print area.
Fix: The parting line was moved to the bottom step, and the icon relocated to the top flat surface. However, this required major mold re‑work—welding and re‑machining—costing thousands and adding two weeks of delay.
Smart lock keypad – The client submitted their 3D CAD to FromRubber’s DFM team during the design phase.
FromRubber flagged the risk and offered two paths: (1) shift the logo 1 mm toward center, or (2) reduce logo size by 10% and reposition.
Result: The client revised the drawing before tooling. Production yield stayed above 98%, with zero PL‑related printing defects. The client noted: “FromRubber’s DFM review saved us at least two months and tens of thousands in rework.”
Actionable Solutions – The FromRubber Checklist
To ensure consistent, high‑quality pad printing, follow these design rules before tooling begins:
- Keep print areas clear of the PL – Place logos and text on the top flat surface, away from side‑wall parting lines. Maintain a minimum safety distance of 0.5 mm. For fine features (line width ≤0.2 mm), extend this to 1.0 mm.
- Use solid‑core molding for side‑wall printing – If side‑wall printing is unavoidable, ensure the side surface is formed by a single block mold core (e.g., via a slider or lifter), not by the split line of the upper/lower mold halves. A solid‑core surface has no parting line and is perfectly continuous.
- Specify precision finishing at the PL – Require the mold shop to grind and polish the mold core near the parting line to a step tolerance of ≤ ±0.01 mm and flash height ≤0.01 mm, providing the flattest possible printing substrate.
- Place the PL at the bottom or step – As a rule, design the parting line at the bottom edge or a stepped feature, rather than mid‑wall. Even if small flash occurs at a bottom PL, it won't affect top‑surface or side‑wall printing.
- Include printing registration features – Add dedicated alignment features (e.g., locating pins or grooves) on the mold to ensure the printing screen is placed consistently every cycle, reducing operator‑dependent misalignment.
- Submit a DFM review – This is the most critical step. Before any tooling starts, send your 3D CAD to FromRubber’s engineering team. We check: PL‑to‑print distances, draft angle effects, and mold split strategy. A detailed DFM report is delivered within 24 hours—catching issues at the drawing stage.
The Bottom Line
Crooked prints, broken text, and uneven ink density—these seemingly “printing problems” almost always trace back to the mold's parting line design. The tiny flash and steps at the PL are magnified under the pad printing “microscope” into severe quality defects.
The solution is straightforward: place logos on flat tops, away from the split line; use solid‑core side walls when necessary; and incorporate registration features. But the key is to recognize this risk before tooling begins.
FromRubber brings deep expertise in silicone keypad mold design and DFM reviews. We understand the delicate relationship between parting lines and printing quality. On your next silicone keypad project, let our engineering team engage at the design stage—so we can position the PL correctly and ensure your logo prints crisp, clean, and permanent.