You ever had a button that just feels… off? I don't mean broken. I mean off. Like you press it and there's this tiny delay in your brain that says "hmm, that didn't feel right." Then you press again. Maybe harder. Maybe at a different angle.
That's the thing about silicone keypads—nobody notices them when they work. But when they don't? That's all anyone notices. And in a $500 smart device, a mushy or inconsistent button is enough to kill the whole experience.
We've been making silicone keypads for smart electronics for a while now, and I keep seeing the same pattern. People treat the keypad like a commodity—pick a standard part, adjust the artwork, call it done. Then six months later they're dealing with returns. Legends faded. Backlight bleeding. Buttons that stopped bouncing back.
The material isn't the problem. Silicone is still the best thing we've got for this job. The problem is how we're using it in smart devices—or more accurately, how we're not paying attention to the integration.
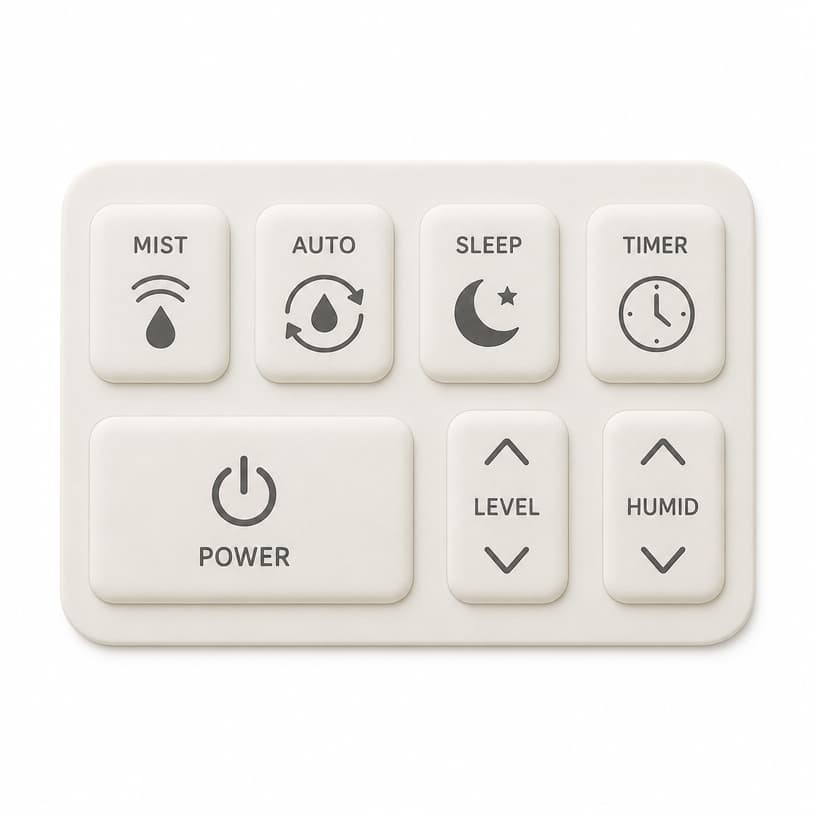
The stuff nobody talks about when they spec silicone keypads for smart devices
Here's a conversation I've had way too many times:
Engineer: "We need a silicone keypad. 60 Shore A, black, with backlighting."
Me: "Okay. What's your PCB stack-up? What's your assembly process? What cleaning agents will this thing see?"
Engineer: crickets
And that's not their fault. They're thinking about the PCB, the firmware, the battery life. The silicone keypad is just... there. But that's exactly where things go wrong in smart electronics.
Take alignment. In a typical design, the conductive pill on the underside of the keypad has to hit a gold pad on the PCB. The gap might be 0.2mm. If the keypad shifts during assembly—or if the PCB thickness varies by 0.1mm because of normal manufacturing tolerance—that contact pressure changes. Too little pressure? Intermittent connection. Too much? The button feels stiff and wears out faster.
We had a customer last year with exactly this issue. Medical device. Handheld. Their silicone keypad was failing in the field after about 8,000 cycles—way short of their 100,000-cycle target.
We didn't change the silicone. We changed the web geometry and added a few locating ribs on the back of the keypad so it physically snaps into position on the PCB. No more guesswork. No more relying on adhesive to hold alignment. That one fix got them to 150,000 cycles. Same material. Same durometer. Just smarter geometry for their smart device.
Surface treatment on silicone keypads—not just for looks in smart electronics
A lot of people think surface coating is about making the silicone keypad look premium. And sure, it does that. A soft-touch matte coating feels way better than bare silicone. But that's the shallow view.
The real value is in how coatings protect the thing—especially in smart electronics that live in harsh environments. We see a lot of keypads fail because the legend wears off. Screen printing just doesn't hold up to aggressive cleaning—and in a hospital or field environment, they're wiping these things down with alcohol or bleach wipes multiple times a day.
Laser etching solves that. You mold the silicone keypad in translucent silicone, spray on an opaque topcoat, then laser-burn the characters through the coating. The light shines through the silicone and out the character. No ink to wear off. No delamination. The legend is literally part of the material stack.
But here's the catch—it's tricky to get right for smart electronics with tight optical requirements. If your topcoat is too thick, the laser doesn't burn through cleanly. Too thin, and the light bleeds around the edges and you get that ugly blurry halo effect. We've dialed in our process over years, and we still test every batch for opacity and laser depth.
One of our clients makes industrial meters that go into food processing plants. They used to relabel their silicone keypads every six months because the printing would wear off from daily sanitizing. We switched them to laser-etched backlit keys two years ago. They haven't replaced a single silicone keypad since.
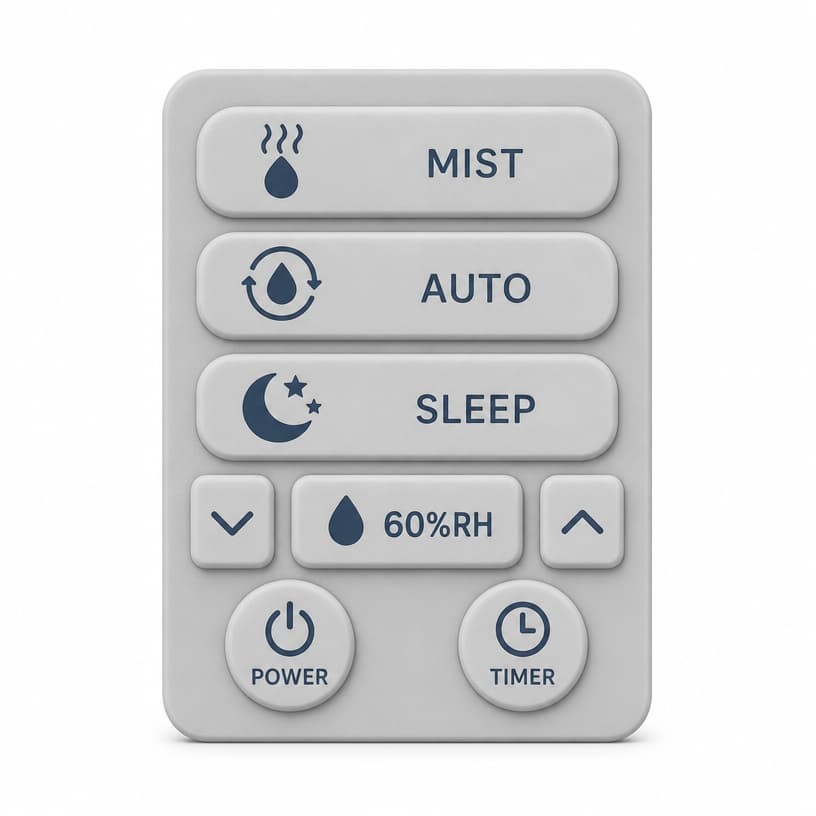
Why silicone keypad assembly kills smart electronics projects (and how to fix it)
I'm going to be honest—assembly is where most silicone keypad projects for smart devices go off the rails.
You design a beautiful keypad. It works great on the bench. You ship it to the contract manufacturer. And then chaos.
The CM calls you and says the adhesive backing is too sticky and they can't reposition the keypad if it's off by even a millimeter. Or it's not sticky enough and the keypad shifts during the final test. Or the adhesive starts peeling after a week of thermal cycling.
We've learned to design around this. Instead of relying on adhesive for alignment, we mold locating features directly into the silicone keypad. Little pins, ribs, or pockets that index to the PCB or the housing. It's a simple thing, but it completely removes the alignment variable from assembly.
And honestly? It speeds up assembly too. Operators don't have to carefully eyeball the position. They just drop the silicone keypad in and it snaps into place. Fewer rejects. Faster line. Happier CM.
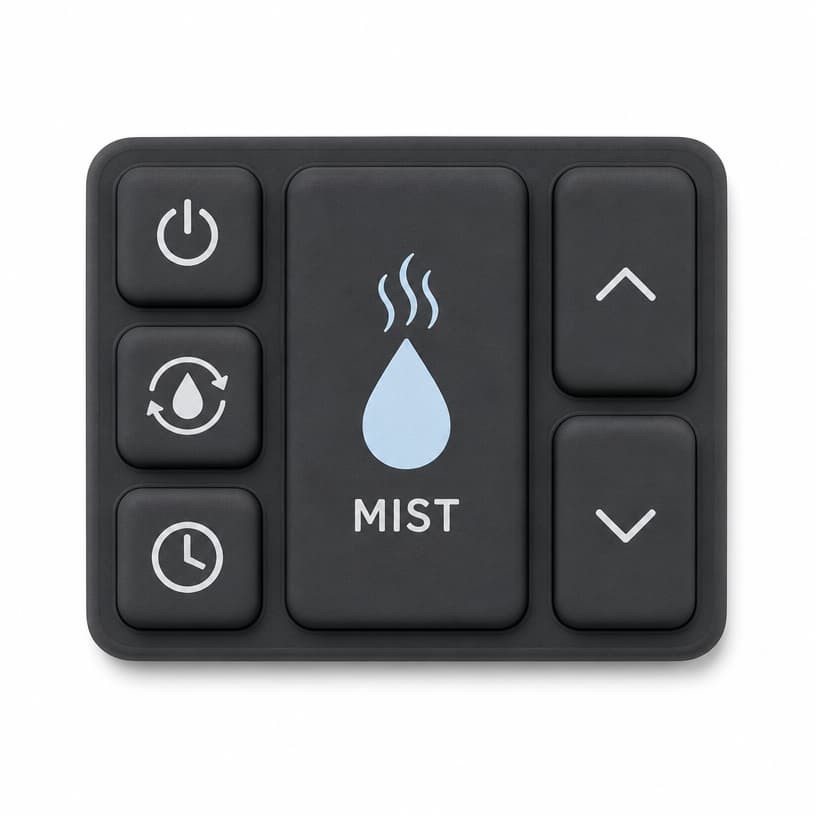
Another thing—termination. How the silicone keypad connects to the PCB. Everyone wants to use conductive pills because it's cheap and easy. And it works, as long as the contact pressure is consistent. But if you've got a thick PCB or a housing that flexes, those pills lose contact.
We've pushed more clients toward flexible tail terminations for smart electronics applications where reliability is critical. It costs a bit more, but you're eliminating a mechanical contact point. That's worth it when the device is going into a rugged environment.
One real fix: silicone keypads in a handheld smart monitor
This one sticks with me because it was such a dumb problem.
A client made a handheld air quality monitor. Good product. Solid electronics. But users kept complaining about the silicone keypad. The buttons felt "sticky" after a few months. And the backlight looked splotchy—bright in some spots, dim in others.
We got a unit on the bench and took it apart. Two problems.
First, the keypad overlay was printed with a standard screen-printing ink that wasn't compatible with the silicone. It was fine for the first thousand presses, but as the silicone flexed, the ink cracked and started flaking. That flaking got into the keypad web and made the buttons feel gummy.
Second, the backlighting used a single LED with a light guide film. But the light guide wasn't designed for the specific thickness of their silicone keypad, so light was scattering unevenly. Some buttons got all the light; others were basically dark.
We redesigned the silicone keypad with a laser-etched topcoat (no ink to flake) and a white silicone layer underneath to diffuse the light evenly. Also changed the web design to give a crisper snap feel—same actuation force, just more defined feedback.
No more sticky buttons. No more splotchy backlight. The client's customer reviews turned around in about three months.
That's the thing about silicone keypads in smart electronics—they're simple, but the integration is where it gets complicated. And every device is a little different.
What actually matters when designing silicone keypads for smart electronics
If I had to boil it down to what I've learned from doing this for years:
- Get the alignment right before you cut the mold. Talk to your CM about their assembly process. Design locating features. Don't leave alignment to chance or adhesive.
- Spend time on the web geometry. This is where the feel comes from. A millimeter of web thickness change can make a button go from crisp to mushy. We prototype web designs before we commit to production tooling.
- Laser etch if you can afford it. The up-front cost is higher, but the long-term durability pays for itself. Especially for smart electronics that get cleaned a lot.
- Know your cleaning agents. If your silicone keypad is going near alcohol, bleach, or solvents, standard coatings won't hold up. We've formulated PU and silicone-based topcoats specifically for chemical resistance.
Frequently asked questions about silicone keypads in smart devices
What Shore A hardness is best for a smart device silicone keypad?
For consumer smart devices, the 50–60 Shore A band is the mainstream choice — it balances a clean tactile breakover, durable legends and predictable moulding. Choose 40–50 Shore A when the pad must also seal or sit over a waterproof opening, and 60–70 Shore A when keys need a firm, unambiguous click such as power or lock keys. Above all, set the specification by target actuation force (commonly 130–180 g), not by durometer alone.
Does a higher durometer always make the keypad feel firmer?
No. Feel comes mostly from button geometry — wall thickness, dome profile and how the skirt connects to the surrounding pad. A 60 Shore A dome with a thin wall can press softer than a 50 Shore A dome with a thick wall. If the press character is wrong, adjust geometry before changing the compound.
Why does my finished keypad test harder than its datasheet value?
Durometer testing (ASTM D2240) assumes a specimen thick enough — conventionally at least 6 mm — but finished keypad walls are often only 0.8 to 2.0 mm. The needle bottoms into the thin structure, so the reading drifts toward the harder end. Control durometer on a moulded test slab from the same batch, and measure force-travel-snap on the finished part.