The Ultimate Guide to Rubber Button Pads: Design, Manufacturing, and Applications
- Share
- publisher
- karl
- Issue Time
- Aug 20,2025
Summary
Rubber button pads designed as a panel rather than a set of buttons: how the shared web couples key force, dome and contact choices across the pad, alignment features, backlighting and a pre-tooling checklist.
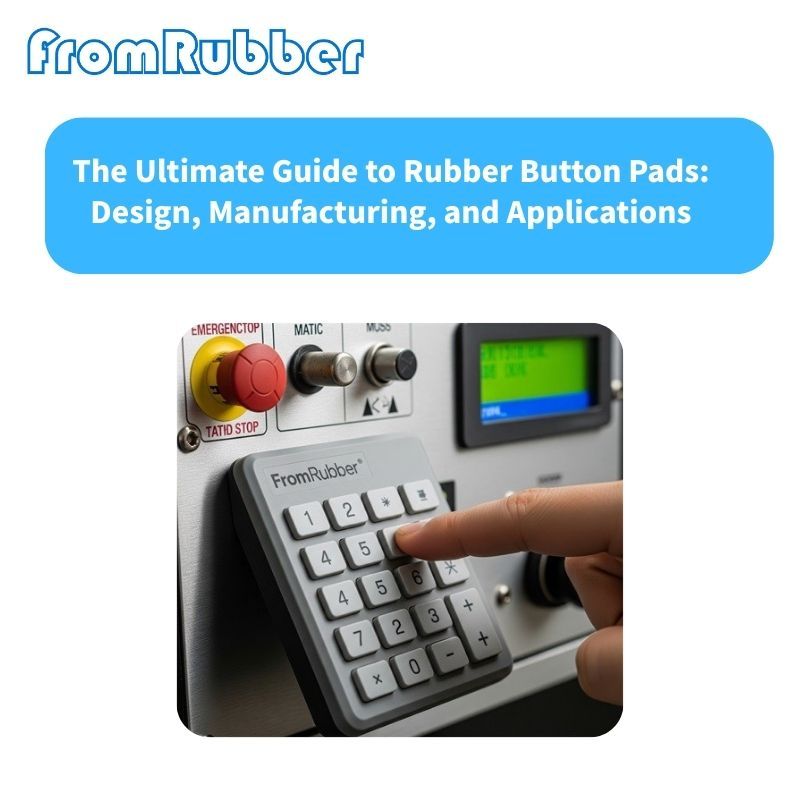
A single button is a geometry problem. A pad of twenty buttons is a system: the keys share one web, the contacts share one circuit, and a change to one key changes the force of its neighbours.
This looks at rubber button pads as a whole panel rather than a collection of keys, which is where most of the design difficulty actually sits.

What Makes Rubber Button Pads Different From Individual Buttons?
The direct answer: the web. Every key on a pad is connected to the same sheet of silicone, so pressing one key deflects its neighbours slightly, and the web thickness that gives one key a good feel may make the key beside it feel soft.
That shared material also makes the pad a seal, a light block and a structural element at the same time. Designing it as buttons that happen to be joined misses all three jobs.
The Pad-Level Decisions
The alignment row explains a failure that looks random: keys near one end work and keys near the other do not. The pad is rotating slightly on its locating feature, and the error accumulates across the panel.
| Decision | What it controls | Failure if wrong |
|---|---|---|
| Web thickness | Force and neighbour coupling | Soft keys next to stiff ones |
| Key pitch | Separation and accidental presses | Two keys pressed at once with a thumb |
| Contact pattern | Where the pills land on the PCB | Intermittent contact on the outer keys |
| Alignment feature | Location of the pad on the board | Progressive misalignment across the panel |
| Perimeter | How the pad sits in the housing | Edge lift and a visible gap |

Dome Types and What They Do to a Pad
Three options dominate. A moulded silicone dome, integral to the pad, gives a soft response and no extra parts. A metal dome placed under the pad gives a crisp click and a well-defined force, at the cost of an assembly step and a part that can migrate. A flat pad over a membrane layer gives the lowest profile and the least tactile feedback.
On a large pad, mixing types is legitimate: the numeric keys can be flat and the enter key can carry a metal dome, which is how most industrial panels achieve a distinct primary action.
Backlighting a Pad
A backlit pad needs translucent windows and an opaque mask, and the light has to reach every key from a small number of LEDs. The further a key is from a light source, the more the diffuser has to do, and the more the legend blurs. Design the light path before the key layout is frozen.
A Pad Design Checklist
Confirm these before tooling: key layout at final pitch with the panel outline, force target per key including the two largest keys, web thickness for the closest key spacing, contact pill diameter against the PCB pad size, alignment features, perimeter geometry, legend method, and the backlight requirement if any.
Then test a full pad, not a single key. Press every key in sequence and watch the neighbours; that is the test that reveals coupling, and it is the one skipped when a prototype is evaluated key by key.
Where the pad carries a single dominant button, the geometry rules in our guide to designing a custom rubber button apply directly, and the electrical side is covered in the article on conductive silicone keypad buttons.
Ordering Custom Rubber Button Pads From a Factory
A pad is a complete assembly, so the brief has to describe the whole panel rather than a key. Send the key layout at final pitch, the PCB pad pattern with its switch gap, the panel outline with its mounting features, and the force target for the primary key. With those four, the geometry can be checked before a tool exists.
Where the pad sits behind a plastic cap or in a housing, the interface drawing matters as much as the pad itself. Our tactile rubber button range shows the typical construction, and the same rules apply to any custom pad we tool.
Where the pad has to survive a washdown, the sealing lip and the adhesive selection matter as much as the key geometry: a pad that lifts at one corner admits water along the whole edge. It is worth deciding early whether the pad is retained by a bezel, by adhesive or by both, because the answer changes the perimeter section and therefore the tool.
Frequently Asked Questions
Why do some keys on a pad feel softer than others?
Usually because the web is thinner near the edge of the panel, or because a key sits close to a large cut-out. Both reduce the material available to resist the press.
Can a single key on a pad be replaced?
No. The pad is one moulding, so service means replacing the panel. That is a design consideration for products with one high-wear key.
Does a metal dome under a pad need its own retention?
Yes. An unretained dome can move during assembly or service, and a displaced dome produces a dead key with no visible cause.