What Causes a Rubber Grommet to Twist During Panel Installation?
- Share
- Issue Time
- Sep 22,2026
Summary
A grommet that rolls or rotates as it is pushed through the panel is telling you where the circumferential resistance is uneven. This article covers how to read the failure, why hole size and groove depth drive it, how friction and lip geometry amplify it, and how to seat a grommet squarely the first time.
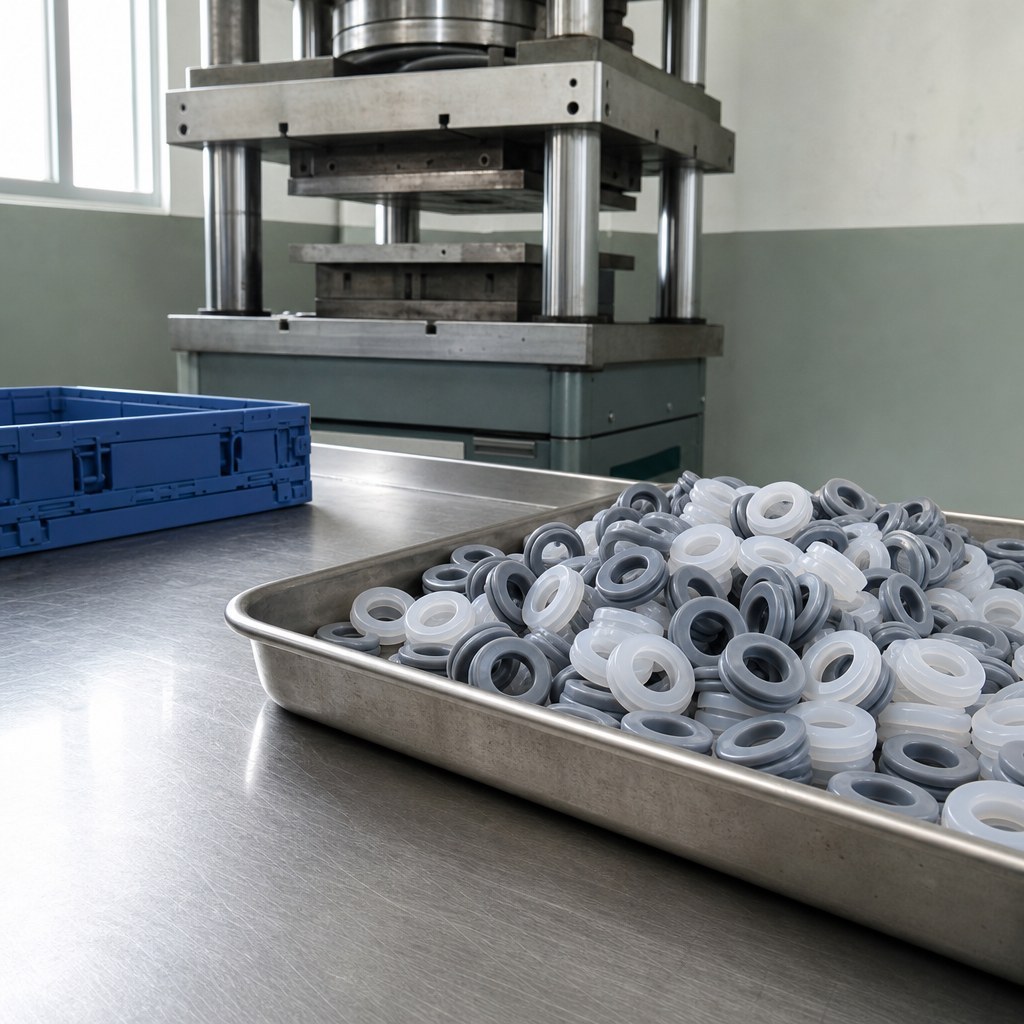
You push the grommet straight in and it comes out looking like it was screwed into place. One section of the lip has rolled under, the groove sits at an angle, and the harder the fitter pushes, the faster it rotates. Twisting looks like a technique problem and is almost always a torque problem — and the torque is built into the fit.
Short answer
A grommet twists when the circumferential resistance to it passing through the hole is uneven. The point you push on is a single contact, the resistance around the rest of the lip is not, so the part rotates instead of seating. Hole size, groove fit, friction and lip geometry all decide how much that torque builds up.
What Twisting Looks Like on the Bench
Twisting is not the same as flexing. Flexing is symmetrical: the part deforms and returns. Twisting is a rotation about the panel axis, and it leaves a recognisable signature.
- The lip rolls inward or outward along part of the circumference instead of folding uniformly.
- The groove does not sit evenly — one side is seated on the panel edge while the other is still above the face.
- The part rotates as it is pushed in, sometimes by a visible fraction of a turn.
- One section seats and the rest stays displaced, and the seated section acts as an anchor that the other sections rotate around.
That last behaviour is the key to the whole problem. Once any short length of the lip seats, it grips the panel. Everything still outside the hole now has to be rotated into position around that grip, rather than pushed straight in. From that moment on, more force means more rotation, not more seating.
Why an Axial Push Turns Into a Rotation
Pushing a grommet into a hole looks like a pure axial load. In practice the load is applied at one or two points — a thumb on one side of the flange, or two fingers on opposite sides — and the resistance is distributed all the way around the lip.
The result is a moment about the panel axis. Its size depends on how uneven the resistance is:
- Uneven insertion force. Pushing from one side only, which is the natural way to hold a round part.
- A hole that is not round. A punched or hand-finished bore is often slightly oval, so resistance is higher on the tight axis.
- The wrong hole size. A tight bore raises total friction and magnifies any difference around the circumference.
- Wrong panel thickness. Groove engagement that is too shallow on one side gives that side a head start.
- Excessive friction. Any drag between elastomer and metal is a lever for rotation, and it grows quickly as the lip folds.
- Misalignment. Starting the part at an angle means the first contact is a single point, which is the worst case for torque.
- Uneven grommet geometry. A lip that varies in thickness around the part resists unevenly by design.
- The tool being used. A blunt screwdriver or a pick applies load at one point and adds its own torque.
How Hole Size Drives Rotation
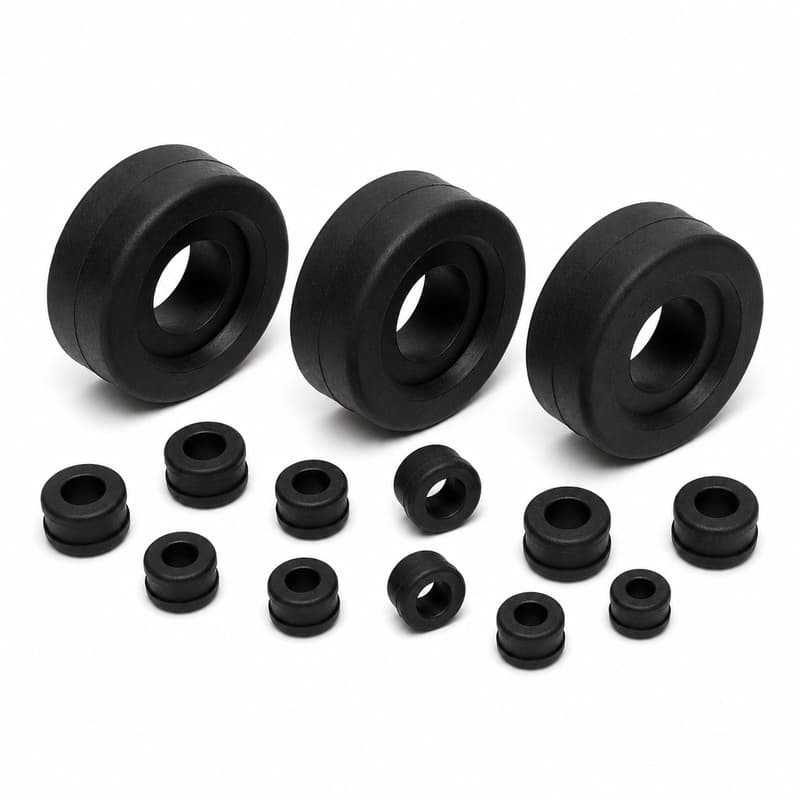
The panel hole sets how much friction the lip has to overcome, and friction is what converts an off-centre push into a twist.
A hole that is too small
Total resistance goes up sharply, because the lip has to fold further before the panel edge reaches the groove. More resistance means any imbalance around the circumference produces more torque. This is the most common cause of twisting on a part that otherwise looks correct.
A hole that is too large
Resistance drops, so twist is less likely during fitting — but the part has nothing to position against. It can rotate after it is in place, because the groove is not clamped and the panel edge can slide within it. That is a slower failure than a twist during fitting, and it usually shows up as a grommet found rotated out of position months later.
Both cases come back to the relationship between the hole and the groove diameter. A hole that is a fraction of a millimetre under nominal is enough to turn a straight push into a fight, especially on a long thin lip where there is very little material to stabilise the fold.
From the moulding floor
Twisting complaints almost always arrive with a photo of a rolled lip and a description of a tool being used. We ask two questions before anything else: how the part is being pushed, and whether one section seats before the rest.
Where the answer is "it starts on one side and then rolls around", the cause is almost always uneven resistance on a slightly tight hole. Where the whole lip rolls under at once, the lip is usually too thin or too long for the bore, and the profile is what needs to change.
Panel Thickness and Groove Engagement
The groove is what stops the grommet moving once it is in. If the groove does not engage evenly, the twist during fitting has somewhere to go.
A shallow engagement — a thick panel in a narrow groove — means the lip is under load from the moment it is fitted and the flange no longer sits flat. A deep engagement on a thin panel means the sheet sits loose in the groove and the grommet can rotate freely after assembly.
The asymmetry matters as much as the average. Where the panel thickness varies across the opening, the flatter side seats first, and the part rotates around it. Repositioning a part that has already started to rotate is not a technique fix; the groove has to be matched to the panel it is going into. The same mechanism is behind grommets that pop out of a panel, which is covered in a separate article in this series.
How friction behaves around the circumference
Friction is not uniform even on a good hole. Surface finish varies, paint and coating thickness vary, and the lip itself has a moulded seam or a gate mark. Each of those is a small inconsistency in resistance, and they add up.
A compatible lubricant evens the friction out considerably — that is its real contribution to installation, more than the reduction in total force. Where a lubricant is used, it should be applied around the whole lip rather than at the point of push, and the compound's compatibility with it should be confirmed rather than assumed.
When the Geometry Itself Causes Twisting
Some profiles twist no matter how carefully they are handled. The usual reasons are in the drawing:
- Uneven lip thickness around the circumference, often from tool wear or a poorly balanced cavity layout.
- Sharp transitions between lip and groove wall, which resist folding until they release suddenly.
- Asymmetric sections — a profile that is thicker on one side, or has an off-centre bore.
- Excessively flexible lips, which have almost no resistance to a sideways load and follow whichever way the torque pushes them.
- Insufficient groove definition — no clear shoulder for the panel edge to seat against.
- Inner hole geometry that leaves a thin bridge between bore and groove on one side.
A quick way to test for this: fit five parts from the same box into the same hole, pushing each one at a different point on the flange. If the parts twist regardless of where the force is applied, the profile is contributing. If they twist only when pushed from one side, the hole fit is the more likely cause.
How Hardness Fits In
Hardness changes how quickly a lip deforms ahead of the pushing point, which is what allows the first section to seat early.
A softer compound deforms more readily, so the leading edge can fold further ahead of the load and engage the panel sooner. That starts the anchoring effect that turns the rest of the fitting into a rotation. A firmer compound holds the lip shape better and distributes the load more evenly, but it also raises the total insertion force — so if the hole is tight, a firmer part can twist more, not less.
There is no universal durometer that prevents twisting. What matters is keeping the material's contribution consistent: a compound whose hardness sits at the soft end of its tolerance band and one at the hard end behave noticeably differently in the same hole. Where twisting is a recurring problem on an otherwise sound design, confirming the incoming hardness against the drawing is a reasonable first check.
Installing a Grommet Without Twisting It
The sequence below is what works consistently on a manual line.
- Deburr the panel opening and remove any rolled edge on the punch exit side.
- Confirm the hole diameter and panel thickness before starting the run, not after.
- Align the grommet square to the panel, with the correct face outward.
- Apply force evenly around the circumference — palm, or a shaped pad, rather than one thumb.
- Work the lip in progressively, rotating the part slightly as you go if the profile allows it.
- Avoid pulling one side of the lip with a screwdriver or pick.
- Use a compatible lubricant around the whole lip where the fit is tight.
- Check that the groove is fully seated all the way round before releasing the part.
Step five is the counter-intuitive one. A deliberate, controlled rotation is often better than a straight push, because it keeps the load distributed instead of letting one section anchor early.
Checking That a Grommet Is Fully Seated
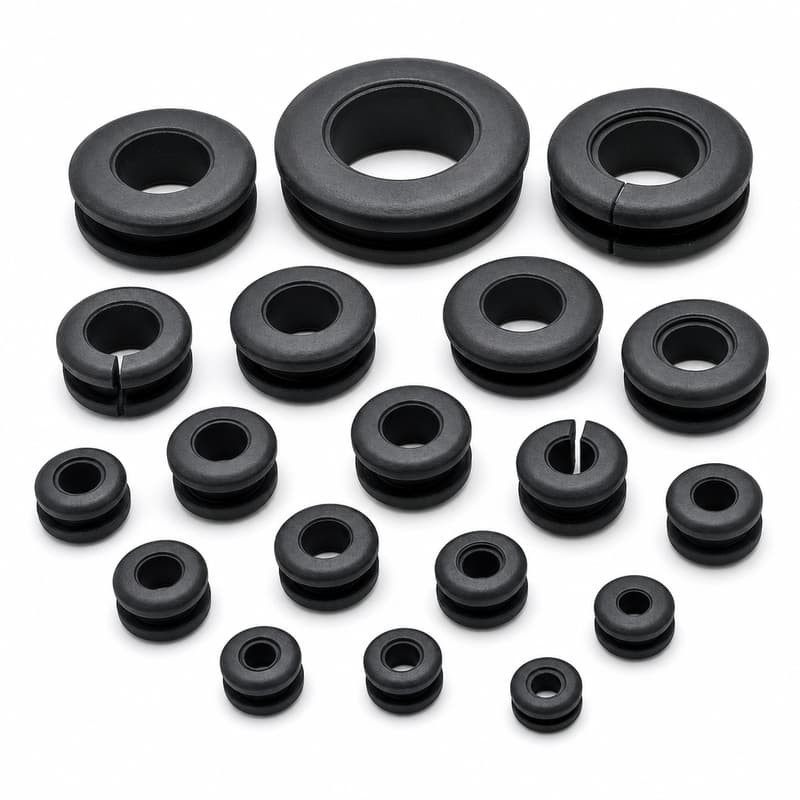
Seating is easy to confirm and easy to assume. Confirm it.
- Inspect the full circumference, not the visible side.
- Check that the panel edge is inside the groove at every position around the opening.
- Check that the lip is oriented the same way all the way round, with no local rolling.
- Look for local stretching or blanching of the elastomer, which marks where a lip is over-strained.
- Try to rotate the part by hand. A properly clamped grommet resists; one that turns freely was never seated.
- Pull gently on the cable or harness. A seated grommet holds; a twisted one moves with the cable.
Any part that fails one of those checks should be removed and refitted rather than pushed into position. Force applied to a partially seated grommet is what rolls the lip and starts a tear.
When Twisting Points to the Design, Not the Installer
Technique solves twisting where the fit is close but the method is wrong. These signals mean the drawing is the problem:
- Parts twist repeatedly when the documented installation method is followed.
- Installation force is consistently high, and the same part fits easily in a slightly larger hole.
- The same section always twists first, whichever way the part is oriented.
- The groove does not match the panel thickness at either end of the tolerance range.
- Five parts out of the same box twist in the same direction.
Where two or more of those apply, the useful changes are on the part: a shorter lip, a thicker lip section, a more defined groove shoulder, a larger edge radius at the groove root, or a slightly larger groove diameter so the lip does not have to fold as far. All of them reduce circumferential resistance, which is what the torque is made of.
What to Take From This
Twisting is not clumsiness. It is what happens when an off-centre push meets uneven resistance, and the resistance is set by hole size, groove fit, panel thickness, friction and lip geometry — with hardness as a modifier, not a cure.
Fix the hole and the groove first, spread the insertion force deliberately, and confirm seating around the whole circumference. Where parts of the same batch always twist the same way, stop looking at the operator and look at the profile.
Sources
- ISO 48-4:2018, Rubber, vulcanized or thermoplastic — Determination of hardness — Part 4: Indentation hardness by durometer method (Shore hardness). https://www.iso.org/standard/74969.html
- ASTM D2240-15(2021), Standard Test Method for Rubber Property — Durometer Hardness. https://store.astm.org/d2240-15r21.html
- ISO 4649:2024, Rubber, vulcanized or thermoplastic — Determination of abrasion resistance using a rotating cylindrical drum device. https://www.iso.org/standard/86603.html
- ISO 34-1:2022, Rubber, vulcanized or thermoplastic — Determination of tear strength — Part 1: Trouser, angle and crescent test pieces. https://www.iso.org/standard/82445.html