What are the differences between laser etching, screen printing, and dome printing of silicone keypad?
- Share
- publisher
- Suey
- Issue Time
- Jan 3,2026
Summary
Laser etching, screen printing and dome printing are not three grades of the same thing; they fail differently, cost differently and suit different legend counts. This comparison sets out the ink thickness, cure and adhesion limits of each silicone keypad printing method, and the questions that decide which one belongs on your drawing.
Process comparison
Choose the marking method by the failure you cannot afford, not by unit price. Laser etching cannot peel because there is no film; screen printing gives full colour but adds an interface that wears at the edges; dome printing protects the graphic under a clear silicone layer at the cost of a second moulding step. Each one changes the tool, the cycle and the inspection plan.
- Etched and moulded legends have no ink film, so the failure mode is contrast loss, not peeling.
- Screen print durability is decided by ink chemistry and cure, not by the number of passes.
- Dome printing is the only method that puts colour under a protective layer — useful where a solvent wipe is routine.
What each silicone keypad printing method actually is
Laser etching removes or carbonises a thin surface layer with a focused beam, leaving a contrasting mark. On a dark compound it produces a pale, slightly recessed legend; on a light compound it usually needs a pigment that darkens under the beam. There is no consumable and no cure step, which is why it is the cheapest route for a single-colour legend at volume.
Screen printing deposits an ink film, typically 10 to 30 micrometres, through a mesh and then cures it. Two-part silicone inks chemically bond to the substrate; one-part inks rely on solvent evaporation and a weaker physical bond. Dome printing prints on the underside of a translucent key or a clear cap, so the graphic sits behind a layer of silicone and never touches a finger.
Durability: where each method fails first
An etched legend fails by losing contrast as the texture fills with skin oil and dust, or by yellowing of the surrounding compound under UV. It does not peel, chip or wash off, which makes it the default for equipment cleaned with solvents. A printed legend fails at the edge of the ink film: a lifted edge collects dirt, then abrades, then the legend disappears from the outside in.
Dome printing fails differently again. Because the graphic is protected, the failure is usually the bond between the clear cap and the key body, or clouding of the clear layer after repeated cleaning. That makes dome printing a strong choice for medical and food-service panels where wiping is frequent, provided the clear layer is specified for the cleaning chemistry.
- Laser etched — contrast loss and UV yellowing; no peeling.
- Screen printed — edge lift, then abrasion; ink and cure decide the life.
- Dome printed — bond and clarity of the clear layer, not the graphic.
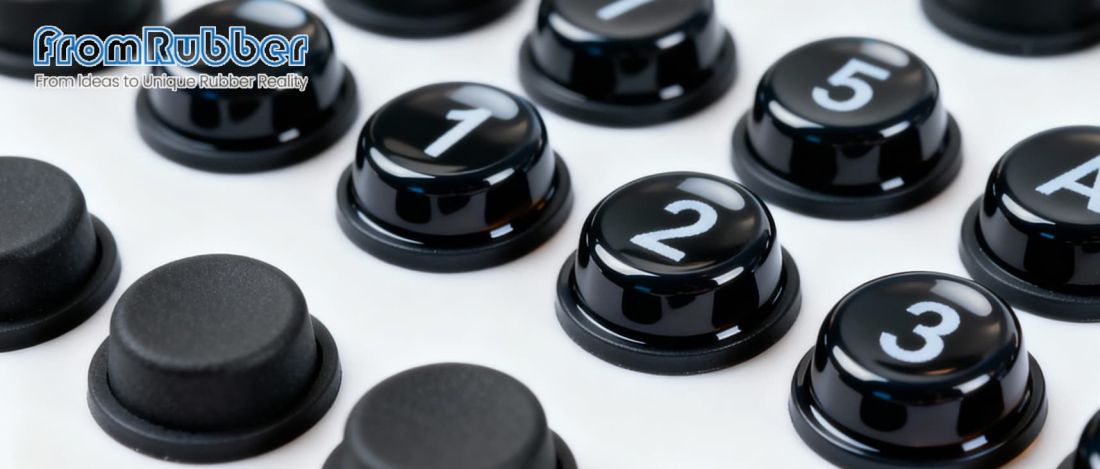
Comparing the three methods on the values that matter
| Criterion | Laser etching | Screen printing | Dome printing |
|---|---|---|---|
| Colour range | One contrast level per pass | Up to six colours, gradients | Full colour, printed underside |
| Typical ink or mark thickness | 10 to 40 micrometres removed | 10 to 30 micrometres added | 10 to 25 micrometres, encapsulated |
| Tooling impact | None beyond the keypad tool | None; a print screen per colour | Second shot or clear cap |
| Cost driver | Machine time per part | One pass per colour | Extra moulding step plus print |
| Best cleaning tolerance | Solvent wipe, aggressive disinfection | Mild detergent, careful wiping | Frequent wiping if the clear layer is specified |
| Typical failure | Contrast loss | Edge lift and abrasion | Clouding or bond failure |
| Lead time for artwork change | None, digital file | New screen, one to three days | New print plus moulding trial |
Adhesion testing that predicts a field failure
For any printed legend, the test that matters is done on the finished, cured part rather than on a flat coupon. Cross-hatch the legend with a blade, apply a defined tape and pull at a controlled angle; then repeat after a solvent wipe and after a humidity soak. A print that passes dry and fails wet is an under-cured print, and the fix is a cure schedule, not a different ink.
Measure the ink thickness as well. A thin film looks perfect and wears through in weeks; a film at the top of the range can crack at a dome flex point. Both failures disappear when the print specification names a wet-film thickness and the cure window, and when the first-off sample is measured rather than eyeballed.
How a custom keypad programme is quoted and run
The marking method is one line in a quotation. These are the inputs that change the other lines.
Drawings and artwork
Key layout, dome heights, legend artwork as vector files, colour references and the cleaning chemistry the panel will meet.
Tooling route
Prototype cavity, bridge tool or production tool, with cavity count matched to annual volume rather than launch volume.
Sampling and validation
First-article report, adhesion and abrasion tests, force-displacement measurements and a golden sample held by both sides.
Volume, MOQ and packing
Colour count, print passes, packaging format and the amortisation period for the tool, all shown as separate lines.
Cost per pass and what an artwork change really costs
Print cost is counted in passes, not in colours. A two-colour legend on a key top needs two screens, two registration steps and two cure cycles; the same legend moved to the mould costs a cavity modification once and nothing per unit. Below a few thousand units the print route wins on cash; above it, the tool usually wins on both cost and consistency.
Artwork changes are where schedules are lost. An etched legend changes with a text file and ships in the next batch. A printed legend needs a new screen, a cure trial and an adhesion test before it can run, which is three to five days of calendar time even when the press is free. If the brand team is still iterating on the icon set, that lead time belongs in the plan, not in the surprise column.
Questions buyers ask about keypad marking
Can laser etching produce a coloured legend?
It produces contrast, not colour. A coloured legend needs print or a two-shot moulding. On a light keypad, etching alone often reads poorly unless the compound is formulated to darken under the beam.
Is screen printing dishwasher safe?
Only with a two-part ink and a full cure, and even then the edges are the weak point. Ask for a cycle test on the finished part rather than a statement about the ink.
Why is dome printing more expensive?
It adds a moulding step or a clear cap, plus tighter print registration because the graphic is viewed through a layer. The cost buys protection, which matters on a panel that is wiped daily.
Can we mix methods on one keypad?
Yes, and it is often the right answer: etched function keys that see solvent, printed branding that does not, dome printed status windows for backlighting.
Send the artwork and the cleaning chemistry
FromRubber moulds and marks silicone keypads in Dongguan using etched, screen printed and dome printed legends, and can supply adhesion and abrasion data on production parts. Send the key layout, the artwork and the fluids the panel meets; we will recommend a marking method and a test plan that matches the service life you are promising.
Request a marking and tooling reviewRelated reading: tactile response and rebound in silicone keypads and custom raised and recessed character keypads.