Why Do Silicone Buttons on Electro-Hydraulic Control Panels Stick After Installation?
- Share
- Issue Time
- Sep 23,2026
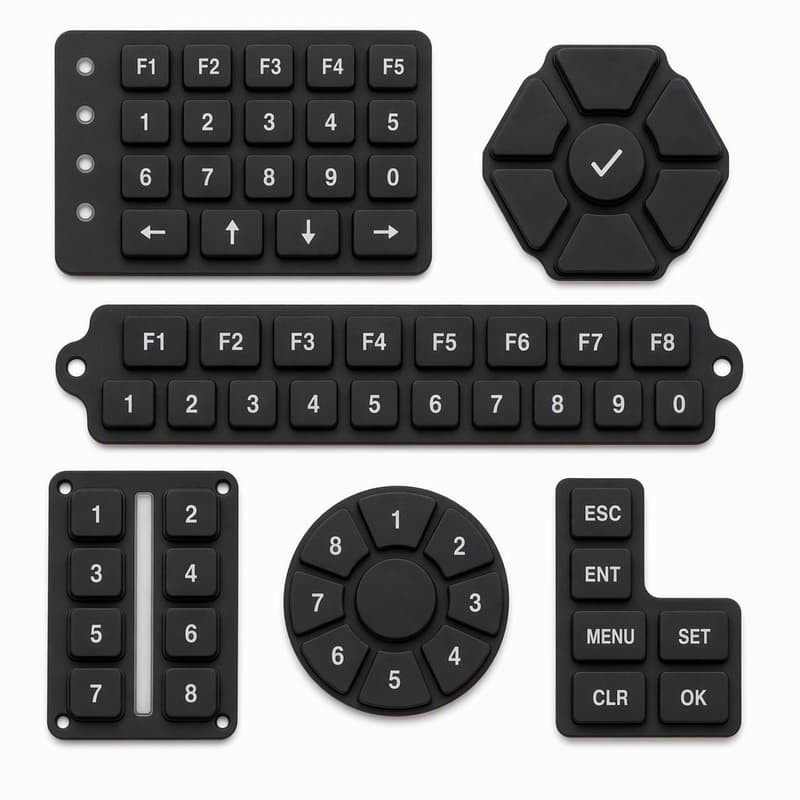
A silicone button that sticks after the panel has been assembled is almost never an electrical fault, and it is rarely a bad batch of silicone. It is a fit problem that appears only once the panel opening, the keypad compression, the mounting pressure and the button geometry are combined in the finished assembly. A keypad that returns cleanly on a bench can drag or stay partly down after it is clamped between a front plate and a housing, because the assembly adds loads the bench test never applied.
What "sticking" actually looks like on a control panel
- The button returns slowly, or it stops short of its rest position.
- The button stays partly depressed and needs a second press to come back.
- The key cap rubs the edge of the panel opening on the way down or on the way up.
- Only some buttons misbehave while the rest of the same keypad is perfectly fine.
If the contact closes reliably and the cap still will not return, the problem sits in the return path - the web, skirt or frame - not in the switch itself. That distinction decides which tests are worth running.
Treat the problem as an assembly delta, not a keypad defect
The fastest way to stop chasing the wrong cause is to stop asking whether the keypad is good and start asking what the assembly changed. Compare two states: the keypad on its own, and the keypad in the closed panel. The difference between them is the delta that produces the sticking.
In practice the delta comes from four sources, and they stack:
- Side clearance between the key cap and the panel opening, which shrinks when the panel and the moulding tolerances run in opposite directions.
- Vertical compression, which pre-loads the web and reduces the travel available for return.
- Position shift, which pushes a button off centre in its opening.
- Dimensional spread inside the moulding itself, which makes the few affected buttons different from the good ones.
A useful habit is to record the free return height of a suspect button before assembly, then after each step: PCB or backing plate fitted, housing closed, screws snugged, screws torqued to final value. The step where the height drops is the step that causes the sticking, and it is usually not the step people blame.
Start with the panel opening, not the button
Most sticking complaints on electro-hydraulic control panels survive a full material review, because the material was never the limiting factor. The button simply does not have enough room to move.
Three numbers decide that: the key cap dimension at its widest point, the panel opening dimension, and the travel the button needs. The relationship between them has to hold at the worst-case end of every tolerance band, not at nominal. A 12 mm cap in a 12.5 mm opening reads as comfortable on a drawing, but the cap is a moulded silicone part and the plate is usually a machined or laser-cut component with a much tighter band. The keypad carries the looser tolerance, so the opening should be sized against the cap's upper limit, not its nominal value.
That is also the usual explanation for the "only some buttons stick" complaint. A cluster near the centre of a large panel may sit inside one mould cavity region with little variation, while buttons near a corner inherit shrinkage that runs in a different direction. The cap that grows is the cap that rubs.
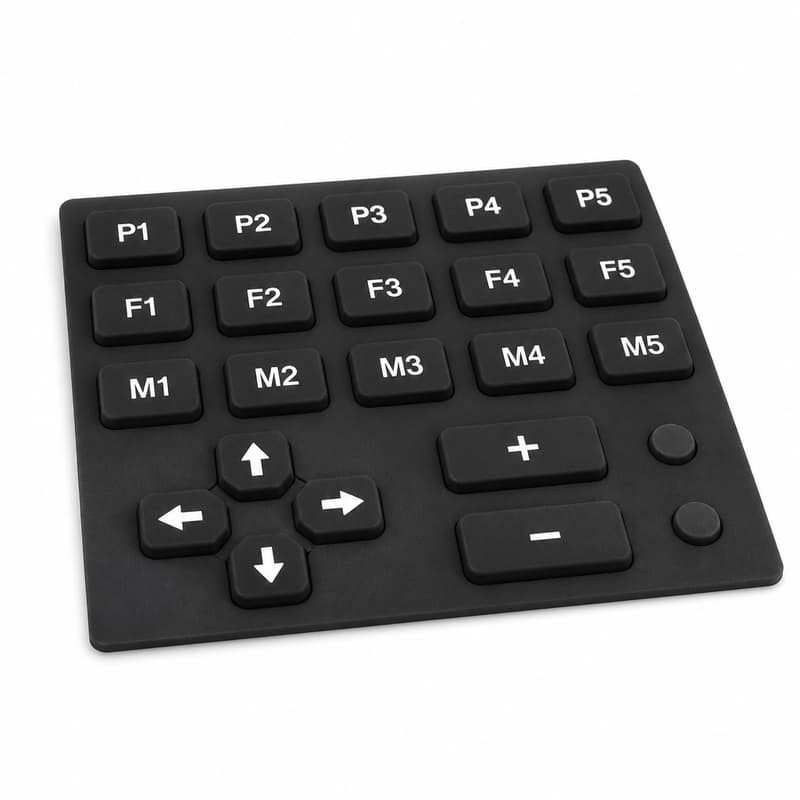
Work out the compression budget you actually have
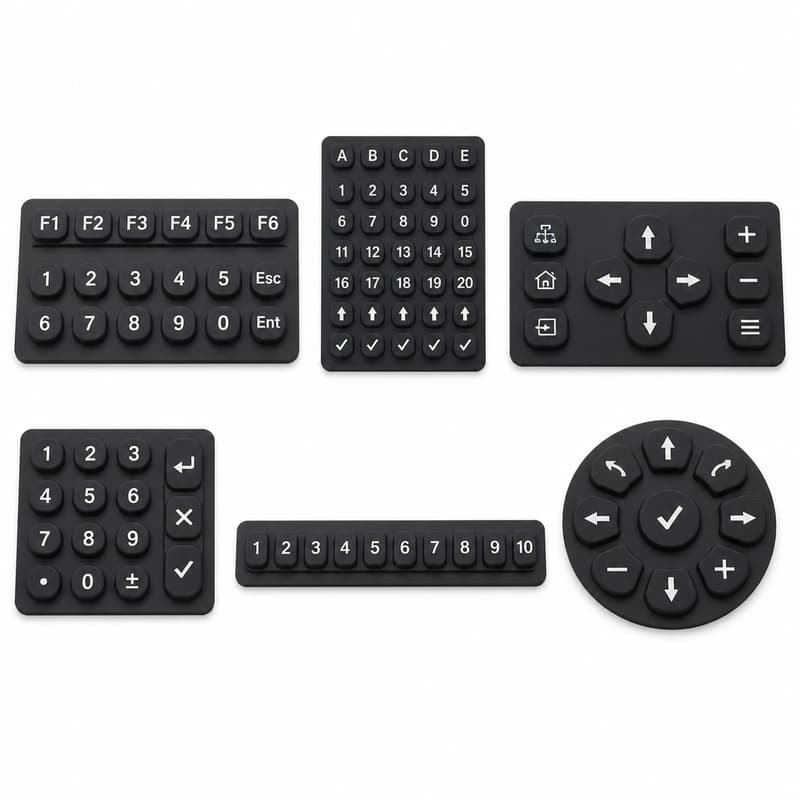
Silicone keypads are almost always installed under compression, because that is what seals the panel and holds the part in place. The problem is that compression is a budget, and it is easy to spend more of it than intended.
Four inputs set the budget: keypad base thickness, the gap between the panel face and the support surface, the stiffness of the retaining structure, and the torque applied at final assembly. When the closed height is specified as a single nominal figure with no range, the first part that comes in slightly thick is compressed more than the design assumed. The web is then partly loaded at rest, and the button has less free travel to return through.
Uneven compression is the more damaging version. If the housing closes on a boss near one end first, or a cast cover is slightly convex, the keypad is squeezed locally. Buttons in that local zone stick while the rest of the panel is fine, which is exactly the pattern that sends engineers back to the silicone supplier for no reason. It is the same fit question that surfaces when a keypad feels either too tight or too loose in the housing.
One useful check: with the assembly closed but no screws fitted, press each button and feel the return. Then torque the screws in the production order and repeat. If the feel changes, the housing is spending compression the keypad was supposed to keep.
Alignment: a small shift is enough to cause rubbing
A button does not need to be visibly off centre to stick. Two tenths of a millimetre of lateral shift in the wrong direction removes clearance on one side of the opening and adds friction on the other, and friction on a silicone skirt is the beginning of a slow return.
The shift usually comes from sequencing rather than from dimensions. If the assembly is squared up visually, then the screws are tightened before alignment is confirmed, the first screw to bite becomes the datum. Subsequent screws pull the plate across, and the keypad - which is flexible by design - follows it. Retightening the last screw to full torque is a common final step that quietly loads one end of the panel.
Registration features exist to prevent exactly this. Two locating holes separated as widely as the part allows stop rotation; pins that touch the keypad frame rather than the webs stop the locating load from reaching the moving parts. Where a panel has no locating features at all, the moulding is positioned by friction and by whatever screw happens to clamp first, which is why a design that passes a first article can drift over a production run. The same mechanism is set out in this account of PCB alignment issues that reach the mould before tooling.
Locating features are what convert a good drawing into a repeatable assembly, and they are also what makes a shift visible when they are missing. Two holes instead of one, a land that the frame seats on rather than the webs, and a defined edge to build from are all cheap on the drawing and impossible to add after the tool is cut.
Where the panel has mounting ears or a frame with defined fixing points, those points should be dimensioned from the same origin as the button pattern. Dimensioning the outer profile and letting the fixing points follow is the quiet way a panel ends up shifted at one end, because the fasteners hold the part where the hole pattern puts it, not where the drawing intended.
Button geometry decides how much travel is left for return
Return travel is a geometric result, not a material property. Four features share the responsibility: key wall thickness, key height, the shape of the return web, and base thickness.
- Key wall thickness. A thicker wall resists the finger but also resists the return, and it removes clearance at the cap.
- Key height above the base. Taller keys sit closer to the panel face once the assembly is closed, so the cap reaches the opening sooner in its stroke.
- Return web geometry. A long, thin web gives a light press and a quick return with very little reserve; a short, thick web is definite but needs more travel to work.
- Base thickness. The base is the datum that the whole button is built from, and any local variation in it moves the cap up or down with it.
None of these has a universal correct value. A geometry that works in a 3 mm panel with 0.6 mm of travel will stick in a 6 mm panel with 1.2 mm of travel, even though the keypad is identical. This is why the usual price request of "send us a keypad like last time" produces a sticking problem on a new panel: the panel changed, the keypad did not. If the closed height or the required actuation force is undefined, the geometry is being guessed, and there is a documented difference between actuation force and travel specifications and what an operator actually feels.
Screws, bosses and assembly pressure
Check these five things before blaming the keypad
- Over-tightened screws. A screw that crushes a boss closes the gap the keypad was designed to work in.
- A keypad squeezed by the plate. Silicone cannot push back against a rigid, over-closed joint.
- Uneven backing plate pressure. A plate with a flatness problem loads one region of the keypad only.
- Enclosure deformation. A cover that bows when closed changes the compression from edge to centre.
- Tightening order. Cross-pattern torque beats a sequential run around the perimeter every time.
Any of these can produce sticking on a keypad that measures perfectly. That is why the assembly, not just the part, has to be measured.
The keypad is a compliant part between two stiff parts. It cannot correct a housing that closes unevenly; it can only absorb the error, and it absorbs it as stored energy in the webs. Once the webs are holding load at rest, the buttons nearest the load point stick first.
When silicone hardness and moulding really matter
Material does influence return, but the relationship is not the simple one that often gets repeated. A harder silicone resists deflection and returns faster, and a softer one is easier to press but can feel sluggish - yet hardness alone rarely makes a button stick. Sticking is a geometry and fit outcome. Hardness becomes a factor in three specific situations:
- The specified hardness is far enough outside the design intent that the web is no longer working in the range it was designed for.
- A high filler content in the compound raises compression set, so the button returns less completely after being held down.
- The moulding run drifts, so hardness and dimensions vary between batches or between cavities in the same tool.
Moulding factors matter for the same reason. Flash in a clearance-sensitive area reduces the free gap; local thickness variation moves the cap; dimensional spread across a long part changes pitch. Compression set is the mechanism worth understanding here, because it is the property that decides whether a compressed button returns to its original height after a long press, and it is measured against defined conditions in ISO 815-1:2019. Shore hardness for silicone and rubber is measured under ISO 48-4:2018, which is the reference to quote when specifying a value. Hardness outside the intended band is a specification problem, not an automatic sticking problem, and treating it as one hides the real cause - the same confusion that appears when dome height tolerance produces inconsistent button response.
A troubleshooting sequence that isolates the cause
- Remove the keypad from the assembly and press every button by hand. A button that sticks here is a part or design problem.
- Set the keypad into the housing with no screws and check return on each button. Any change from step 1 points at the housing geometry.
- Fit the plate or board and repeat, without fastening. Sticking that starts here is interference, not compression.
- Measure the side clearance at every suspect button in the assembled state, not on the bare part.
- Check keypad position against the panel opening - centre to centre, both axes - before any screw is tightened.
- Tighten in the production pattern and to the production torque, checking return after each pass.
- Only then measure the moulding: key height, wall thickness, base thickness, hardness, and flash in the clearance zone.
- If the cause is geometric, change the geometry - clearance, web, cap size or locating features - rather than reaching for a different compound.
What to settle with the keypad supplier before tooling
Most of these failures are inexpensive to prevent and expensive to correct, and the prevention happens at drawing review. The information a silicone keypad manufacturer needs in order to make the button work inside a specific enclosure is short but specific:
- Keypad drawing, with button centre coordinates rather than overall dimensions alone.
- Panel thickness and the panel opening dimensions, including their tolerance bands.
- Required button travel and, separately, the actuation force range per button group.
- Mounting method, retaining structure, and the locations of every screw or boss.
- Required silicone hardness, stated as a measured value under a named method.
- Operating environment, including temperature range and expected contamination.
- Prototype assembly test requirement, so the keypad is checked in the closed housing and not only on a fixture.
FromRubber, the brand of Dongguan Bohao Electronic Technology Co., Ltd., has moulded custom silicone keypads since 2010 and reviews panel and housing drawings at the stage where these questions are still cheap to answer. Locating features, cap clearance and web geometry can all be adjusted on paper; the same changes after the mould is cut are a new tool.
Frequently asked questions about sticky silicone panel buttons
Why does a silicone button stick only after assembly?
Because assembly is what removes clearance. Side clearance, compression and position all change when the panel is closed and torqued. A bench test never applies those loads, so it cannot reproduce the condition.
Can panel-hole tolerance cause keypad sticking?
Yes, and it is one of the most common causes. If the opening is sized against the nominal key cap rather than the cap's upper limit, the parts that run slightly large rub on one or two sides of the opening.
Can excessive screw tightening make silicone buttons stick?
It can. Over-torque closes the gap the webs were designed to work in, so the buttons nearest the fastening point are partly loaded at rest and return less completely.
Does silicone hardness affect button return?
It affects the feel and the return speed, but it rarely causes sticking on its own. Hardness becomes relevant when the specified value falls outside the design range or when batch-to-batch variation changes the effective web stiffness.
How can keypad alignment be checked before mass production?
Press the keypad into the actual housing, close the assembly the way the line will close it, and record the button centre against the opening centre on the outermost buttons - not only the middle one. Those buttons inherit the most tolerance.
In short
Sticking after installation is an interaction, not a single defect. It lives between the keypad, the panel opening, the mounting structure and the button geometry, and it appears only in the assembled state. Chasing a material change first usually costs a tool and leaves the problem in place. Measure the delta, find the step where return travel disappears, and fix the interface.
Sources and standards referenced
- ISO 815-1:2019, Rubber, vulcanized or thermoplastic - Determination of compression set - Part 1: At ambient or elevated temperatures. https://www.iso.org/standard/74943.html
- ISO 48-4:2018, Rubber, vulcanized or thermoplastic - Determination of hardness - Part 4: Indentation hardness by durometer method (Shore hardness). https://www.iso.org/standard/74969.html
- ISO 2768-1:1989, General tolerances - Part 1: Tolerances for linear and angular dimensions without individual tolerance indications. https://www.iso.org/standard/7748.html
Contact
FromRubber - Dongguan Bohao Electronic Technology Co., Ltd., custom silicone keypad manufacturer since 2010. Email: nani@fromrubber.com or karl@fromrubber.com. WeChat and WhatsApp: +86 18676210913. Website: www.fromrubber.com