Why Does a Controller Silicone Keypad Work During Testing but Fail After Assembly?
- Share
- Issue Time
- Sep 23,2026
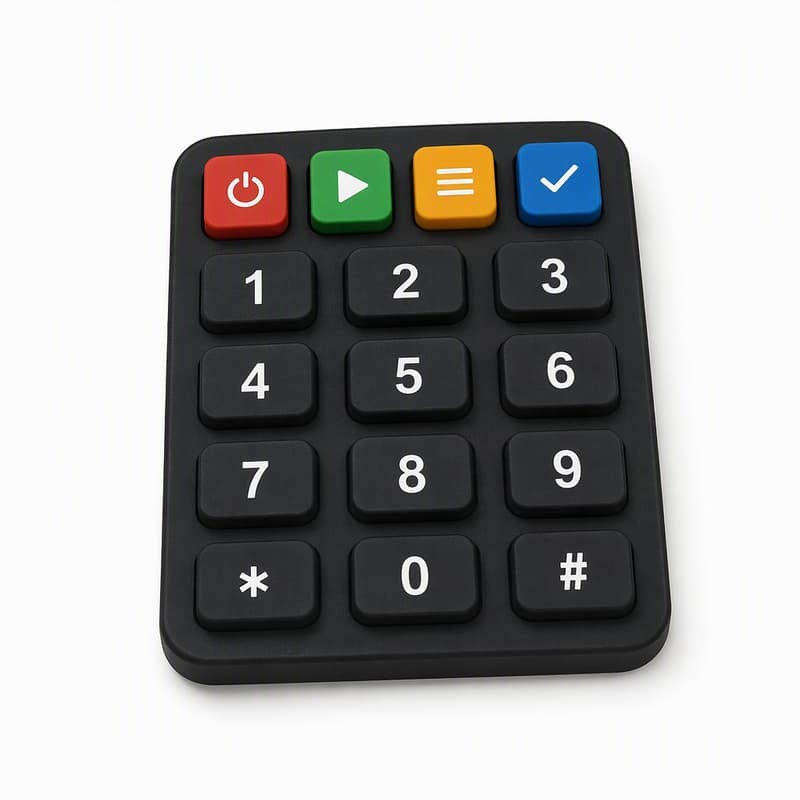
A controller keypad that passes on the bench and fails inside the finished unit is one of the most expensive problems in small-batch control panel production, because every hour spent re-testing the keypad confirms that the keypad is fine. The part did not change between the two tests. The loads on it did. Standalone testing applies a finger to a button that is free to move; final assembly adds enclosure pressure, board location, fastener torque and housing flatness, and those inputs decide whether the button still reaches its contact.
Separate the failure mode before touching the design
- No activation. The cap moves but the contact never closes, which points at travel or contact position.
- Excessive force needed. The button works, but only when pressed much harder than the specification, which points at preload or interference.
- Intermittent activation. It works, then it does not, which usually means marginal overlap or a shifting part.
- Wrong button responds. Two functions fire from one press, which points at position error between the keypad and the board, not at the switch.
Mechanical failure and contact failure look similar to an operator and completely different on a drawing. Decide which one you have before changing anything.
Three test states, three different answers
A silicone keypad passes through three distinct conditions on its way to a shipped controller, and they are not interchangeable:
- Standalone. The keypad sits on a bench or a fixture. Nothing restricts the cap, nothing pre-loads the web, and the contact is measured in open air. Nearly every keypad passes here.
- Installed without the board. The keypad is located in the housing or front cover. Location and compression now exist, but the electrical gap is still open.
- Assembled controller. Board installed, enclosure closed, fasteners torqued. The keypad is now squeezed between two stiff parts and the contact gap is set by that squeeze.
Most "it worked before assembly" reports are really "it worked in state 1". The defect appears somewhere between state 2 and state 3, and it appears in the direction the assembly pushes the keypad: down into the board, sideways against a housing wall, or across the panel face.
Mechanical interference that only exists in the closed housing
The first thing to check is whether the keypad is being touched by something it was not touching on the bench. Five interfaces cause most of the trouble:
- Keypad against housing wall. A skirt or frame that was clear by a fraction of a millimetre on the bench loses that clearance when the cover closes.
- Key cap against the panel opening. The cap can be fine at rest and still contact the opening part way through its travel.
- Compression of the silicone base. The base is the datum for every button, so squeezing it moves all of them at once.
- Incorrect mounting position. A keypad that seats against the wrong shoulder sits at the wrong height in the closed assembly.
- Enclosure deformation. A cover that flattens only when torqued changes compression from the edge to the centre.
None of these reproduce on a fixture, because a fixture usually holds the keypad in the position the drawing intended rather than the position the assembly produces.
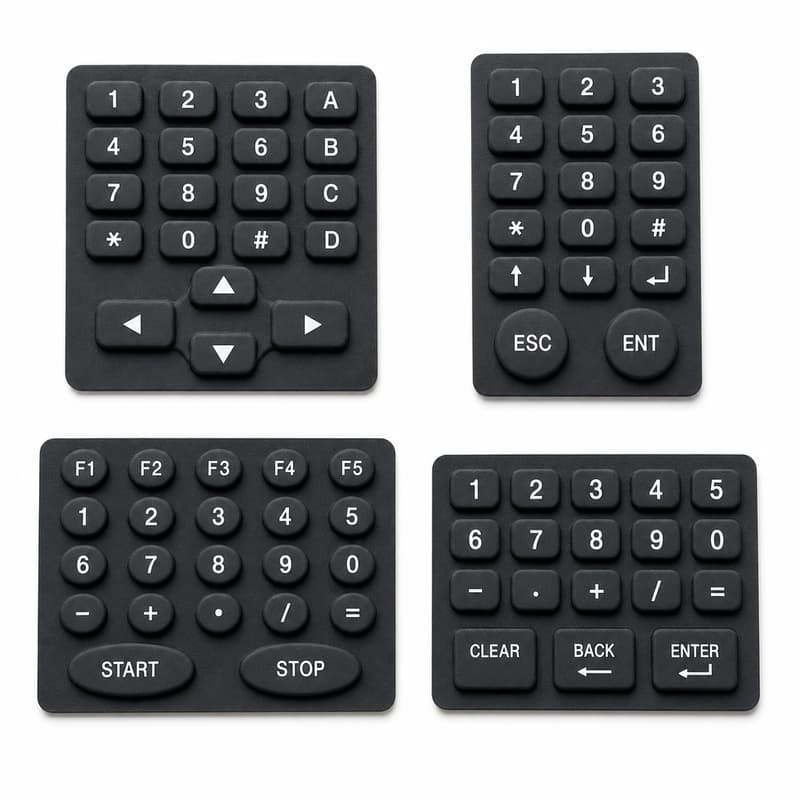
Where the button sits relative to the board contact
Once the cap is moving freely, the question becomes whether it reaches the contact. That is a relationship, and it has four parts.
- Button position against board contact position. A cap can sit correctly in its opening and still be off the pad pattern underneath.
- Conductive pill or dome position. Where the moving contact is moulded relative to the button axis decides how much overlap is available at closure.
- Contact alignment. Overlap, not contact diameter, is the working dimension. A pill that touches one edge of the pad first closes a smaller area and behaves differently as it wears.
- Board mounting tolerance. Fastener clearance, panel-mount connectors and support pillars all move the board relative to the housing.
Travel is the fifth variable and the one most often left undefined. Travel is how far the cap moves from rest to the bottom of its stroke; the switching point is where the circuit actually closes. In a sound design the switching point sits comfortably before the bottom of the stroke, so there is force left over after contact. When the assembly adds preload, the whole curve shifts and the switching point can land at or past the bottom of travel, which produces a button that feels dead or needs a very firm press. The mechanical and contact questions are documented together in this review of button alignment problems during PCB assembly.
Preload: the compression you added without noticing
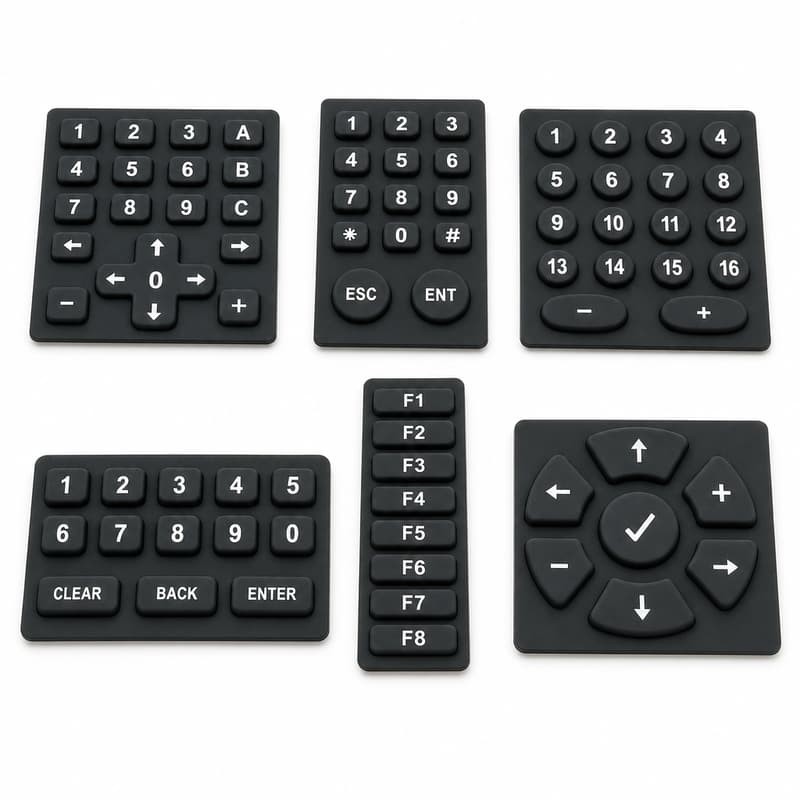
Preload is compression that exists before anyone presses a button. It is not visible, it does not appear in a bench test, and it is the most common reason a working keypad stops working once the enclosure is closed.
Four contributors set it: housing pressure, the support structure under the board, the fastener torque, and the compression of any gasket or sealing bead sharing the joint. When several of them act at once, the webs sit partly deflected at rest. The finger then has to finish a job that has already started, and the remaining travel may be too short to reach the electrical switching point with a definite force.
Preload also changes with the real enclosure. That is why an instrument housing and a machine panel can behave differently with the same keypad, a pattern covered in this note on keypad integration in compact instrument enclosures. The practical way to control it is to specify the closed height as a range, and to measure it on the assembled unit rather than on the parts.
Tolerance that accumulates between keypad, housing and board
Every part in the stack carries its own tolerance band, and they do not share a datum. The keypad is a moulded part; shrinkage varies with wall thickness, cure conditions and flow direction. The housing is the loosest member in most designs. The board is tight in position but not zero, and the mounting holes add their own clearance. Assembly then adds a shift that no drawing predicted.
Two elements are worth making explicit. First, the reference planes matter more than the numbers: the top surface of the board, the housing feature that locates the keypad frame, and the shoulder the frame seats against. Measure from the wrong plane and the stack looks healthy while the button does not work. Second, a button far from the nearest locating feature inherits every dimensional error between that feature and itself. On a long panel, the far buttons are the ones that fail, and they fail intermittently because the error direction is not the same on every unit.
General tolerance practice is a useful vocabulary here rather than a rule for silicone. ISO 2768-1:1989 defines the tolerance classes used for linear and angular dimensions without individual indications, and it is the reference engineers reach for when the clearance question is argued. A moulded rubber part is not a machined part, so the keypad's real band usually has to be measured and stated separately - but the two sets of numbers have to be compared on the same drawing or the comparison is meaningless.
One practical consequence of accumulation is that it is directional. A shift does not spread evenly across a panel; it grows with distance from the feature that fixed the position, which is why the far buttons are the ones that fail first and why they fail on some units and not others.
Grouping buttons by function helps here. A controller keypad with a colour-coded function row, a numeric cluster and a confirm key does not give all three groups the same travel budget, and the group with the tightest budget is the one that shows the assembly error first.
Geometry: key height, wall thickness and return structure
Once the assembly loads are understood, geometry decides how much margin is left. Six features carry that margin:
- Key height above the base - sets how early in the stroke the cap meets the opening and how much is left for the contact.
- Key spacing - a tight pitch removes material between buttons and makes the whole cluster more sensitive to shift.
- Wall thickness - adds finger resistance, but also adds resistance to return.
- Return structure - the shape of the web decides both the force curve and the speed of return.
- Overall keypad thickness - the one dimension that interacts directly with the closed height of the housing.
- Contact location - moulded position of the pill or dome, which must survive the same shrink as everything else.
This is a matching exercise, not a quality question. A keypad with excellent dimensional control still fails if its thickness was chosen for a different housing depth, and a coarser keypad can work perfectly if the geometry leaves enough margin for the loads the assembly applies.
Conductive contacts: what changes after installation
Three contact-specific effects that only appear in the assembled unit
- Alignment. The pill lands off the pad centre, so part of the pattern closes before the rest and resistance becomes unstable.
- Compression. Insufficient closing force leaves the pill resting lightly on the pad, which reads as intermittent rather than dead.
- Contamination. Moulding residue, handling soils or oil films hold the contact open at the moment of closure.
Not every silicone keypad uses a conductive contact. A metal dome or a discrete switch under the cap produces different symptoms, and the contact model has to be known before these tests mean anything.
When the controller does use conductive silicone contacts, the difference between a carbon pill and a carbon-printed pad matters for diagnosis, because the two fail in different ways under the same load. The comparison is set out in this explanation of conductive pill and carbon pad inner keypads, and the stability question across a service life is covered in carbon pill against metal dome in an instrument keypad. In both cases the mechanical setup decides the electrical outcome, which is why replacing the keypad before fixing the preload usually moves the problem rather than solving it.
A prototype assembly sequence that reproduces the failure
- Test the keypad free of the enclosure and record force, travel and contact closure for every button.
- Place the keypad in the housing and repeat. Any change here is location, not compression.
- Fit the board and repeat without fasteners. A change here is interference or contact geometry.
- Close the enclosure and torque to the production value, then repeat. A change here is preload.
- Cycle each button repeatedly at the production torque, then repeat the measurement. Marginal contacts separate from sound ones at this stage.
- Open the unit and look for witness marks - rub lines on the cap, compressed webbing, or crushed bosses that show where the load went.
Witness marks are the most under-used evidence in this kind of investigation. Silicone records where it was squeezed, and the marks usually identify the responsible interface within a few minutes.
What the keypad supplier can verify before tooling
A silicone keypad manufacturer controls the keypad, not the controller. The useful division of work is to make the keypad provably correct against the customer's assembly, and to leave the enclosure and board to the customer's own stack-up. Six checks belong on the supplier side:
- Drawing review against the board and the housing, in one coordinate system.
- Button position tolerance stated per button, not as an overall size.
- Contact position and diameter, chosen for the pad pattern and the available positional error.
- Travel and force budget agreed per button group, with the measurement method named.
- Hardness selection matched to web geometry rather than quoted as a standalone figure, measured under a named method such as ISO 48-4:2018.
- Prototype fit test in the customer's housing, closed and torqued, before the production tool is cut.
FromRubber, the brand of Dongguan Bohao Electronic Technology Co., Ltd., has moulded custom silicone keypads since 2010 and works from customer drawings, samples or sketches, which is the stage at which assembly questions are least disruptive to answer.
Frequently asked questions
Why does my silicone keypad work outside the controller but fail inside?
Because the enclosure applies compression and location that a bench test does not. The most common specific causes are preload on the webs and a shift that moves the cap off its contact.
Can enclosure pressure affect silicone keypad operation?
Yes. Enclosure pressure sets the preload, and preload reduces the travel available for a definite press. Specifying a range for the closed height is the practical control.
Can board alignment cause keypad failure?
It can. Board position decides contact overlap, so a board that sits a fraction of a millimetre off the intended position changes how much of the pad the pill closes on.
Why do only some buttons stop working?
Because error accumulates with distance. Buttons far from the locating feature inherit the most tolerance, and load concentrations from an unevenly closed housing affect the nearest buttons first.
Should keypad testing be done after final assembly?
Yes. Standalone testing tells you the part is sound; only testing in the closed, torqued assembly tells you whether it will work in the field.
In short
The gap between a passing bench test and a failing controller is almost always an assembly input: interference, preload, position or contact overlap. Those four are measurable, and they are cheapest to resolve before tooling, on the drawing, with the housing and board tolerances in hand. Chasing the keypad alone tends to produce a second keypad with the same result.
Sources and standards referenced
- ISO 2768-1:1989, General tolerances - Part 1: Tolerances for linear and angular dimensions without individual tolerance indications. https://www.iso.org/standard/7748.html
- ISO 815-1:2019, Rubber, vulcanized or thermoplastic - Determination of compression set - Part 1: At ambient or elevated temperatures. https://www.iso.org/standard/74943.html
- IEC 60529:1989+AMD1:1999+AMD2:2013, Degrees of protection provided by enclosures (IP Code). https://webstore.iec.ch/publication/2452
Contact
FromRubber - Dongguan Bohao Electronic Technology Co., Ltd., custom silicone keypad manufacturer since 2010. Email: nani@fromrubber.com or karl@fromrubber.com. WeChat and WhatsApp: +86 18676210913. Website: www.fromrubber.com