Why Does a Silicone Patch Lose Fine Detail on Small Clothing Logos?
- Share
- Issue Time
- Oct 8,2026

A silicone patch can hold fine detail on a small clothing logo — but the limiting factor is not the size of the patch, it is the width of the thinnest element inside the artwork. Publicly published design guidance for silicone heat-transfer label artwork puts the practical minimum feature width at roughly 1.5 mm, and moulding design guidelines for liquid silicone rubber allow walls as thin as 0.010 in (0.254 mm) only when the wall is short and adjacent sections are not much thicker.
Below that range, thin rules merge into one bar, counters close up, and small text fills in. The pattern is predictable, and it can be predicted before a mould is cut.
Which elements fail first
Detail does not disappear at random. It follows the order of feature width, and the same six elements come up in review after review.
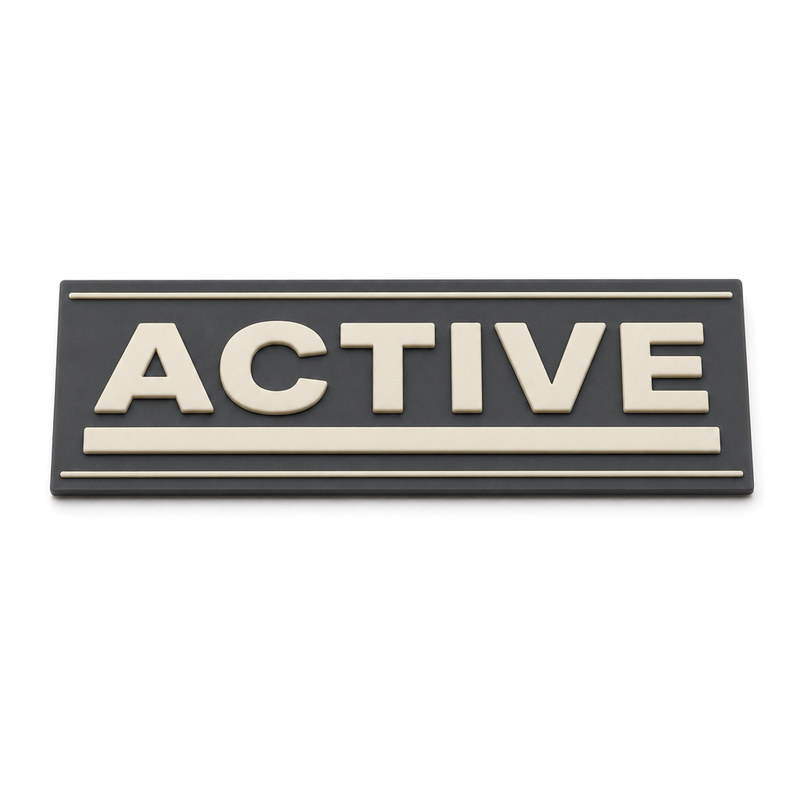
- Hairline rules and single-stroke outlines.
- Small counters — the inside openings of letters.
- Narrow negative gaps between two raised elements.
- Sharp internal corners, which round off.
- Isolated micro marks such as dots and separators.
- Thin frames drawn closely around lettering.
Minimum wall thickness is only half the answer
Moulding guidelines are often read as a single number, but the published figures come with conditions attached. Walls at the 0.254 mm extreme are described as possible only depending on the size of the wall and the location of adjacent thicker sections. Ribs are generally held between 0.5 and 1.0 times the adjoining wall thickness, and inside fillet radii are expected to be close to the wall thickness — radii much larger or much smaller are noted as a cause of porosity.
For a logo, that translates into a simple rule. A 0.3 mm stroke surrounded by generous open areas behaves very differently from the same 0.3 mm stroke sitting inside a dense cluster of other thin lines. Both are "under the limit" on paper; only one moulds reliably.
| Patch height | What happens to fine detail | Usual outcome |
|---|---|---|
| Approx. 60–100 mm | Thin rules and small text have enough room to fill and release | Artwork reproduces close to the approved design |
| Approx. 35–60 mm | Fine rules survive; smallest text and counters tighten | Small adjustments to the finest elements are usually enough |
| Approx. 15–35 mm | Thin rules and counters compete for the same space | Artwork normally needs re-drawing rather than scaling |
Hardness and thickness sit alongside this. Standard moulded silicone is commonly supplied across a durometer range of about 30 to 70 Shore A, and label thickness options published by peer suppliers typically start around 0.2 mm and step up through 0.5 mm and 1 mm. A thinner section can reach into tighter geometry, but it also has less material to release cleanly from the cavity.
Preparing artwork before tooling
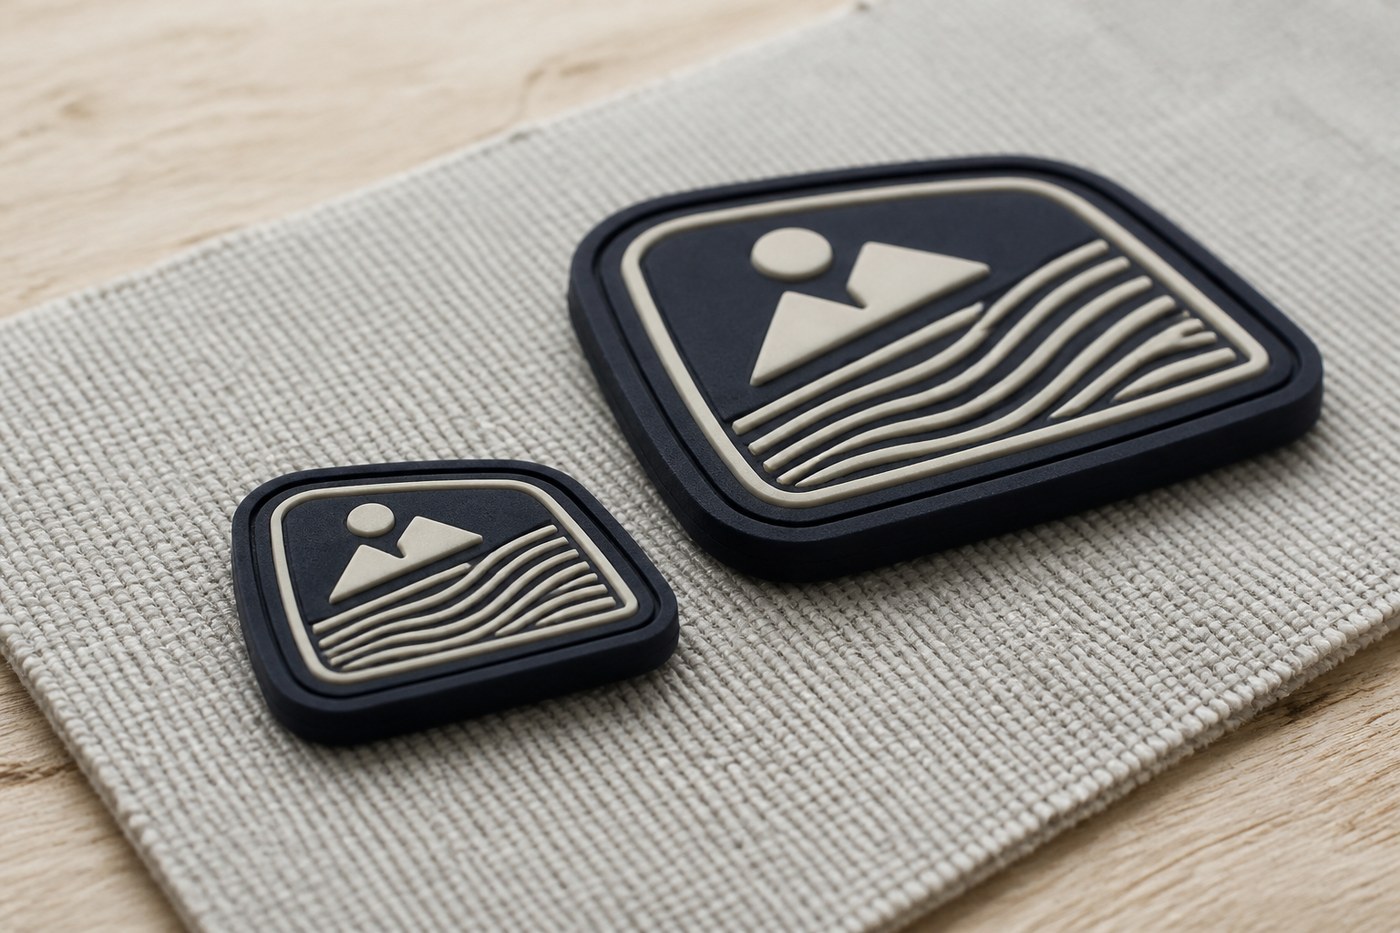
- Fix the finished patch size in millimetres first, then print the artwork at that size and review it on paper, not on a screen at 400 percent.
- Convert all text to outlines so letterforms can be adjusted without changing typeface.
- Measure the thinnest stroke and the narrowest gap — not the outer contour.
- Thicken the weakest strokes slightly and open tight counters.
- Remove micro marks that carry no brand meaning.
- Reduce stacked levels where the visual result allows it.
- Write down which feature is allowed to change and which one must stay exact.
Limits to accept up front
There is no universal minimum patch size. A bold mark reproduces at a far smaller size than a detailed one, and the same file behaves differently at 0.5 mm and 1 mm thickness. Published figures such as the 1.5 mm feature-width guidance and the 0.254 mm minimum wall are reference points from real production guidance, not guarantees for a specific artwork. The only reliable confirmation is a moulded sample of your own design, inspected at real size rather than in a photograph.
Have a logo that keeps losing detail? Send the file with the finished size and FromRubber will review it at final size before any tooling: karl@fromrubber.com or nani@fromrubber.com, WeChat and WhatsApp +86 18676210913. Related pages: mould making and custom silicone labels.
Sources
- https://www.protolabs.com/services/injection-molding/liquid-silicone-rubber-molding/design-guidelines/
- https://newyorkcustomlabels.com/raised-silicone-heat-transfer-labels
- https://en.wikipedia.org/wiki/Silicone_rubber
- https://en.wikipedia.org/wiki/Shore_durometer
- https://en.wikipedia.org/wiki/Compression_molding