How To Make The Rubber Silicone Buttons! Detailed Answers
- Share
- Issue Time
- Sep 6,2024
Summary
How silicone rubber buttons are made: compound mixing, preform weight, press and cure, deflashing, legend and inspection. Which step causes which defect, and why a hardness change is a process change.

Manufacturing process / keypads - reviewed 11 November 2026
How silicone rubber buttons are made comes down to six steps: mix the compound, cut a preform, press and cure it, trim the flash, add the legend, and inspect. Everything that goes wrong in a keypad can be traced to one of those, and most of it happens in step three, where the cure meets the geometry.
Understanding the sequence is useful even for a buyer who never enters the plant, because it explains why a change of hardness or a change of colour is a process change rather than a cosmetic one.
Definitions. Compression moulding is the process in which a measured preform of uncured silicone is pressed into a heated cavity until it cures. A preform is the cut or extruded blank loaded into the cavity, and its weight controls whether the part fills or flashes. Flash is the thin material that escapes at the parting line, and deflashing is its removal, usually by hand, tumbling or cryogenic methods.
Step one and two: compound and preform
Silicone arrives as two components that are mixed with pigment and catalyst shortly before use. The mixed compound has a working life, so the batch size is set by how fast the presses will consume it. The preform is then cut to a weight calculated from the part volume plus a small excess: too little and the cavity does not fill, too much and the flash becomes thick enough to distort the parting line.
Step three: press, cure, demould
The preform sits in the cavity, the press closes, heat and pressure cure the part. Cycle time follows the thickest section, because silicone cures by heat transfer rather than by a chemical reaction that runs at its own pace. That single fact explains why a thicker boss costs more per part and why a keypad with a heavy base runs slower than one with a thin web.
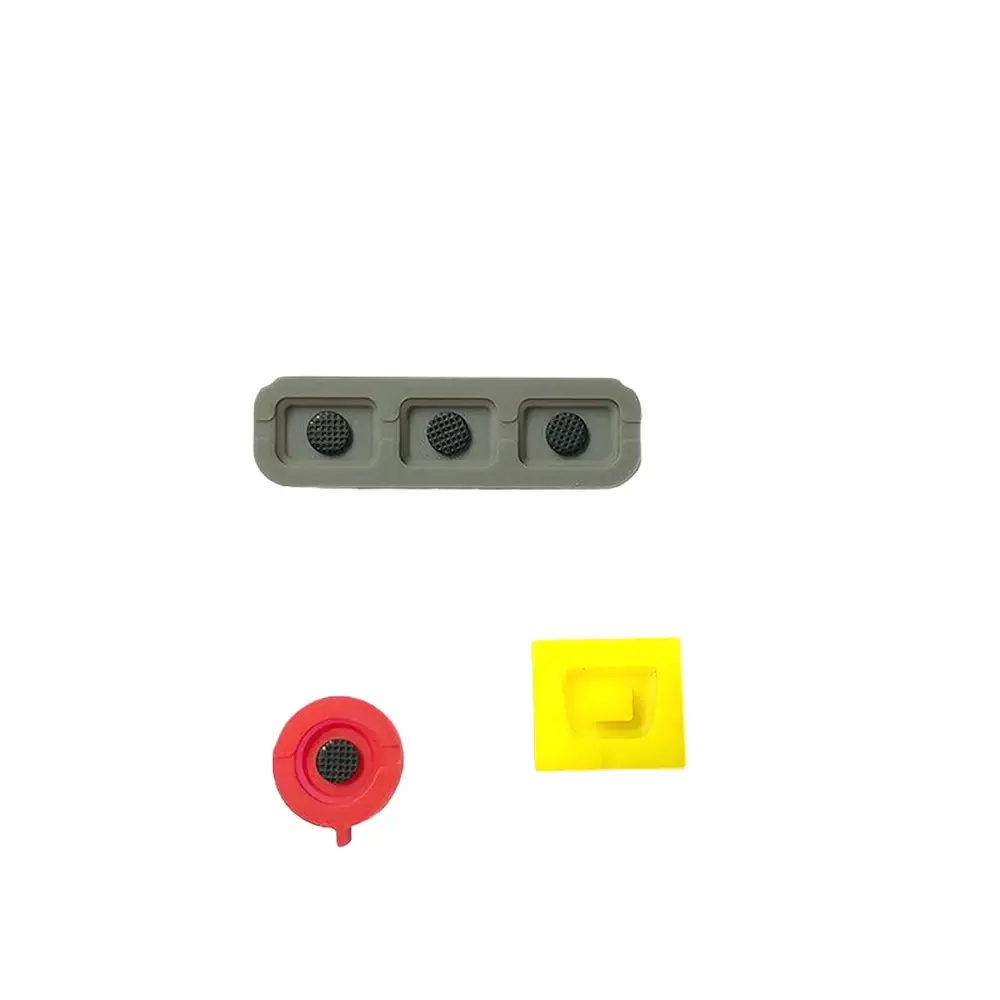
The six steps in how silicone rubber buttons are made
| Step | What is controlled | Failure if it drifts |
|---|---|---|
| 1. Compound mixing | Ratio, pigment, catalyst, working life | Soft or under-cured parts, colour drift between batches |
| 2. Preform | Weight and placement | Short fill at a corner, or thick flash at the parting line |
| 3. Press and cure | Temperature, pressure, time | Weak web, dimensional drift, odour from under-cure |
| 4. Deflashing | Method and inspection | Torn edges, or flash left on a sealing face |
| 5. Legend | Moulded, printed or laser | Wear at high-touch edges, or misregistration |
| 6. Inspection | Force, resistance, cosmetics | Parts that pass visually and fail on the line |
Why hardness changes the whole programme
A harder compound flows less under the same pressure, so the preform weight and the cycle both change. That is why a request to "make it a bit firmer" is a process change with a new trial, not a substitution. The same applies to a new pigment: some pigments affect cure speed, and a colour that looks identical can shift the cycle enough to alter dimensions.
The carbon pill is placed, not grown
Conductive contacts are either moulded in as a carbon-loaded silicone insert, printed with conductive ink, or bonded as a pill in a secondary operation. Each route adds a step and a failure mode, and each has a different end-of-life resistance. The choice should be made with the actuation count, not with the unit price alone.
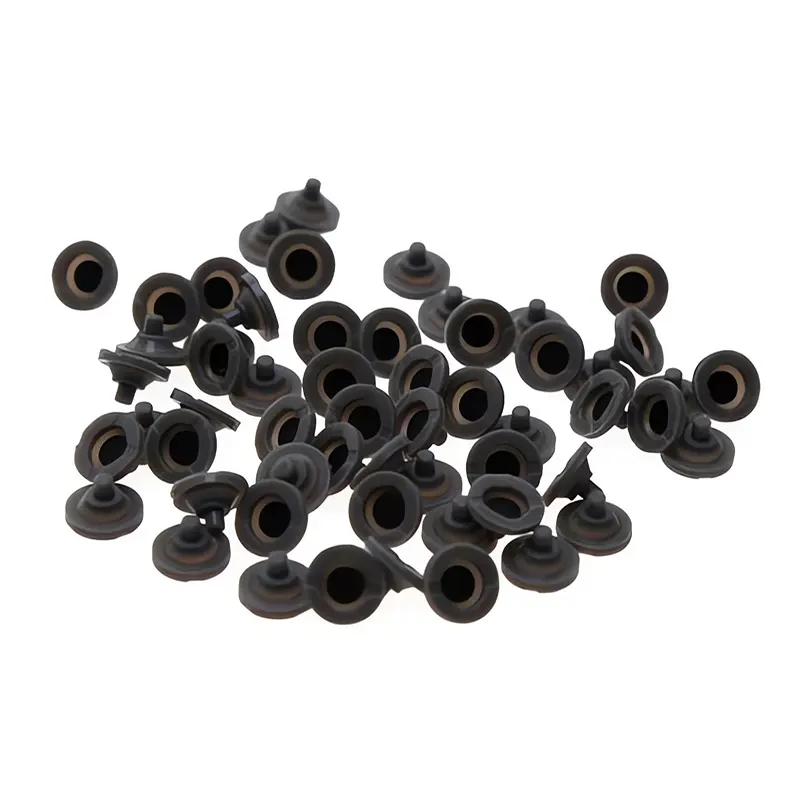
Inspection is the step that separates two similar factories
Two factories can run the same press and the same compound and produce different quality, because one inspects force and resistance and the other inspects appearance. A force-travel check at several keys and a resistance check at the extremes of a pad catch the problems that a visual standard cannot see, and they are cheap once the rig exists.
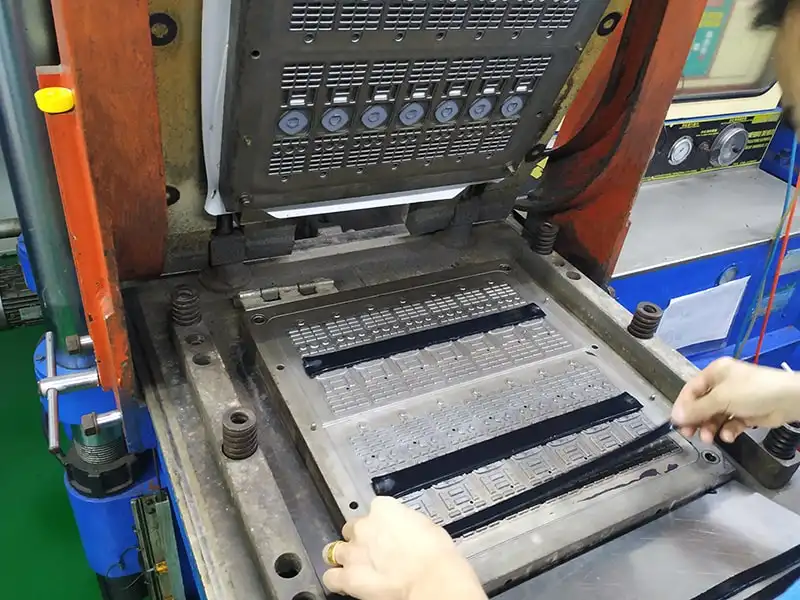
Commissioning a button programme
Send the drawing with the force target and the actuation count; the process route follows from those. The silicone keypad manufacturing section covers the moulding route, and the custom silicone rubber keypad page shows the finished construction.
How long does a silicone button take to mould?
Cycle time depends on the thickest section and the compound, and it is measured in minutes rather than seconds for compression moulding. A thicker part cures longer, which is why section design drives cost.
Why do two batches feel different?
Usually compound ratio or cure time has drifted, or the pigment lot has changed the cure speed. Both show up as a force difference, which is why force should be inspected rather than assumed.
Can flash be eliminated?
It can be minimised by tool design and preform control, but some flash is normal at a parting line. The specification should say where flash is acceptable and where it is not.
Cycle times, preform weights and cure parameters are process settings that vary with compound, tool and press. They are set and recorded by the moulder, not by the drawing.
For a button programme, send the drawing and force target through the custom silicone quotation route.