Stair Climber Silicone Keypad Button Layout Considerations for Compact Workout Consoles
- Share
- publisher
- FromRubber
- Issue Time
- Sep 14,2026
Summary
A stair climber console is used by somebody who is already moving, so the layout decides whether the panel is safe to operate. This article looks at why a desktop grid does not transfer, how to cluster keys by use phase, what pitch and bridging webs do to a diagonal press, and how a five-key level strip started firing two levels at once.
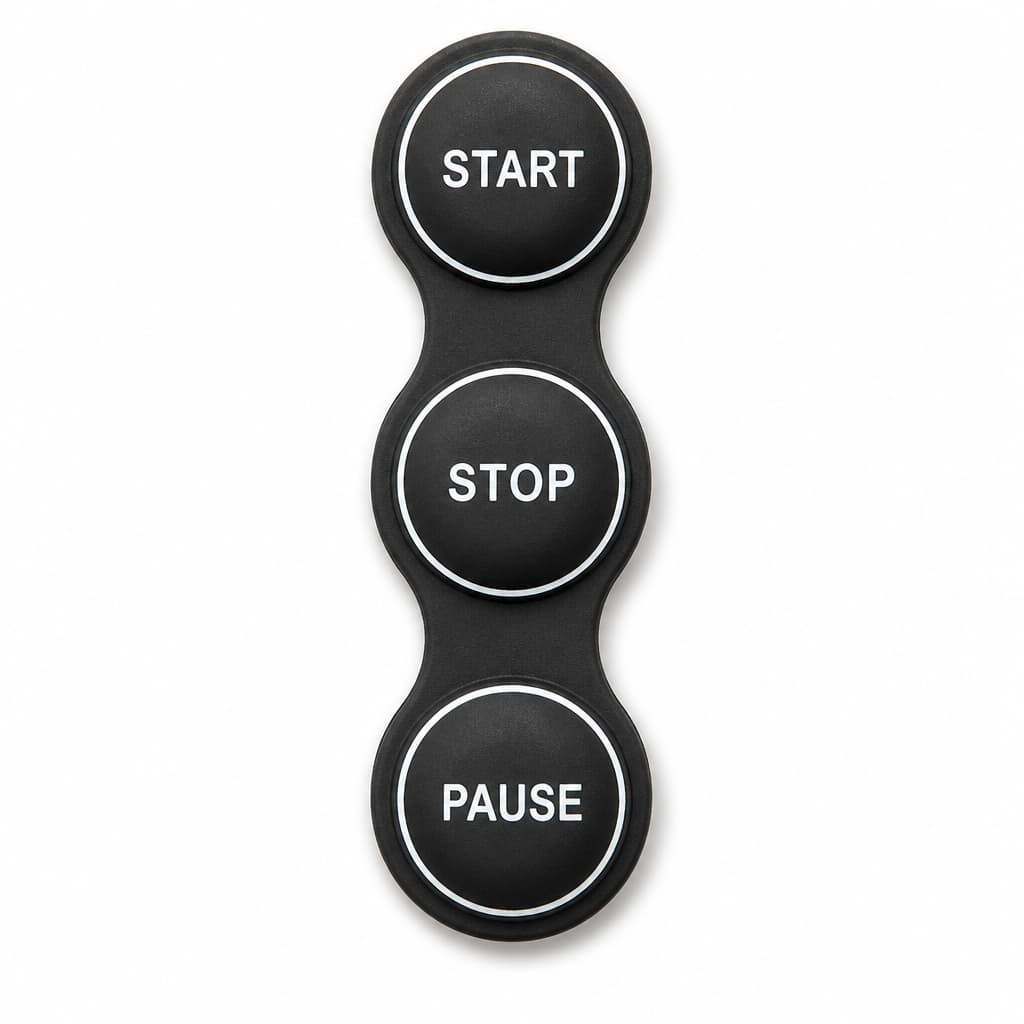
Nobody complains that the stair climber silicone keypad broke. They complain that they hit SPEED+ with the heel of the hand while grabbing the handrail, or that they pressed STOP and the staircase delivered one more step before it slowed. Both complaints point at the same part of the drawing: where the buttons sit, how far apart they are, and which ones are next to each other. On a compact workout console, layout is not a cosmetic decision. It is the first thing that decides whether the panel can be used safely by somebody who is already moving.
Why a stair climber silicone keypad cannot borrow a desktop keypad layout
Most keypad layouts in circulation were designed for a person sitting still with both hands free. That assumption is baked into the ergonomic literature as well: the ISO 9241 series on physical input devices is written around office keyboards used from a stable seated posture, and its numbers for key size, spacing and force all assume the user can stop and look. A stair climber console violates every one of those assumptions at once.
ISO 20957-8, the part of the stationary training equipment series that covers steppers, stairclimbers and climbers, defines a stairclimber as equipment built like a moving mechanical staircase where the user's foot has to leave the step in order to climb. That single sentence is the whole layout brief. The user is never in a stable stance, the console is small because it sits on top of the staircase housing, and the panel is used while the legs are in continuous motion.
The same standard makes the layout a safety item rather than a convenience. Clause 5.9.2 requires a manual stopping system for stairclimbers, and clause 5.9.3 requires an automatic stopping system to reduce the risk of entrapment. It also lists a tactile examination among its test methods. None of those clauses names a key, but all of them depend on the operator being able to find one, in the dark, with one hand, on the first attempt. A layout that forces the user to look down and hunt for the stop key turns a compliance requirement into a training problem.
Put the stop keys where a moving hand already is
On a stair climber, the free hand tends to stay near the same area of the console: the outer third of the panel on the side of the handrail the operator is not gripping. That is the reach envelope the stop key should live in, not the centre of the panel, and not the row above the numeric keys where it is easy to brush while adjusting speed.
The vertical stack in the photograph above works for a different reason: it makes the three state-changing keys a single column, so the thumb travels along one axis and never has to cross a neighbour to reach the one it wants. On a console with two or three rows, a vertical stop column also keeps the stop keys clear of the speed keys, which is the pair most often confused under vibration.
Design around a hand that is already holding on
Watch how a console is actually used and the layout problem changes shape. During a climb, one hand is on the handrail most of the time. The other hand does the work, but it approaches the panel from the side and at an angle rather than straight down, because the operator is standing behind a machine that is narrower than their natural stance. A vertical press on a horizontal grid is the exception, not the rule.
That has two consequences for layout. First, the most-used keys should sit along an arc that a hand sweeps naturally, rather than on an orthogonal grid that assumes a perpendicular press. Second, the space between keys has to be evaluated for a diagonal press, not just a centred one. A diagonal thumb contact loads the bridging web between two keys, and if the web is too thin the wrong circuit closes.
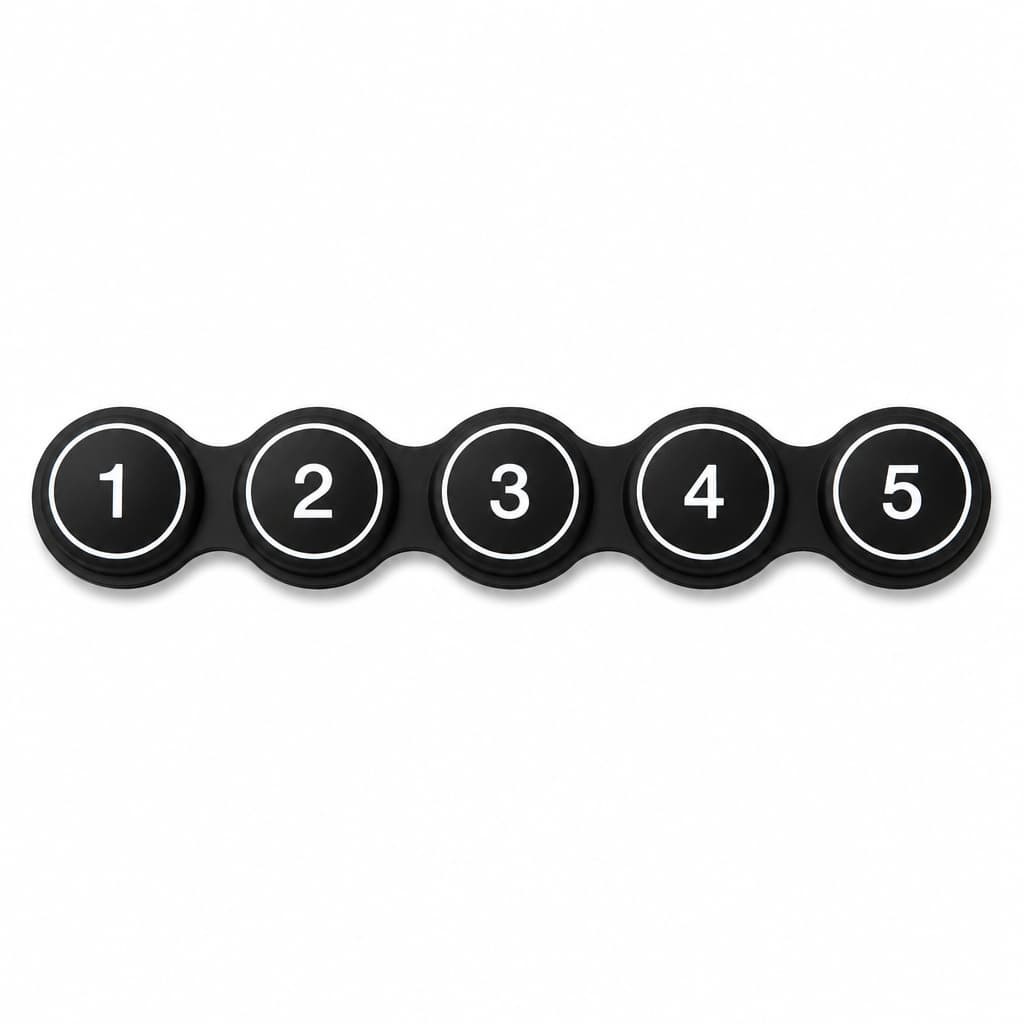
One-dimensional controls for one-dimensional choices
Intensity level is a ladder, not a map. When a choice is ordered, laying it out as a single row lets the operator count with the thumb without lifting the eyes, and it eliminates the entire class of mistakes where the hand lands on the key above or below. A five-step strip also gives each level its own printed legend, which matters more than it sounds: on a compact console a printed number is readable at arm's length, while a small icon is not.
The trade-off is panel length. A five-key strip in a row consumes the widest dimension of the console face, so it competes with the display and the stop cluster. The layout decision is therefore really about which control deserves the long axis, and on a stair climber the ordered one usually does.
Cluster by use phase, not by function name
The usual way to organise a console is by what a function does: speed controls here, programme keys there, media controls somewhere else. On a compact panel that produces a layout with no logic the hand can learn, because the operator does not think in function categories. They think in phases, and each phase tolerates a different amount of looking down.
- Mount: the machine has to start at a low, predictable setting. Nothing should be pressable that can change speed before the feet are on the steps.
- Set the target: programme, duration and level are chosen standing still. This is the only phase where a dense cluster is acceptable, because the operator can look down.
- Adjust while climbing: speed and resistance are the only keys that should be reachable, and they should be near the display so the change can be confirmed without a second glance.
- Stop: one key, first attempt, no look-down. This is the key whose layout is least negotiable.
- Dismount: the machine must be able to reach a stationary state before the operator steps off, which is why the stop sequence is a layout problem and not a firmware one.
The dismount test. Before signing off a console layout, sit it on a machine and ask a colleague who has never seen it to stop the machine from a moderate speed with one hand, no look-down, while standing. Then ask them to do it again with the panel at 30 percent brightness in a dim room. Every layout we have reviewed that later drew operator complaints failed the second version of this test, not the first.
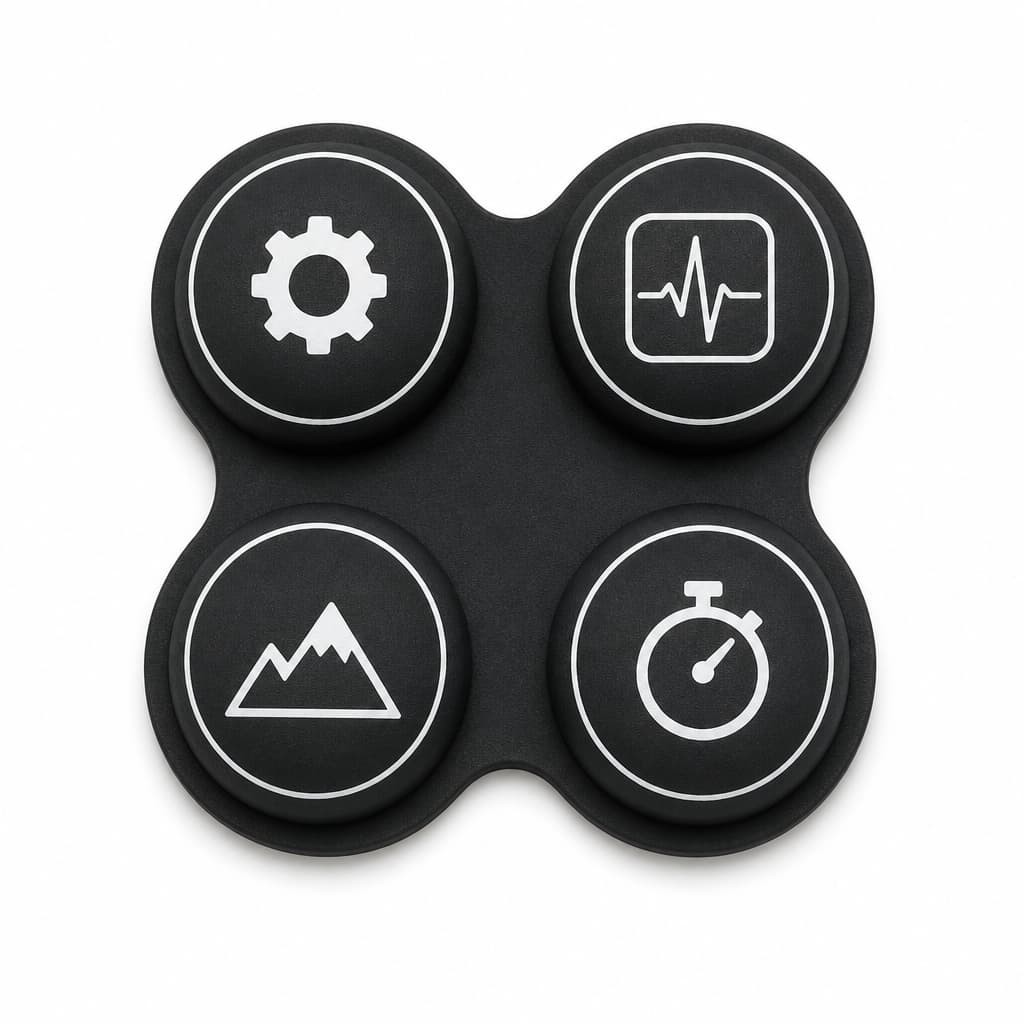
Utility functions can share a cluster because nobody presses them running
Settings, heart-rate pairing, interval timing and elevation belong to the prepare-and-review phases. Grouping them into a single cluster frees the console face and, more usefully, keeps them away from the motion keys. When a heart-rate pairing key sits adjacent to SPEED+, a hand reaching for the speed change will eventually find the wrong one.
The cluster also gives you a natural place to put low-frequency legends. A four-key group can carry printed text at a size that would never fit if the same four functions were spread across the panel as isolated keys, which means the operator can read them once and remember them instead of learning by trial.
Pitch, bridging webs and the double-trigger problem
Published keypad design guides converge on a fairly narrow working window for the switch itself: typical keytop travel for a conductive silicone design is around 0.03 to 0.07 inches, actuation force is usually quoted between roughly 60 and 200 grams, and a snap ratio of about 40 to 60 percent is what produces a legible click. Those numbers describe one key. A compact console fails on the relationship between keys.
Two geometric parameters do most of the work. The first is pitch, the centre-to-centre distance between adjacent keytops. The second is the bridging web, the strip of silicone that connects two keys in the same moulding. Reduce the web to gain panel space and the web stops isolating the two force cones: a press on one key starts to pull the neighbour's cone toward its contact threshold. Add a diagonal thumb contact and the effect gets worse, because the web sees a shear load rather than a compression load.
There is a second-order consequence that is easy to miss until it reaches the field. A thin web that flexes with a neighbour does not only risk a false press. It also softens the return stroke, so the key the operator actually pressed comes back more slowly, and the second press in a fast sequence lands before the cone has recovered. On a console where the operator taps SPEED+ repeatedly to ramp up, that shows up as a control that feels unresponsive rather than as a control that mis-fires.
What goes wrong most often on a compact console
- The stop key is positioned by symmetry rather than by reach, so it ends up in the panel centre where the display cable and the mounting bosses already compete for space.
- Speed and programme keys are interleaved to make the panel look balanced, which puts a low-consequence key and a high-consequence key in the same thumb path.
- Level or intensity keys are laid out in a grid, so the operator has to read them instead of counting them.
- Utility keys are spread across the panel instead of grouped, which spends space on legends that could have been printed once in a cluster.
- Key pitch is reduced to fit a display, and the bridging web becomes the item that sets the panel's real rejection rate at the end of the line.
Case: the five-key level strip that fired two levels at once
Symptom. A five-key intensity strip on a compact stair climber console was reported by gym staff for occasionally jumping two levels per press. Bench testing of loose mouldings showed a clean snap on every key, and the strip passed its own actuation force target.
Measurement. The strip was re-tested as an assembled unit, screwed into a console housing that was slightly less flat than the drawing assumed. The preload from the housing compressed the outer keys against the flange. Force-travel curves on the assembled strip showed the return force of keys 2 and 3 sitting close to the release threshold of the input circuit, and a diagonal press on the edge of key 3 collapsed the web into key 4.
Root cause. Two layout decisions that looked harmless on a flat drawing. The bridging webs between the middle keys had been thinned by 0.15 mm to gain panel width, and the strip's pitch had been set by the display bezel rather than by the thumb. Because the operators tapped rather than held, the softened return stroke produced a second actuation on the same finger movement.
Fix. The web was restored to its original thickness and the pitch was opened by redistributing the print area rather than the moulding. The flange was given a defined compression groove so that assembly preload stopped being a variable. The change did not require a new legend design or a different silicone grade, only a different arrangement of the same part.
What it suggests. On a compact console, the layout drawing and the moulding geometry are the same decision. Changing the pitch to suit the display is a change to the switch, whether or not the switch drawing says so.
FAQ
Should a stair climber silicone keypad use icon-only buttons or printed text?
Printed text for anything the operator has to find and reason about, icons for anything the operator already knows by position. On a compact panel there is rarely room for both on the same key. The stop key is the exception: it should be unambiguous by position first and by legend second, because the legend is the part the operator is least likely to read in a hurry.
How much space should sit between the stop key and the speed keys?
Enough that a diagonal press cannot reach from one to the other, which in practice means treating the two groups as separate clusters rather than as neighbouring keys in one row. The panel is better served by a gap than by a taller or more detailed legend.
Does the layout have to change if the console gains a tablet holder?
Usually yes, and not only for space. A tablet or phone on the console shifts the hand approach angle and often becomes a second resting surface, so the keys nearest the device are pressed by knuckles rather than fingertips. The keys that tolerate that are the prepare-phase keys, which is an argument for placing the utility cluster, not the motion cluster, next to the holder.
Conclusion
Layout on a stair climber silicone keypad is a stability problem wearing the costume of a spacing problem. The operator is mid-stride with one hand occupied, so the panel has to be organised around what a moving hand can reach, in what order, with what tolerance for a diagonal press. Get that right and the switch geometry has a chance to work. Get it wrong and no amount of force tuning will stop the panel from being the part that gets complained about. FromRubber moulds custom silicone keypads and button panels for fitness and industrial equipment, and reviews layout, pitch and web geometry against the customer's housing before tooling is cut.
This article was written by the moulding engineering team at FromRubber, a custom silicone keypad and button manufacturer in Dongguan, China. We mould control panels for fitness, medical and industrial equipment. The checks described here are the ones we run on our own shop floor before a panel layout is released to tooling.
Related reading
Sources
- [1] ISO 20957-8:2017, Stationary training equipment — Part 8: Steppers, stairclimbers and climbers — Additional specific safety requirements and test methods. Stairclimber definition (3.3), manual stopping system (5.9.2), automatic stopping system to reduce the risk of entrapment (5.9.3), tactile examination (6.1.3). https://cdn.standards.iteh.ai/samples/70975/0fab6016375c465282ea8d5b8d3ea2fc/ISO-20957-8-2017.pdf
- [2] ISO, ISO 20957-8:2005 Stationary training equipment — stepper, stairclimber and climber machines, standard record. https://www.iso.org/standard/39909.html
- [3] ISO 9241-410:2008, Ergonomics of human-system interaction — Part 410: Design criteria for physical input devices, online browsing platform entry. https://www.iso.org/obp/ui/#iso:std:iso:9241:-410:en
- [4] Epec Engineered Technologies, Rubber Keypad Design Guide — travel, force, life cycle and contact resistance ranges. https://www.epectec.com/keypads/design/
- [5] J.W. Electronic Components, Design guide for rubber keypads — actuation force, snap ratio and stroke definitions. https://www.jw-electronic-components.de/pdf/Design%20guide%20for%20rubber%20keypads.pdf
- [6] Sitech Corporation, Key design elements for a silicone keypad — diaphragm height, travel and web geometry. https://www.sitech-corp.com/blog/key-design-elements-for-a-silicone-keypad/
- [7] ISO, ISO 9241-4:1998 Ergonomic requirements for office work with visual display terminals, keyboard requirements, ANSI webstore record. https://webstore.ansi.org/standards/iso/iso92411998
- [8] FromRubber, Silicone Rubber Products Service Process — custom silicone keypad development and tooling sequence. https://www.fromrubber.com/comm30/Custom-Silicone-Rubber-Product-Service-Process.htm