


FromRubber Design Waterproof Plastic Button Rubber Keypad For Automobile Key
Item specifics
- Design
- Follow 3D Drawing Or Physical Object
- Process
- Molding-Spraying-Plastic Injection-Assmble
- Assemble
- Silicone Rubber Keypad Pad+Plastic Button Cap
- MOQ
- 3000pcs
- Application
- Automobile Key
Review
Description
A car key is pressed tens of thousands of times, carried in a pocket with coins, left on a dashboard in summer and dropped on concrete in winter. The buttons are where that life shows first. This page explains the hybrid construction used for waterproof plastic buttons over a silicone keypad: where the seal sits, how the two materials are matched, and what has to be validated before the assembly goes into a vehicle programme. The electronics inside a key fob are usually well protected. The failure starts at the button: a hard plastic cap moves against a soft silicone actuator, and every press works the interface between them. Water does not need a crack to get in; a film of moisture on the cap migrates past the actuator stem during the return stroke and collects on the contact area. The second mechanism is cosmetic and commercial at the same time. UV exposure and skin oils attack the printed icon on the cap before the switch itself wears out, and a key whose lock icon has rubbed away is treated as a defective product even though it still transmits. The button construction has to protect a legend as well as a contact. In a hybrid key the visible cap is a molded thermoplastic part, usually ABS or a PC/ABS blend, and the sealing and switching function belongs to the silicone layer underneath. The cap provides the crisp edge, the colour and the wear surface; the silicone provides the spring return, the sealing lip and the carbon contact. The critical dimension is the interference between the cap stem and the silicone actuator. Too little and the press feels loose and the seal is not loaded; too much and the silicone is pre-compressed, the tactile break disappears and the actuator takes a permanent set. This interface is drawn as one stack, with the cap and the keypad tolerances on the same drawing. A key fob button is qualified as an assembly because the failure modes only appear when the materials act together. Thermal cycling opens the gap between the plastic cap and the silicone actuator as the two materials expand at different rates, and an immersion test run only at room temperature will not reveal it. The sequence that finds real problems is thermal shock followed by immersion, repeated, then a press-cycle test on the same samples. UV exposure belongs in the same sequence. A cap that passes a colour check when new can chalk or yellow after simulated sunlight, and the legend can lift under the combination of UV and hand oils. Accelerated weathering followed by an abrasion rub on the legend is a more useful acceptance test than a colour reading alone. When cap and keypad are molded in the same programme, the two tools are designed against each other. Thermoplastic caps shrink predictably and can be held to a tight tolerance; silicone actuators are far more compliant, so the fit is normally biased towards the silicone absorbing variation. That bias has to be deliberate, because an actuator designed at nominal will bind when the cap runs to its upper limit. Gate position on the cap decides where the weld line lands. On a small key cap the weld line is often on the top face, exactly where the legend is printed, and the resulting surface step shows through the ink. Moving the gate to a side wall or a hidden edge costs nothing at the tooling stage and removes a recurring cosmetic defect. Figures are agreed on the approved drawing and confirmed on first article. The fields below are the ones that decide whether the assembly passes a vehicle programme review. Both parts can be moulded in the same programme and reported on one first-article document, which is what keeps the cap-to-actuator interference under control. Where the cap comes from another supplier, the interface dimensions are still reviewed together. A molded-in icon is possible where the tooling can carry the detail, and it removes the legend wear problem entirely. Where colour contrast is needed, printing or laser etching is used and then abrasion tested in combination with UV exposure. On the assembled key, after thermal shock, so the seal is tested in the geometry it actually reaches in service. A pass at room temperature on a freshly assembled sample is not treated as evidence of waterproofness. 3000 pcs for this product family. Prototype quantities for fit and feel checks are handled separately so the tool can be validated before a production order. Send the key housing section, the switch stack and the legend artwork. The review returns the cap and actuator interference, sealing geometry, gate position and the validation sequence to run before a vehicle programme submission.Waterproof Plastic Button Over a Rubber Keypad for Automobile Keys: A Hybrid Construction Guide
Why Key Fob Buttons Fail Before the Electronics Do
Ingress, UV and the repeated-press problem

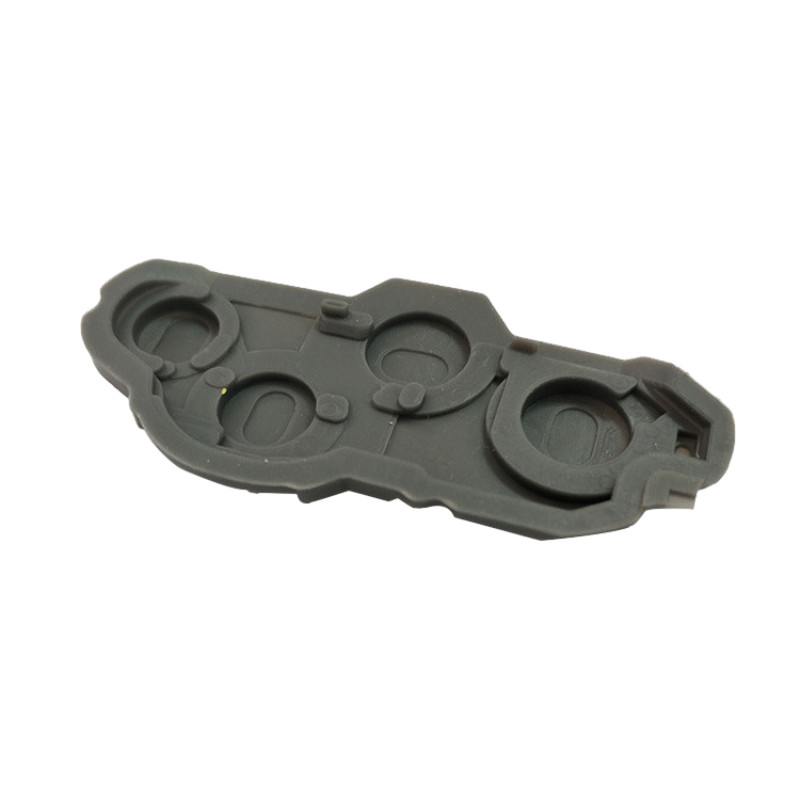
Hybrid Construction: Plastic Caps Over a Silicone Actuator
Where the seal actually sits
Automotive Validation: Test the Assembly, Not the Parts
Thermal shock, UV and drop
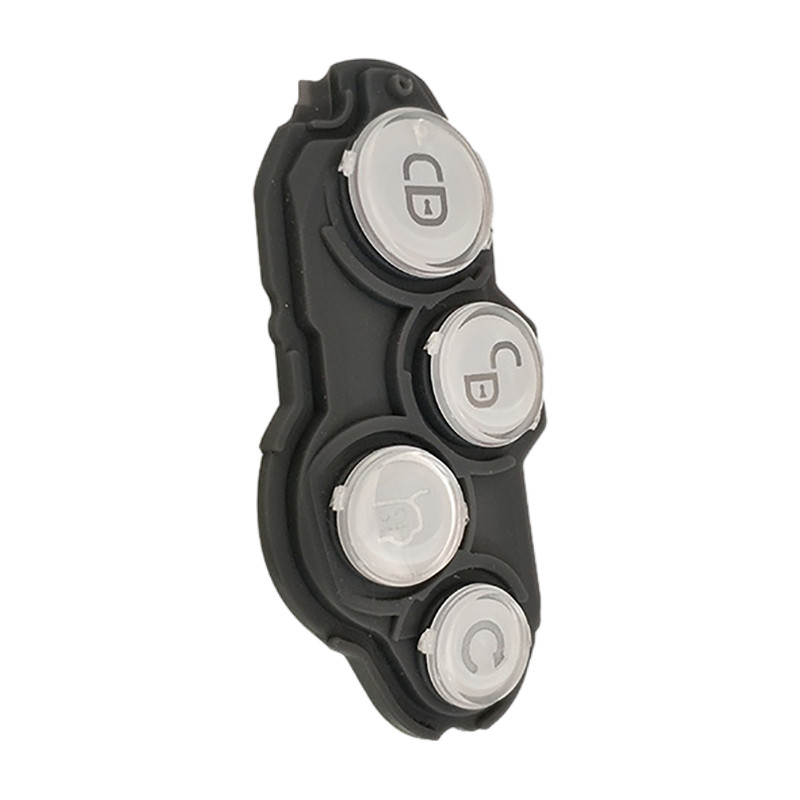

Tooling Two Materials in One Programme
Matching shrinkage and gate position
Waterproof Key Button Specification Fields
Automotive Key Button Questions
Do you mold both the plastic cap and the silicone actuator?
Can the icon be moulded instead of printed?
How is waterproofness verified?
What is the minimum order for a car key button project?
Review the Button Stack Before Tooling


