


Modern Durable Sew‑On Silicone Patch for Caps, Bags & Jackets
- Model
- BH-silicone label
Item specifics
- Design
- Follow 3D Drawing Or Physical Object
- Process
- Molding
- Feature
- Safe, colorful, and washable,Sew‑On
- MOQ
- 1000pcs
- Application
- hats, tote bags, coats, and other apparel
Review
Description
A sew-on patch fails at the needle holes long before it fails at the logo. The flange has to be wide enough for a stitch line that misses the relief, thin enough to bend over a curved panel, and soft enough that the thread cuts in rather than tearing out. Get those three right and the patch survives the wash cycle; get them wrong and a perfect moulding still lifts at the corner after five domestic washes. This is the format to choose when heat cannot reach the joint: a structured cap crown, a coated or water-repellent shell, a leather panel, a garment that would scorch, or a product assembled after decoration. If your fabric can take a heat press, the sewn version is usually the slower and more expensive route - the trade-off is set out in heat transfer versus sew-on rather than repeated here. Three numbers decide whether the patch can be sewn at production speed on a curved panel. They belong on the 3D drawing, and they should be agreed before the mould is cut, because they change the tool. Treat these as starting points for the first sample, not as a universal rule: a cap crown with a 40 mm radius needs a different compromise from a flat tote panel. A six-panel crown is a compound curve with a seam running down the middle of the panel you want to decorate. Two consequences follow. First, the patch must either sit clear of the seam or be moulded with a channel that lets the seam pass underneath. Second, the stitch line should follow the crown curve, not the patch outline, or the flange will buckle on one side. Practical answer: a smaller patch with a wider flange and a slightly domed back moulds better on a crown than a large flat plaque. Oversized flat patches are the most common cause of a cap sample being rejected at the sewing line. A flat back panel is easier, but the fabric is heavier and often coated. The needle has to pass through a laminated shell without pushing the coating into the patch, and the thread must be strong enough that the patch flange, not the fabric, is the weak link. A longer stitch and a slightly heavier thread usually outperform a denser stitch here, because more holes mean more tear initiation points in the flange. On waterproof shells, every needle hole is a leak path. If the garment must stay waterproof, the decoration belongs under a storm flap or as a heat transfer - another reason to settle the attachment method before the style is finalised. Clamp the patch and pull at 90 degrees to the seam. The thread should break or the flange should tear at the hole - what must not happen is the flange splitting along a mould line. Wash at the temperature on the care label, tumble or line dry, and inspect the stitch line after each cycle. Corner lift after cycle three is a flange design problem, not a thread problem. Rub the cut edge against the fabric it will sit on. A sharp, moulded edge with no radius abrades both the thread and the garment, and shows up as fuzzing within a season. Two more checks are worth the time on a bulky programme: a wash test with the garment, not the patch alone, and a needle-heat check on coated fabrics, where a dull needle can weld the coating to the flange. Neither takes long, and both are cheaper than a bulk claim. Vector artwork, finished size, fabric, and how the part will be sewn. The flange is drawn at this stage, not later. Relief height, edge radius, flange, stitch groove and colour separation are fixed on the drawing and reviewed with you. A sample sewn onto the real fabric answers more questions than a photograph of a patch on a desk. Production from 1,000 pieces. We can supply the sewing template so the stitch path is repeatable at the line. Yes, and that is the normal arrangement. Send the sample with a paper template showing the stitch path and the start point; the two things that go wrong on a customer line are the stitch running into the relief and the patch being positioned off-centre on a curved panel. On a patch under about 40 mm, a 3 mm flange is usually the practical minimum because the presser foot needs room. Below that, consider a heat transfer instead, or accept a larger overall footprint. Compression moulding handles a pronounced relief well, but height must be read together with stroke width: a tall, thin letter is harder to fill than a low, wide one. The legibility rules are the same as for a 3D label. Silicone tolerates the temperature; the thread and the fabric are usually the limiting factors. Tell us the wash regime and we will specify the flange and stitch recommendation around it, then test the assembly. Flange, relief and stitch path are decided together, and the fabric is part of that decision. Send a vector file and a photo of the panel it will sit on, and we will return a 3D proposal with the sewing template for your line.Sew-on silicone patches: the critical dimension is the stitch line, not the artwork
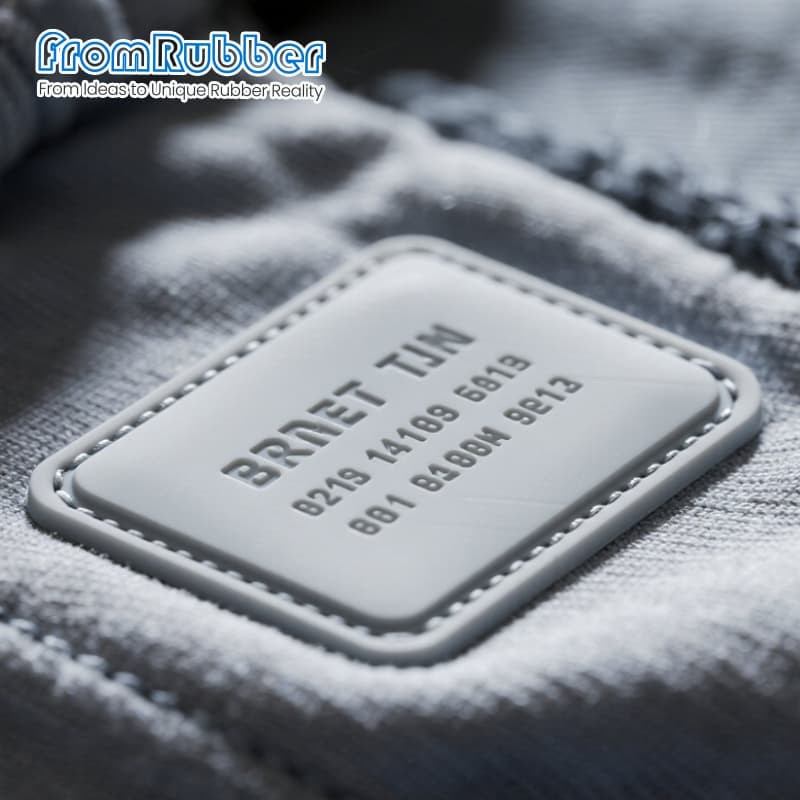
Design the flange before you approve the artwork
Two very different sewing problems
The cap crown
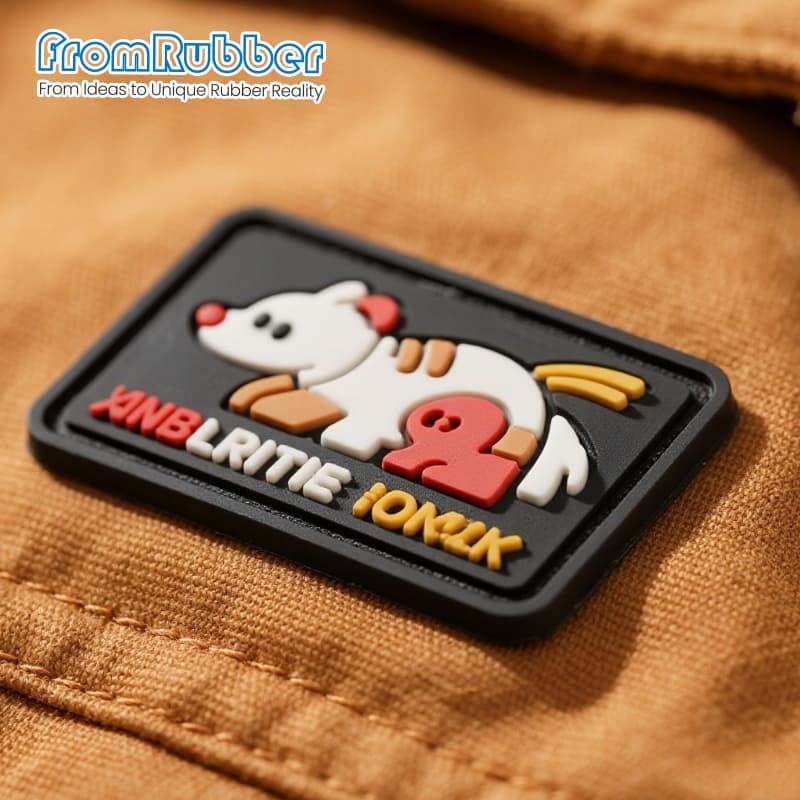
The jacket back and the heavy shell
What to test on the first sample
Stitch pull-out
Five wash cycles
Abrasion at the edge

From artwork to bulk
Artwork and attachment brief
3D mould design
Sample on your fabric
Bulk with stitch support
Questions from brands and garment factories
Can the patch be sewn by our own factory?
How wide should the flange be for a small patch?
Does the moulding process limit the relief height?
Can it be washed industrially?
Send the artwork and the fabric, not just the logo


