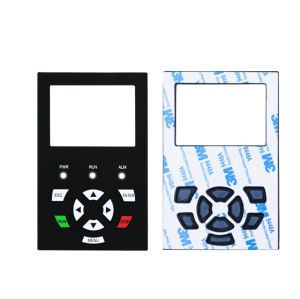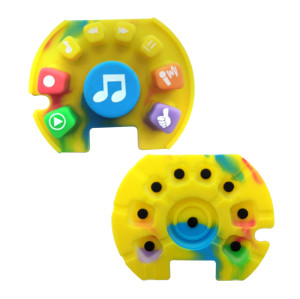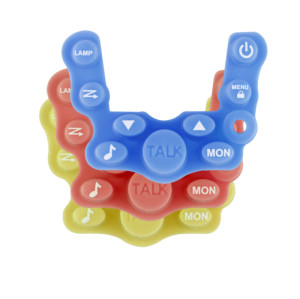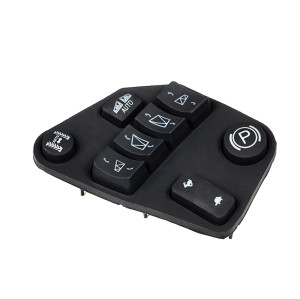
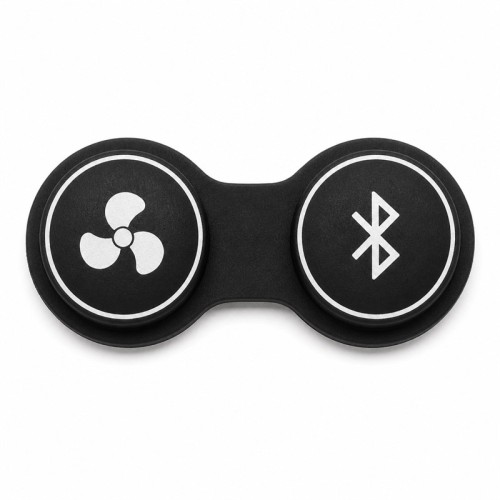
Waterproof & Sweatproof Stair Climber Silicone Keypad – Custom Silicone Rubber Keypad with Silk-Screen Printing
Item specifics
- Material
- Silicone Rubber (compound hardness selected for key force and seal)
- Key Layout
- Custom, moulded to console drawing
- Legend
- Silk-Screen Printing, optional laser etching, optional clear coat
- Contact
- Conductive carbon pill or metal dome, aligned to PCB pads
- Sealing
- Moulded perimeter lip, flat gasket flange or adhesive backing
- Backlight
- Optional, translucent legends over console LED layout
- Application
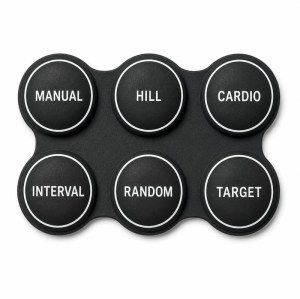
- Stair climber console and fitness equipment control panels
- Tooling
- Custom compression mould cut for your console, with printing and screening jigs
Review
Description
A pad turns up with a note on it: START needs two presses. We cut it open and the rubber is fine. The print has gone, or the key wants to be pushed harder than it did last year, or there is a wet patch sitting over the contacts. All three were settled on the drawing, long before a rider ever touched the console. On a stair climber, water does not arrive like rain. It arrives as sweat running down the handrail to the console, and as a spray bottle and a cloth between users. The first thing to get wet is the joint where the pad meets your panel, and the console on a stair climber usually sits on a sloping face, which is about the worst angle you could give it. Gravity takes everything on that surface straight down into the joint. The key tops are the last place that leaks, unless the pad is glued down and the glue line has already given up. So the perimeter is the first thing we design and the web between the keys is the second, because the web is where liquid waits on its way to the contacts. We would rather solve that on the drawing than in your warranty. A pad that comes back costs you a service call, a console swap and a conversation with the gym; a lip that is a tenth of a millimetre different costs nothing at drawing stage. Three things and we can start: the panel drawing, or the old pad, or a photo of the console with the key positions marked; the height of the rib or step the pad seats against; and the board underneath, with the contact pads and the LED positions. A hand sketch with dimensions is enough to quote from. Then two questions. How should the key feel when it is pressed, and what do the gyms clean the console with. Those two decide the compound, the print and the clear coat, and they are much harder to change once the tool is cut than they are on paper. If there is no drawing at all, send the console or the worn pad and we will measure it. We send a drawing back for you to check before anything is cut, and we point out the parts we think will cause trouble — usually the web width between the two most-pressed keys, or the clearance under the bezel. Print that lifts at the edge and print that goes grey usually come from the same place: the ink never fully cured into the silicone. It looks perfect the day it comes off the line, and it still looks perfect after a week on a desk. A gym console is a very different test — dozens of wipes a day with alcohol or a quaternary-ammonium spray, with sweat sitting on the print in between. Two things make the difference. The surface has to be prepared so the ink can actually bond, and the ink has to be cured on the part rather than trusted from the oven sheet. We check that on the sample with a rub and a tape pull instead of by eye, because a half-cured print passes every visual check there is. On the keys that get wiped hardest, etching the legend holds up better than printing it, since there is no ink edge to lift. Etching gives you one tone only, so most stair climber pads end up with both methods on the same part — printed where colour and fine detail matter, etched where the legend has to survive the cloth. The screen printing and multi-colour moulding pages cover what each route can and cannot do. Standing still, a key with a short travel feels crisp. On a stair climber the rider is moving, the press is quick and off-centre, and the hand may be wet or holding a towel. Below roughly half a millimetre of travel with a flat force curve, riders get nothing they can feel and press again, and what reaches your service desk reads as "key not working". Going a little deeper — around a millimetre of travel, with a clearer drop in force at the point of contact — is usually enough to stop the second press. The rest of the fix is a short debounce window in the console firmware, which is your side of the fence rather than ours. One limit is worth knowing before the panel is locked. Deeper travel needs more clearance inside the bezel, and a collapsing key wall that is too tall can push against the overlay. We ask for that clearance early because it is free to change on a drawing and expensive to change on a tool. The seal is not a feature you add at the end. It comes out of the shape of your panel, and each of the three routes has a different way of letting you down. The pad carries its own lip and your panel rib presses down on it. It lasts the longest and it is the hardest to get right, because the lip has to keep sealing across the full thickness tolerance of the panel. Get the rib and the pad measured separately and you end up over-squashed at one end of the tool and barely touching at the other. This takes the panel rib out of the equation, which is why it suits a thin console moulding. The failure moves to the glue line: silicone is a difficult surface to bond to, so the surface treatment and the adhesive have to be matched, and the bond is only ever as good as the cleaning step before it went on. Cheapest to tool, and the seal depends entirely on the clamp force being even all the way round. A thin plastic overlay that flexes when the screws go in rarely gives you that, and the leak shows up at the corner nearest the screw. Which one we recommend comes off your panel drawing. A solid rib behind a metal frame usually points to a moulded lip. A panel that moves when it is tightened points to a glued flange, because that removes a problem rather than adding one. These are the points we agree in writing before a tool is cut, so that nobody is arguing about them when the sample arrives. Send the panel drawing or the worn pad, the rib height and the board layout. You will get the sealing route we would use on that panel, the print or etch plan for each legend, and a price for the quantity you plan to build. If something on the drawing is going to bite you in a gym, we will say so before the tool is cut. FromRubber, the silicone division of Dongguan Bohao Electronic Technology Co., Ltd., has been moulding custom silicone keypads since 2010. Every pad we ship comes off a tool cut for one console, so what you get is the pad for your panel and nothing else. We are also happy to tell you what we would change on the drawing before you commit to that tool. More notes are kept in the silicone keypad Q&A and on the instrument keypad listing.Most Stair Climber Silicone Keypad Complaints Come Down to Three Things
Sweat Comes In at the Edge of a Waterproof Stair Climber Silicone Keypad
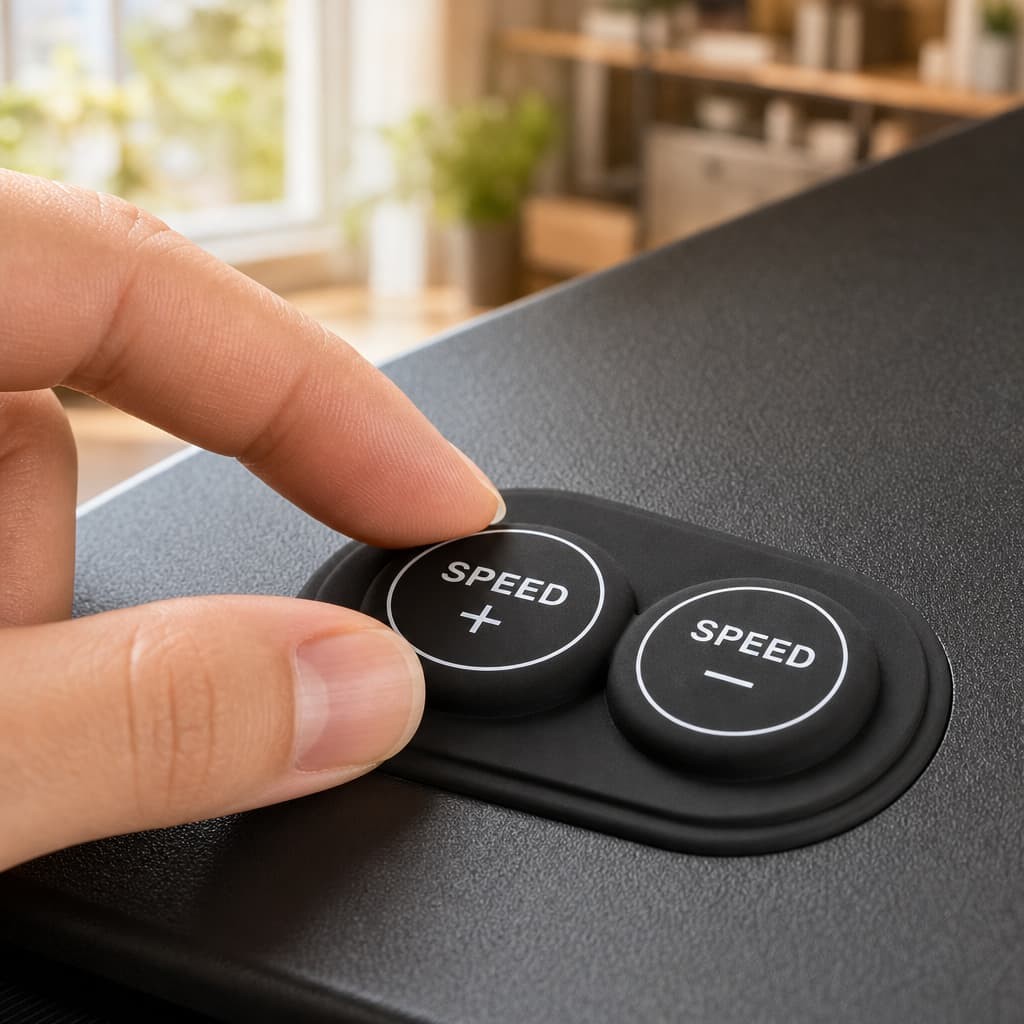
What We Need From Your Console Before Cutting a Custom Silicone Rubber Keypad
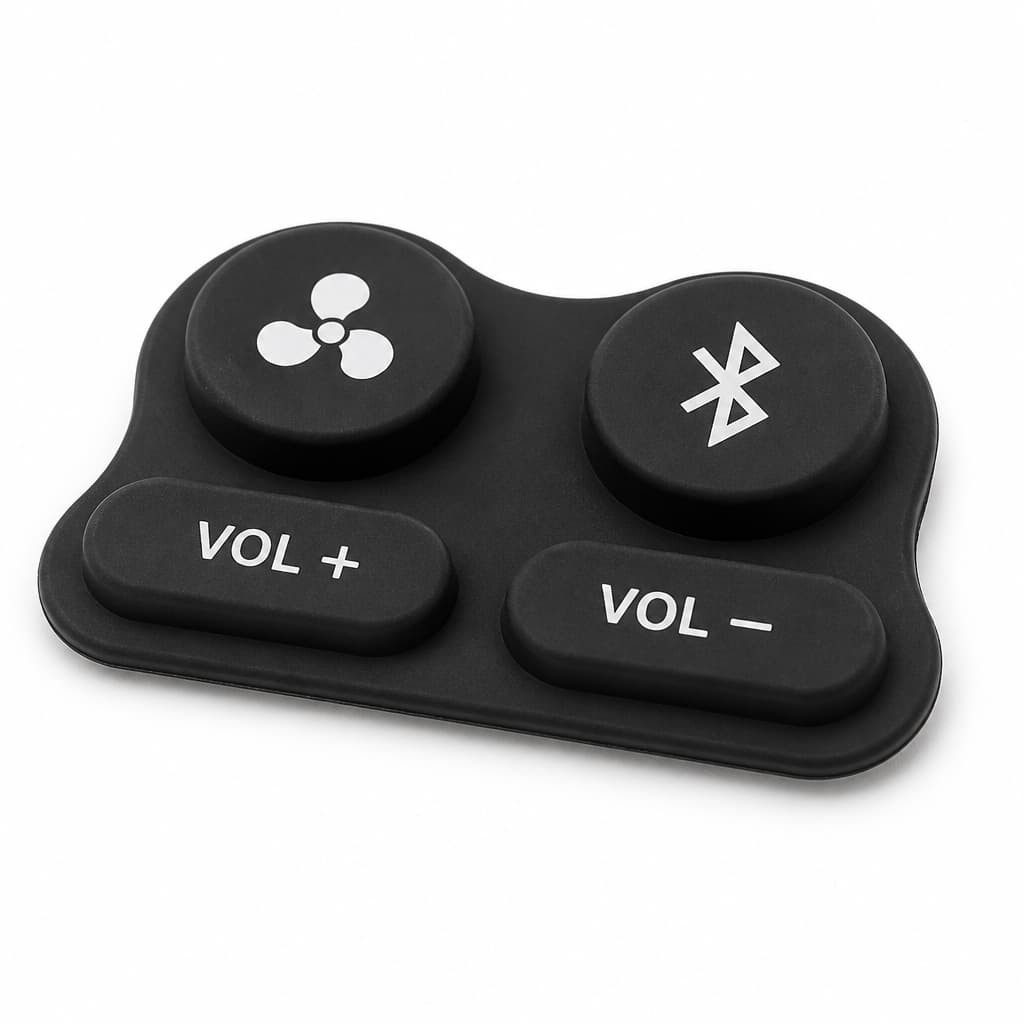
Why Silk-Screen Printing on a Stair Climber Keypad Fails in the Cleaning Cloth
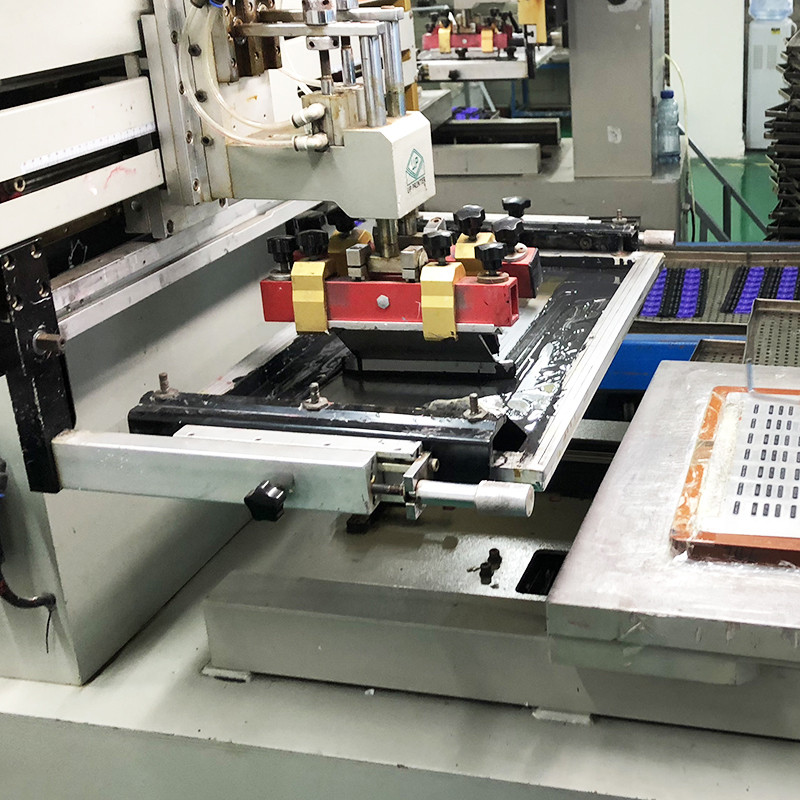
Key Travel on a Stair Climber Silicone Keypad Is Arithmetic, Not Taste

Three Ways to Seal a Sweatproof Silicone Keypad, and the One We Would Pick for Your Panel
A lip moulded into the pad
A flat flange, stuck down
A thin pad, clamped in place
The Numbers We Fix Before Tooling a Waterproof Stair Climber Silicone Keypad
Item What gets agreed Key layout Key positions and pitch taken from your panel, with the web width between the two most-pressed keys called out Compound Silicone hardness chosen between the key force you want and the compression the seal needs Key form Raised key on a collapsing web, elastic-arm key, or a key sitting over a metal dome Travel and force Target travel and the force at the point of contact, judged on the console rather than on the bench Contact Carbon pill size and position set to the contact pads on your board Legend Which legends are printed, which are etched, and what clear coat goes over them Sealing Moulded lip, glued flange or clamped pad, with the panel rib dimension on the same drawing Cleaning The cleaner your gyms actually use, written down before the ink is chosen Tell Us What Your Console Looks Like and We Will Quote the Keypad