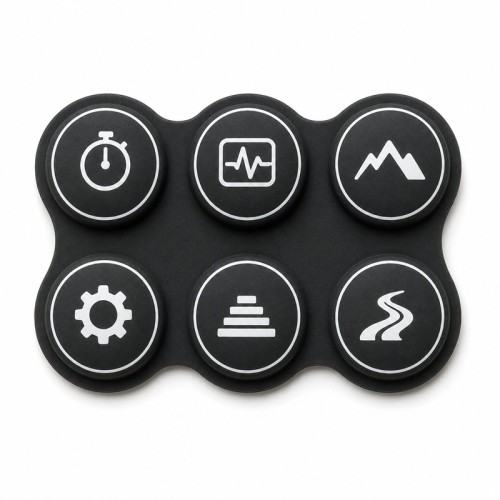
StairClimber Silicone Keypad Pad with Conductive Carbon Pills & Optional Backlight
Item specifics
- Material
- Silicone Rubber (compound selected for key force and light path)
- Contact
- Conductive carbon pill screening, single or multiple pills per key
- Alternative Contact
- Metal dome pocket or printed membrane layer
- Backlight
- Optional, laser-etched light windows or translucent printed legend
- Legend
- Silk-Screen Printing, laser etching or both on one pad
- Key Forms
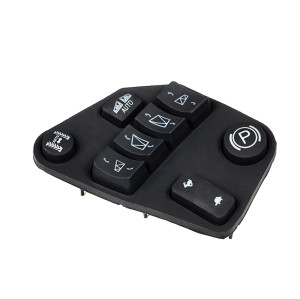
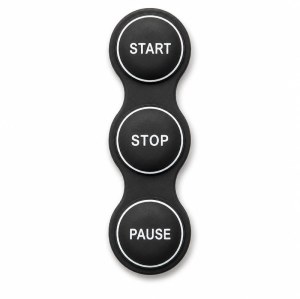
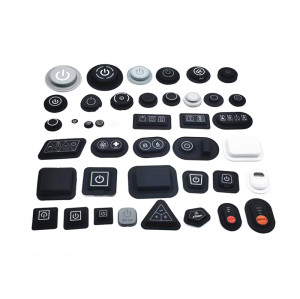
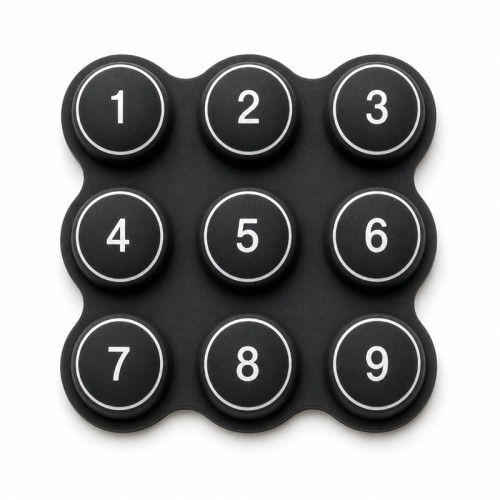
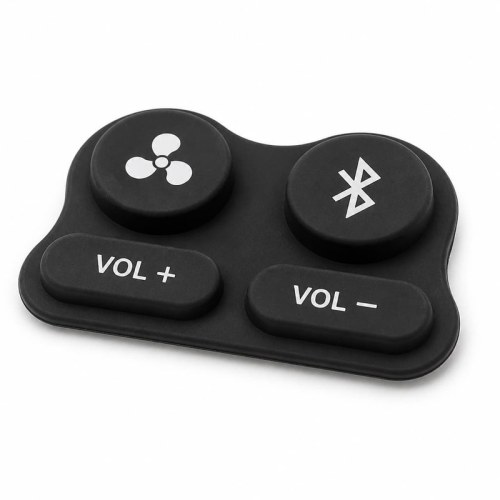
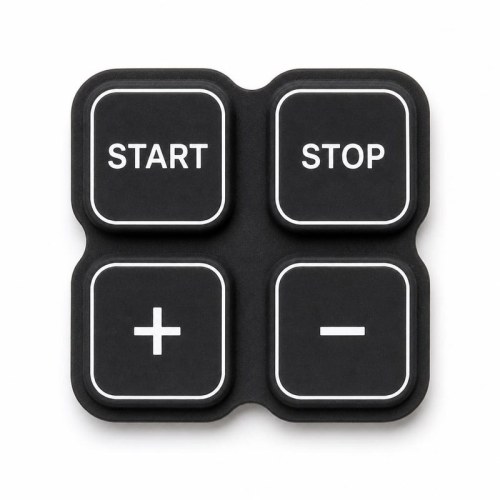
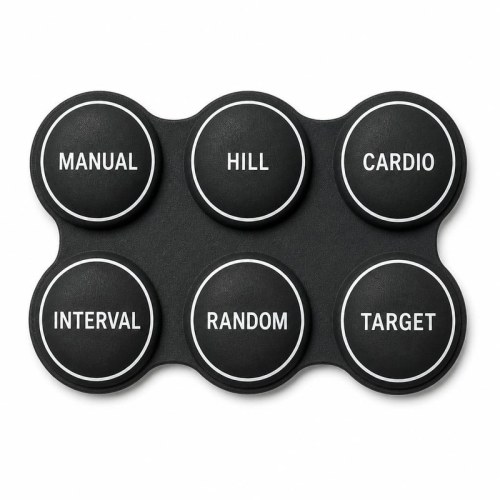
- Mixed round, square and pill keys moulded as one sealed pad
- Application
- Stair climber console and fitness equipment control panels
- Tooling
- Custom mould cut for your console, with screened contact layer and print jigs
Review
Description
The pad on your console looks the same in year three as it did in week one. What changes is underneath — the carbon pills that close the circuit — and above it, in the light path that makes the legends readable when the studio lights are down. Both are settled on the drawing, and both decide whether a key still switches at the same force or starts asking for a firmer press. Resistance is the number that matters, and it is not a fixed property of the ink. It depends on how much of the pill face is touching the board, how hard the key is pressed, and how clean both surfaces are. On a stair climber all three change with use. Sweat salts and hand cream build a film on the pill, and the pill starts sitting on that film instead of on the copper. Two things keep the reading stable. The pill face is wide enough that a light press still makes contact, and the pill is held over the board pad by a shared datum, so it does not drift sideways as the panel and the board stack up. For a key like speed-up, which gets hit hard and often, we normally screen two smaller pills rather than one large one. You get the same contact area with less chance of the deposit cracking as the key collapses. Speed-up and speed-down carry more presses than every other key on the pad put together, so it is worth spending the attention there. Backlight is easy to skip when you look at the machine under showroom lighting. It is much harder to skip when the machine stands in a low-lit studio and the rider needs to find speed or incline without staring down at the console while their feet keep moving. The usual build is a pad moulded in a light-carrying colour, an opaque coating over the top, and the legend cut through that coating so light only escapes where the icon is. Etch depth and coating thickness decide how sharp the icon edge looks. The other route is a translucent ink printed over a clear window — quicker to set up, harder to keep even across a wide pad. One decision worth making early is which keys actually need to be lit. Lighting everything sounds generous and usually looks worse: two or three keys lit against a dark console read clearly, while the whole pad lit turns into glare and pulls more current than a small console board may have to spare. Bleed is almost always a geometry problem rather than a brightness problem. Silicone carries light sideways, so two lit keys sharing the same web will always brighten each other, and turning the LED up simply makes the brighter one win. On a console where the programme keys sit close together, this is where the uneven pad comes from. What works is separation. An opaque wall moulded between the lit keys, or a mask on the board side so no light enters the web between them, keeps each legend to its own key. Where a legend sits a long way from its LED, a diffuser evens it out — and that is usually a small piece on your side of the assembly, which is cheaper than adding a light guide to the pad. If your LED positions cannot move and the pad alone cannot fix it, we will tell you that before tooling rather than after. It is a short conversation now and a new console design later if we leave it. Where the pills land is your board's decision, not ours. Give us the layout with the contact pads and the LED positions, and we place the pills over it from the same datum the keys use, so the pad and the board are not each carrying their own tolerance into the assembly. This matters most on a mixed key field. A round key and a small pill-shaped key sitting next to each other put their contact pads at different pitches, and a single pill geometry stretched across both is where the marginal presses come from. Half a millimetre of sideways drift on a three-millimetre pad is a fifth of your contact area gone, and that is the difference between a light press and a press that has to land dead centre. It is also the cheapest thing on the whole job to get right. Moving a screened area on a drawing costs nothing. Moving it after the screen and the jig are made costs a new screen, a new jig and another sample round. Agreed in writing before the tool is cut, so the sample conversation is about fit rather than about whether the target was ever realistic. These are the two questions that come back with the machine, and the two where a supplier cannot help you after the fact. Nothing has worn through. A film has built on the pill face and on the board pad facing it, and the resistance has drifted up. A wider pill face, a deposit that does not trap residue, and a datum that keeps the pill centred are what keep that number flat for the life of the console. That one is decided at design time, not in the field. If a legend sits twice as far from its LED as its neighbour and the pad has no diffuser behind it, the difference is there from the first machine and it only becomes obvious once the studio lights go down. Neither of these is a difficult thing to design out. Both are decided before the tool is cut, and both are the difference between a pad that quietly does its job through the warranty and a pad that generates service calls. Send the pad drawing or the current pad, the panel clearance, and the board layout with the contact pads and the LEDs. You will get the contact construction we recommend for those keys, the light path we would use, and a price for the volume you plan to build. FromRubber, the silicone division of Dongguan Bohao Electronic Technology Co., Ltd., has been moulding custom silicone keypads since 2010. Every pad we ship comes off a tool cut for one console programme, and the contact layer is screened in our own shop rather than bought in. More notes are kept in the silicone keypad Q&A and on the instrument keypad listing.A StairClimber Silicone Keypad Pad Ages in the Contact Layer, Not in the Rubber
Conductive Carbon Pills Are Where a StairClimber Keypad Pad Gets Old

Optional Backlight Matters in a Dim Studio, Not in a Showroom
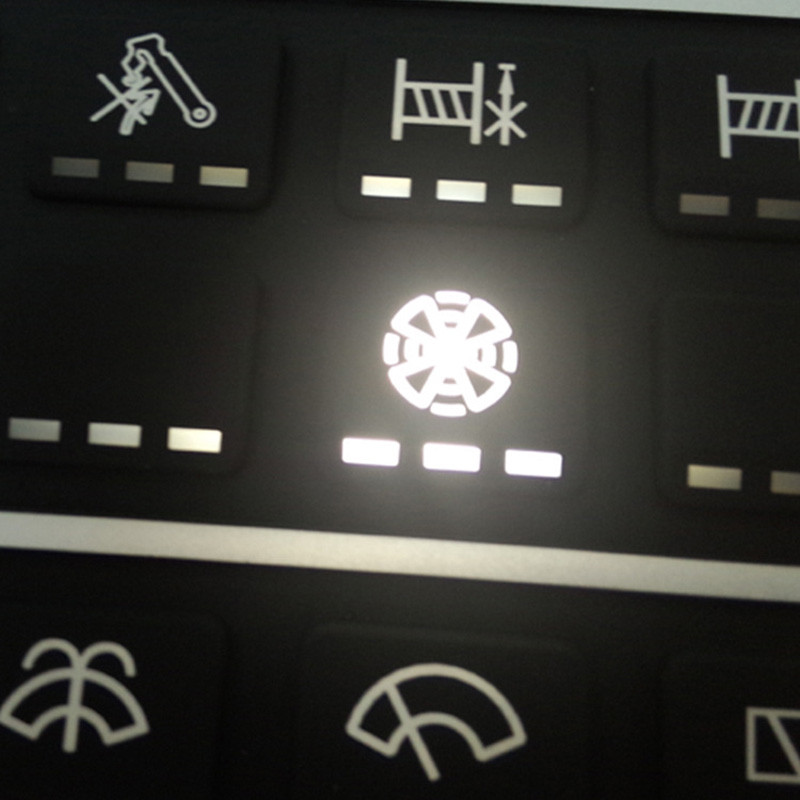
Fixing Light Bleed on a Backlit StairClimber Silicone Keypad Pad

Send Us the Board Layout and We Set the Carbon Pills to It

The Numbers We Fix Before Tooling a StairClimber Silicone Keypad Pad
Item What gets agreed Key layout Key positions from your panel, with the pill placement set per key rather than per pad Contact Conductive carbon pill size and count per key, screened on a jigged press Resistance Target band quoted at a stated press force and test current, read through the connector Board datum One datum shared between the key positions and the contact pads on your board Backlight Which keys are lit, and whether the legend is etched through a coating or printed translucent Bleed control Opaque separation between lit keys, plus whatever mask or diffuser sits on the board Legend Printed, etched or both, and which keys get which, based on how hard they are wiped Cleaning The cleaner your gyms actually use, written down before the coating is chosen What Your Service Team Will Be Asked About the StairClimber Silicone Keypad Pad in Year Three
"Why do I have to press it harder than I used to?"
"Why is one legend dimmer than the others?"
Tell Us About the Console and We Will Quote the Pad