FromRubber Manufacture Exquisite 3D Pattern Silicone Label for Clothes/Cap/Shoes
Item specifics
- Design
- 3D Drawings or Objects
- Molding
- Mult Color Molding
- Service
- Free Consult
- MOQ
- 1000pcs
- Application
- Clothes/Cap/Shoes
Review
Description
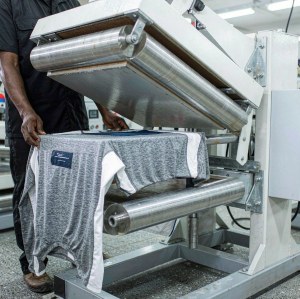
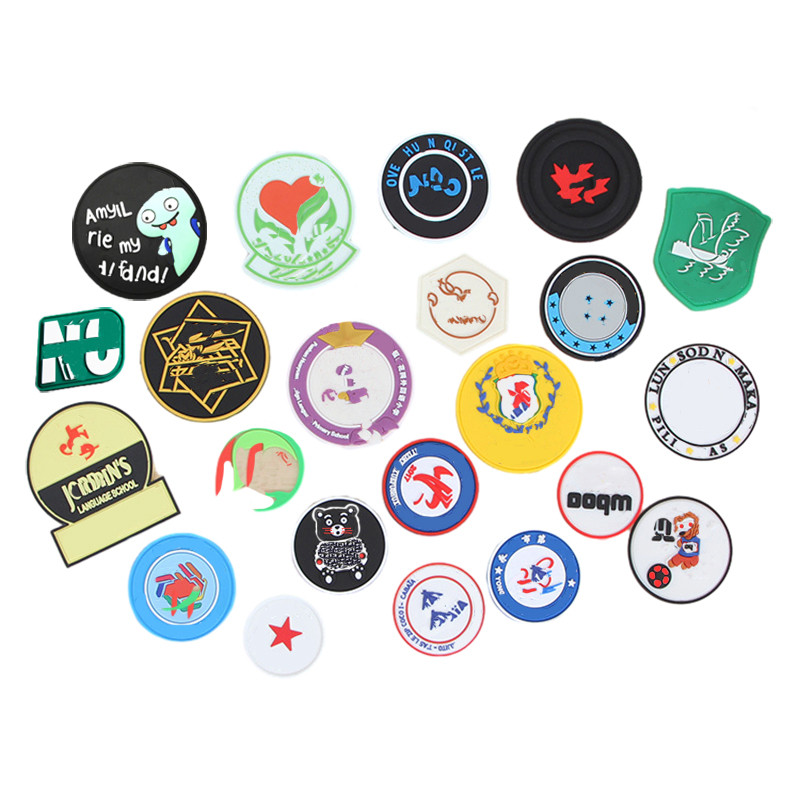
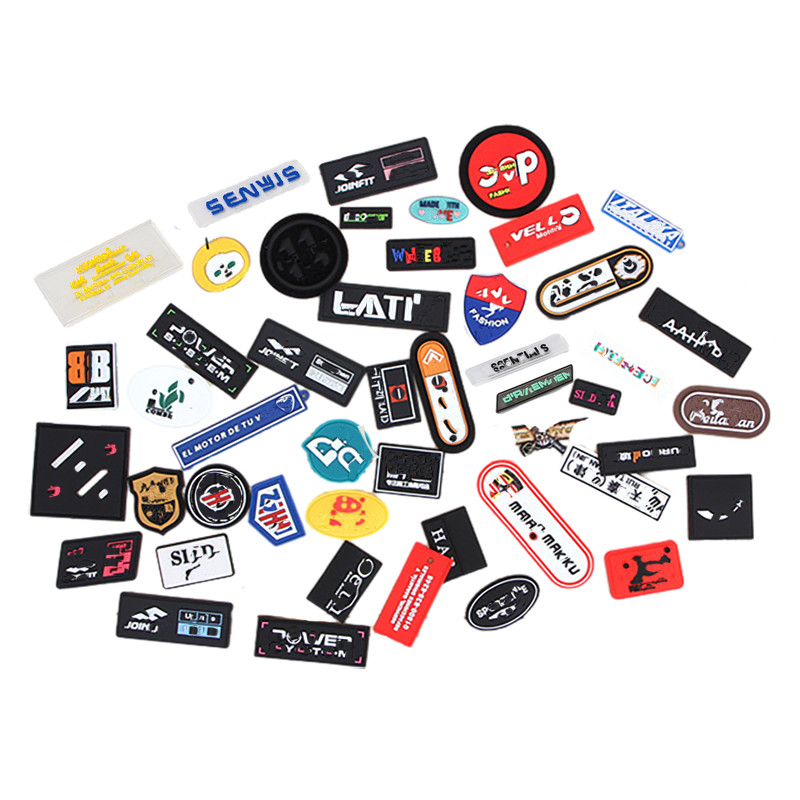
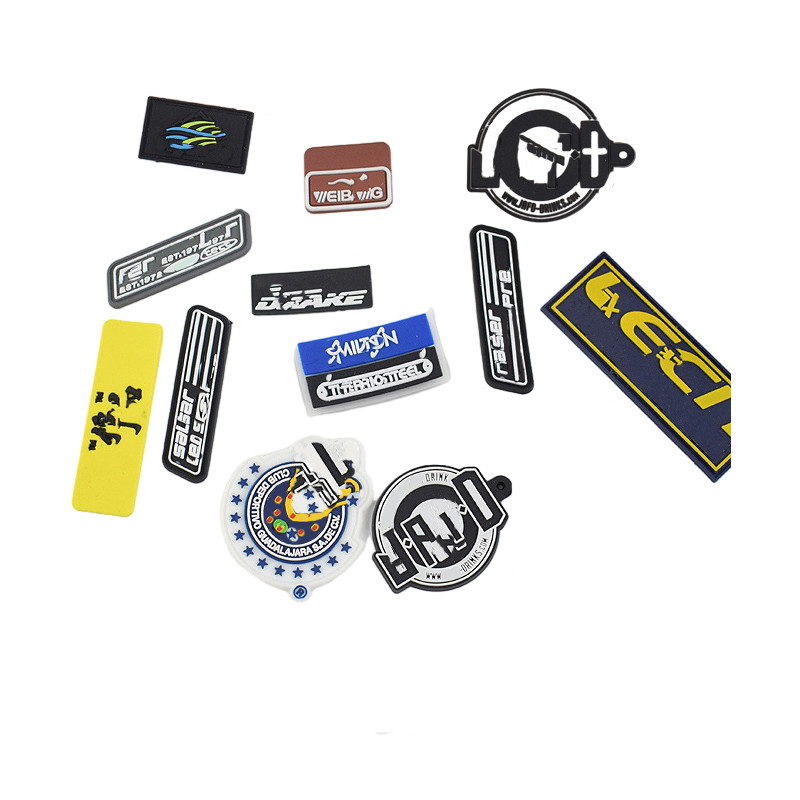
A raised silicone label is a moulded part, not a printed patch. The relief that gives it the premium look is created by the tool, and the same tool decides the minimum feature size, the edge sharpness and whether the label survives fifty washes. This page covers what has to be agreed before a 3D label pattern is cut: relief depth, draft, backing and the attachment method. A printed patch builds an image from ink; a 3D silicone label builds it from material thickness. That changes what the designer can specify. Line work can be raised or recessed, edges can be chamfered to catch light, and a two-level logo can be read by touch. It also changes the limits: very fine detail has to be reproduced by a cavity, so the minimum stroke width is set by the tool and the compound, not by a print resolution. The visual effect depends on how light hits the relief. A shallow relief reads as a flat print from a distance and only shows in raking light; a deeper relief with a side wall reads at arm's length. The depth is therefore chosen against the viewing distance of the finished garment, not against a drawing at 100 percent. Every raised feature needs draft so it releases from the cavity. On a small label the draft angle is limited by the feature height, so tall features need a wider base or a stepped profile rather than a vertical side. A logo designed with vertical walls and no draft will either drag on ejection or be quietly redrawn by the toolmaker. The base thickness matters as much as the relief. A label that is too thin will follow the fabric and lose its shape; one that is too thick becomes stiff, curls at the edges and feels wrong on a cap. The workable base is a compromise between drape and definition, and it is normally fixed by making a set of stepped samples rather than by calculation. Heat transfer is the standard for sportswear and caps: a hot-melt backing is activated under pressure and bonds the label to the fabric in one press cycle. It works best on smooth synthetics and needs a controlled temperature, pressure and dwell, because under-curing gives a label that peels at the corner and over-curing marks the fabric. Sewing is used where the label is a structural element or where the fabric cannot take heat, and it needs a sewing channel or a reinforced edge so the needle does not tear the silicone. Adhesive backing suits hard goods and short-life applications. Each method imposes a different edge design on the label, which is why the attachment decision belongs at the drawing stage. A label is tested on fabric, not on a bench. Domestic washing, tumble drying and repeated flexing at the edge are the conditions that separate a label that stays flat from one that lifts at a corner. The test protocol should state the wash temperature, the detergent and the number of cycles, and it should include a mechanical rub on the relief because the raised area takes the abrasion. Colour is the second failure to watch. A white label on a dark garment can pick up dye from the fabric during washing, and a red label can bleed into a light fabric if the pigment is not properly fixed. Both are prevented by testing the assembled garment rather than the label alone. Relief depth, base thickness and attachment are fixed per label on the approved drawing and sample; wash protocol is agreed with the garment buyer. Depth is limited by the feature width and the draft needed to release it. A narrow feature can only be raised so far before the side walls become too steep to mould cleanly, so depth and stroke width are agreed together rather than as separate numbers. Yes, either by moulding two colours into the label or by printing over a moulded base. Moulded colour lasts longer under washing; printing allows finer detail and more colours on the same label. The base thickness is a balance: thin enough to drape with the fabric, thick enough to hold the relief. A stepped sample set in two or three thicknesses is the fastest way to settle it for a specific garment. By washing and drying the assembled garment, then rubbing the raised relief and checking edge lift. A label tested flat on a bench does not reproduce the flexing it sees when worn. Share the vector artwork, the fabric and the wash protocol. The review returns the feasible relief depth, base thickness, edge treatment, attachment method and the press cycle to specify for the garment line.3D Silicone Labels for Clothing, Caps and Shoes: Relief Depth, Adhesion and Wash Life
What Makes a 3D Silicone Label Different From a Printed Patch
Relief comes from the mould
Relief Depth and Wall Angle: Designing a Label That Reads
Draft and minimum feature
Attaching to Fabric: Heat Transfer, Sewing or Adhesive
Choosing the bond for the garment

Wash, Abrasion and Flex: What to Specify
Testing on the finished garment
3D Silicone Label Specification Fields
Questions About 3D Silicone Labels
How deep can the relief be?
Can the label have two colours?
What is the minimum thickness for a garment label?
How is wash durability verified?
Send the Artwork and the Garment Specification