What This Panel Does on an Agricultural Machine
A silicone control panel is the sealed rubber layer between the operator's fingers and the machine's circuit board. On a tractor, sprayer or harvester it does three jobs at once.
- It carries the keys the operator presses all shift.
- It shows the legends that say what each key does.
- It keeps dust, crop residue and wash water out of the switch cavity.
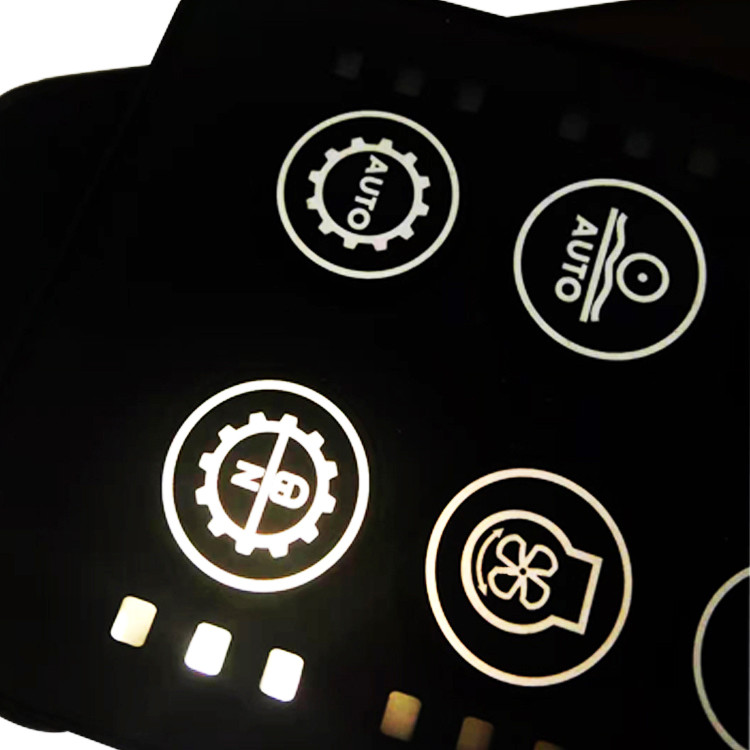
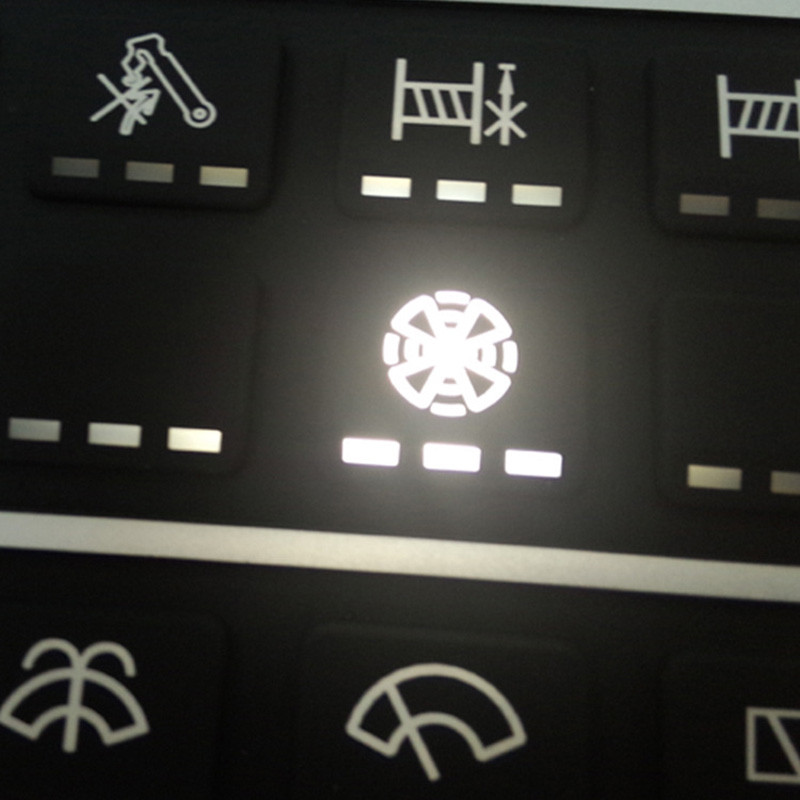
Panels this size usually fail in one of two ways. Either the legends wear off, because they were printed on top of the surface. Or the backlight bleeds between keys, so the operator cannot tell which function is lit at dusk.
This panel is built to prevent both. The legends are laser etched into the coating, and the light-blocking layer goes on before the etch, not after.
±0.03 mm
Laser etch line width
1000 Lux
No bleed between keys
5,000,000
Max key cycles
3 hours
Quote turnaround
Specifications You Can Set Before Tooling
Every value below is fixed at the drawing stage, not discovered at the first shot. That is the point of the DFM review we run before quoting.
How the Etch and the Backlight Get Built
Four steps, all on site. The order matters — the light-blocking coat has to be sprayed before the etch, otherwise the beam has nothing to cut through.
1
Light-blocking base coat
Black or white blocking paint, 10–25 μm film, cured at 150 °C for 30 minutes. This is the layer that stops light travelling sideways under the surface.
2
Laser etch
The beam cuts the coating and exposes the translucent silicone underneath. Line width holds to ±0.03 mm, so a 1 mm icon stays a 1 mm icon.
3
Protective top coat
Matte, PU or UV-cured clear coat over the etched area. Cross-hatch adhesion reaches ISO Class 0, with no lifting at the cut edge.
4
Backlight assembly
The translucent base runs at ≥90% transmission. Masked areas are checked at 1000 Lux and must show zero leak before the panel moves on.
Five Design Calls That Decide Field Reliability
These are the decisions that separate a panel that lasts a season from one that lasts the life of the machine. Each one has a number attached.
01
Key travel
Stay at the long end of the 0.3–2.0 mm range on a vibrating machine. Long-travel keys need a guide rib, or the keycap tips sideways under an off-centre press. On very short travel, a metal dome takes over the switching and the silicone only carries the legend.
02
Actuation force
Force and hardness move together. At fixed webbing thickness and angle, each 5° of added hardness raises peak force by roughly 15–25%. Pick the force the operator needs first, then let the compound follow.
03
Assembly clearance
Leave 0.20–0.30 mm per side between the key edge and the housing wall. Below 0.15 mm, thermal expansion or an angled press will bind the key against the housing.
04
Air vent channels
Every sealed key cavity needs a vent channel to its neighbour. Without one, trapped air builds a cushion, force spikes, and the key can vacuum-stick on release.
05
Etch or print
Etching removes coating, so the legend sits in the surface instead of on it. Choose etching for oil, solvent, wash-down and heavy thumb traffic. Choose silk screen when the job is mostly colour blocking and the panel stays dry and clean. Our laser etching process covers what each finish can and cannot hold.
What Sits on the Back of the Panel
Seven Processes Under One Roof
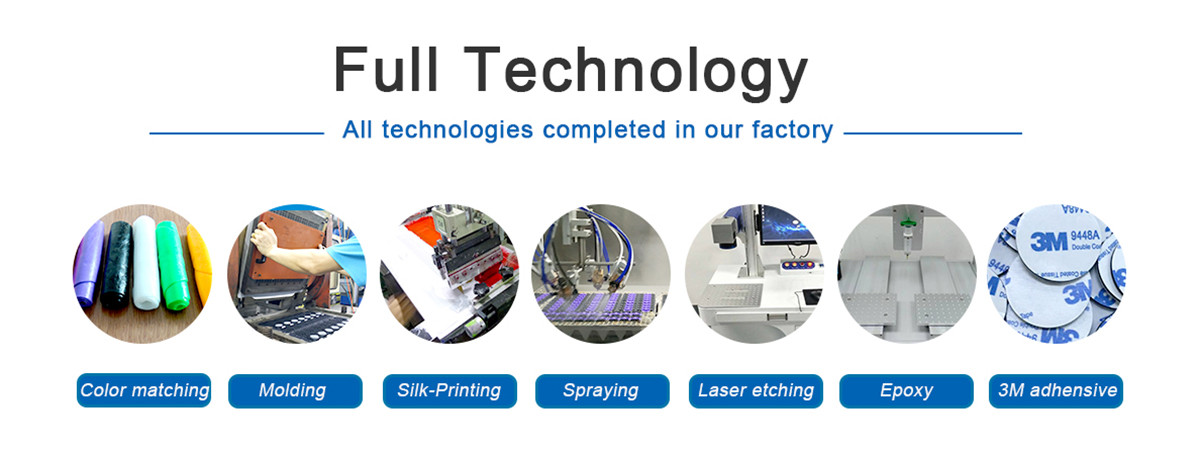
Colour matching, compression molding, silk screen, spray coating, laser etching, epoxy dome and 3M adhesive backing all run on site. Nothing is sent out — which is why the etch, the coat and the backlight can be tuned against each other instead of argued over between suppliers.
Samples in 3–5 Days, Tooling in 10–12
3 h
Quotation on a single part
3–5 days
Sample mold and first shots
10–12 days
Silicone production mold
7–10 days
Mass delivery after order confirmation
No 3D file? We can still start
A worn panel, a broken keypad or a mating housing is enough for reverse scanning — no STEP or IGES required. Many of our agricultural customers start this way, because the original drawing was lost years ago.
Send us: 3D STEP/IGS or 2D DWG/DXF/PDF with tolerances marked, plus durometer, Pantone colour, surface finish and estimated annual volume. A photo of the old panel works as a first step.
The mold is yours. Ownership transfers to you on full payment, with two years of free storage and warranty.
Frequently Asked Questions
Can you work from a physical sample instead of a 3D file?
Yes. Send the worn panel or the mating housing and we reverse-scan it. The drawing is not the only way in.
Should the legends be laser etched or silk screened?
Etch when the panel sees oil, solvent, wash-down or heavy thumb traffic, because the legend sits inside the coating instead of on top of it. Silk screen is fine for largely decorative colour on a clean, dry panel.
Will the panel survive wash-down and crop chemicals?
The etched legend does not lift or wear through — that is the reason we etch instead of print. Whether the whole panel survives a specific chemical comes down to the housing seal and the top coat, so tell us which cleaning agents are used and we will confirm the right coat before tooling.
How long does a sample and the tooling take?
Sample mold and first shots in 3–5 working days. Production mold in 10–12 working days. Mass production ships 7–10 working days after order confirmation. A quotation on a single part comes back within 3 working hours.
What is the minimum order quantity?
1,000 pcs for a standard run. A 100 pcs trial batch can be approved for a first build, so you can validate the panel on a machine before committing to volume.
When is a silicone panel the wrong choice?
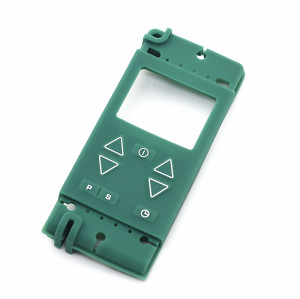
When the panel has to carry a display window, when keys need a hard plastic cap with a metal snap, or when the surface has to be perfectly flat. Those are P+R, membrane switch or plastic enclosure jobs. We build those too, and we will say so before quoting rather than after.
Send the Layout. We'll Check It for Light Leaks.
- Send a PDF, a ZIP of DXF/AI files, or a photo of the old panel
- Get a DFM check on etch depth, light blocking and key travel
- Quote back within 3 hours; sample tooling in 3–5 working days
- Mold engineer checks it before quoting. NDA on request