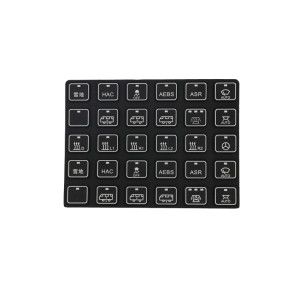
Conductive Silicone Control Panel with Buttons for Electronics & Industrial
Item specifics
- Design
- Follow 3D Drawing Or Physical Object
- Process
- Molding
- Feature
- Button Matrix,Conductive,IP68 Rated
- MOQ
- 2000pcs
- Application
- industrial, medical & automotive applications
Review
Description
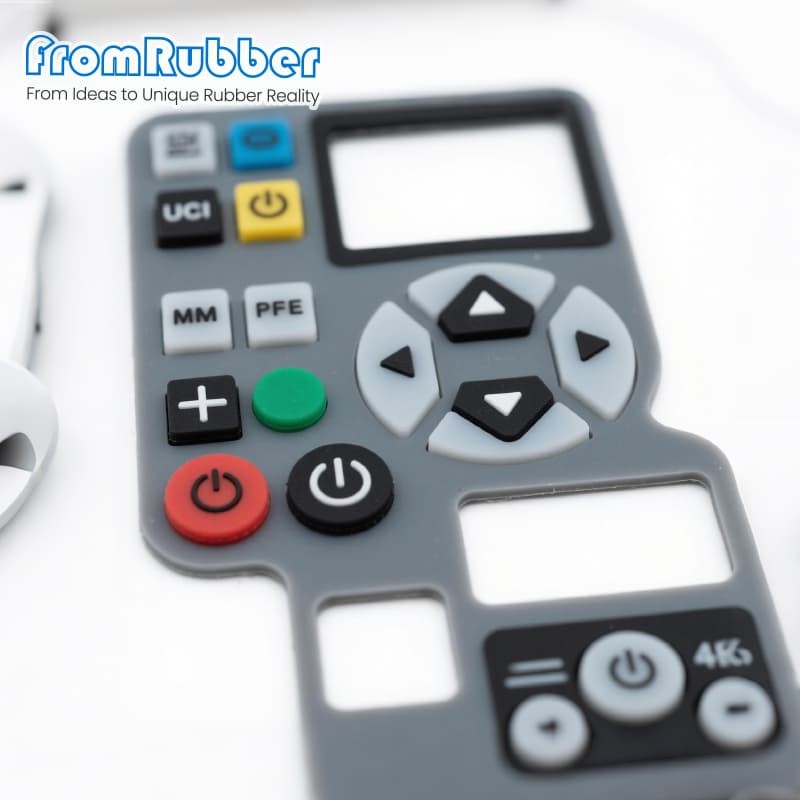
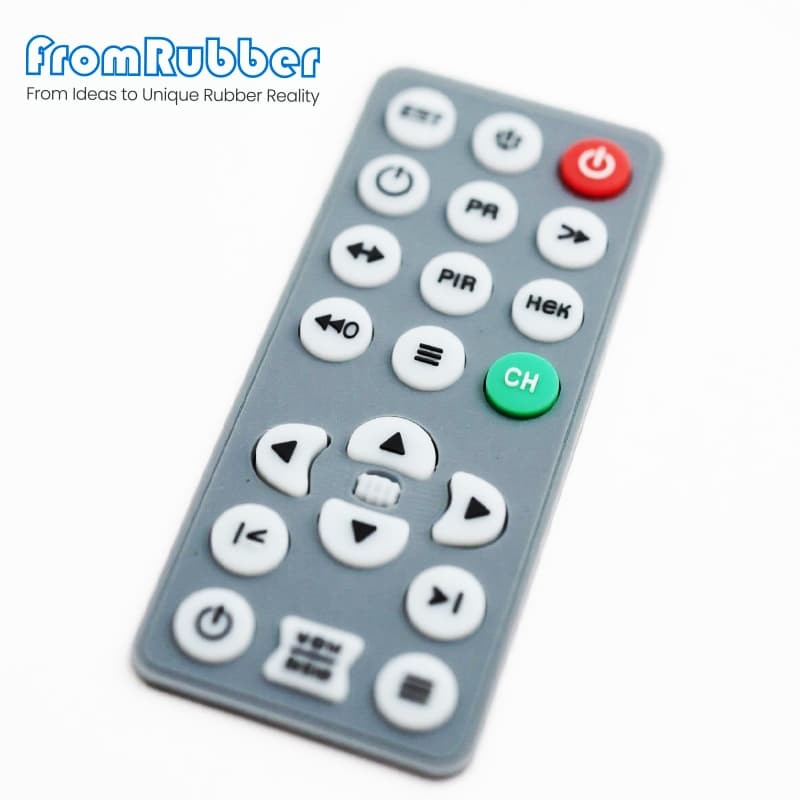
A conductive silicone panel has no separate switch behind the key. The button, the return spring and the contact are one moulded part: pressing the key deflects a web, and a conductive element on its underside closes a pair of pads on the PCB. There is no snap-action component to replace, no solder joint, and nothing to service - which is the point, and also the reason the design has to be right the first time. Three decisions define the behaviour: how the circuit is closed, how much travel the web gives, and how the pad is laid out under the pill. Each is a drawing dimension, and each one has a different failure mode. Carbon pill. A conductive rubber pellet moulded into the key's underside. Cheap, robust, tolerant of dust, and the usual choice for panels with many keys. Its resistance is higher than a metal contact and varies more between keys. Conductive ink. Printed onto the key or the circuit. Thinner and quieter than a pill, but the ink is a wear surface and its resistance drifts as it abrades. Metal dome. A separate stainless part under the overlay, giving a crisp click and a low, stable resistance. It adds a component and an assembly step, and it is what most instrument panels use when the feel matters. The PCB pad under a conductive pill is usually a pair of interleaved combs. The pill bridges them; the resistance depends on how much of the pill touches both combs, which depends on pad gap, comb width and how flat the pill sits. Three practical consequences: keep the pad gap consistent across the whole panel, keep the pill centred over the pad rather than over the key, and specify a minimum contact area rather than a nominal one. A pill that is 0.2 mm off centre can halve the bridging area and double the reading. A panel can mix them: domes under the keys that need a click, pills under the ones that only need a state change. That is often cheaper than domes everywhere, and it is invisible to the user. In a moulded panel the return force comes from the silicone web around the key. Thinner web means a lighter press and a shorter life; thicker web means a firmer press and a slower return. The web also has to keep the key from rocking, which is why its shape matters more than its thickness alone. The working rule: fix the travel first, then the force, then the web geometry. Doing it the other way round produces a key that feels acceptable on the bench and binds in a panel that is clamped at the corners. Specify the press count and the acceptance limit for contact resistance at the end of it. A panel that is still clicking but reading twice its initial resistance has already failed. Alcohol and detergent residues leave a film on the pad. If the panel is cleaned in service, test the resistance after cleaning, not only before. A pill tolerates contamination better than an ink contact, which is why industrial panels with an oily environment usually stay on pills or domes. Design guidance for the conductive elements themselves is in how to design custom conductive silicone buttons, and the choice between a conductive and a non-conductive panel is set out in non-conductive versus conductive keypads. Yes, with metal domes under the overlay. The moulded key then acts as the actuator and the dome provides the snap; the two have to be dimensioned together so the dome is neither pre-loaded nor out of reach. Usually pad alignment or pill centring, occasionally a web that lets the key tilt. Measure the offset before changing the material - the pill is rarely the variable. It depends on the press count and the environment. For a high-cycle industrial panel, a pill or a dome is the safer specification; ink suits low-profile consumer panels with moderate life. It needs a circuit to close. That can be a printed circuit on a polyester film rather than a rigid PCB, which is common in flat panels but changes the stack and the pad tolerance. Contact type, web geometry and pad layout are decided together, and the pad drawing is the one document that is usually missing. Send the key layout with the PCB pads, and we will propose the contact and the web for the press count you need.In a moulded control panel, the switch is the button itself
Three ways to close the circuit
Pill, ink or dome

Pad geometry decides the resistance you will measure
Interdigitated, not circular
The three contact types side by side
Travel, force and the web
The web is the spring
Life and contamination
Cycles
Cleaning
Dust and oil
Specification on this series
Questions from hardware designers
Can a moulded panel have a real click?
Why does one key read higher resistance than its neighbours?
Is conductive ink good enough for a long-life panel?
Can the panel work without a PCB?
Send the key layout and the pad drawing