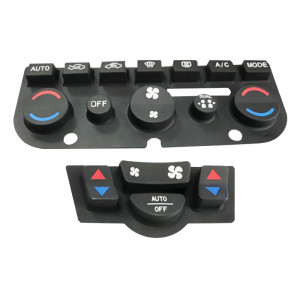
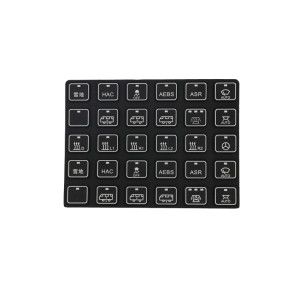
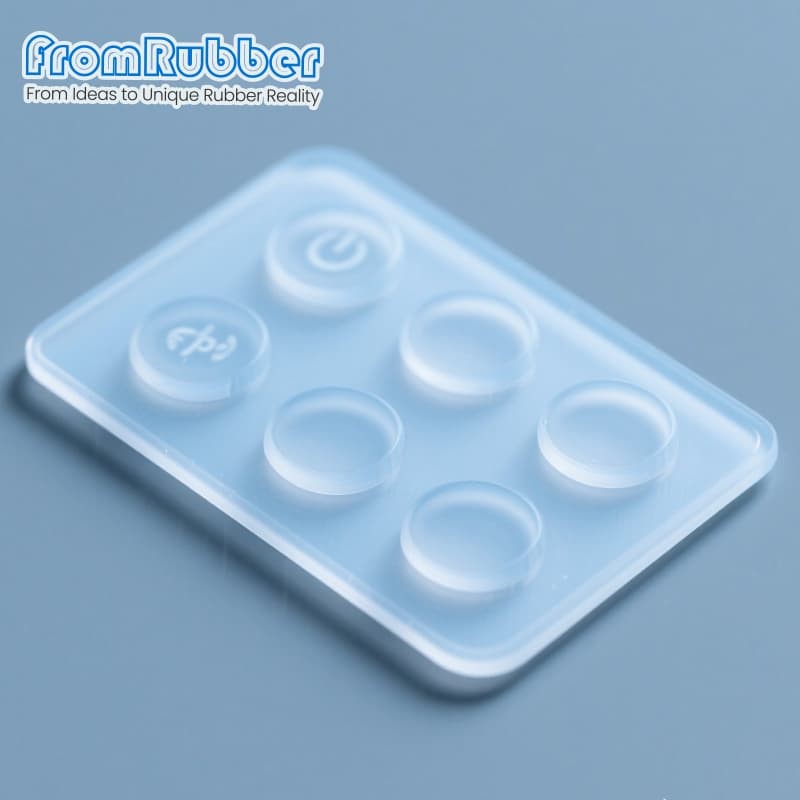
White Clear Blank Led Silicone Control Panel Prototyping & Manufacturing
Item specifics
- Design
- Follow 3D Drawing Or Physical Object
- Process
- Molding
- Feature
- Button Matrix,Conductive,IP68 Rated
- MOQ
- 2000pcs
- Application
- industrial, medical & automotive applications
Review
Description
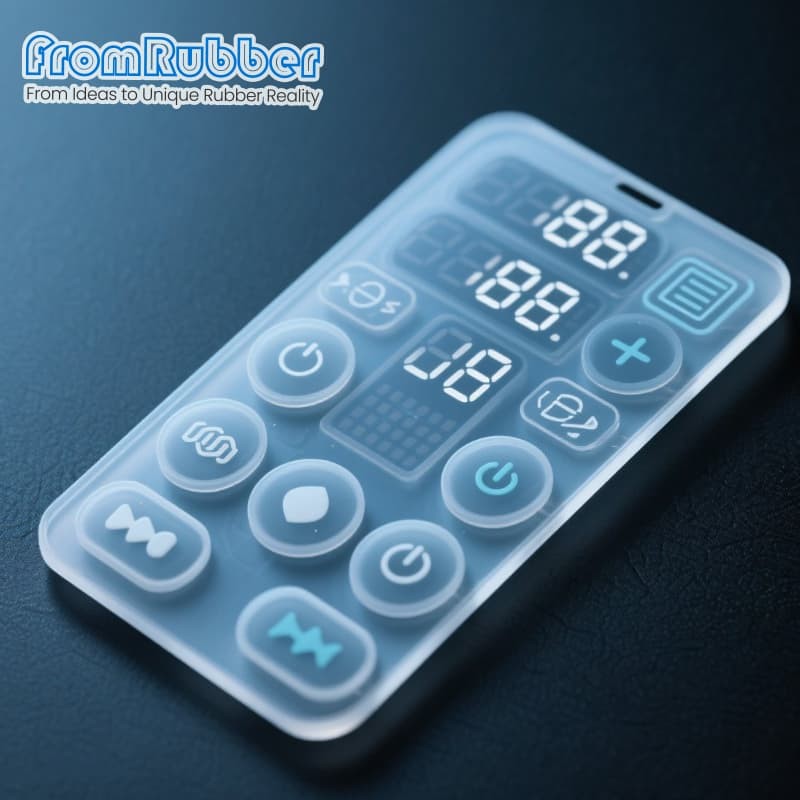
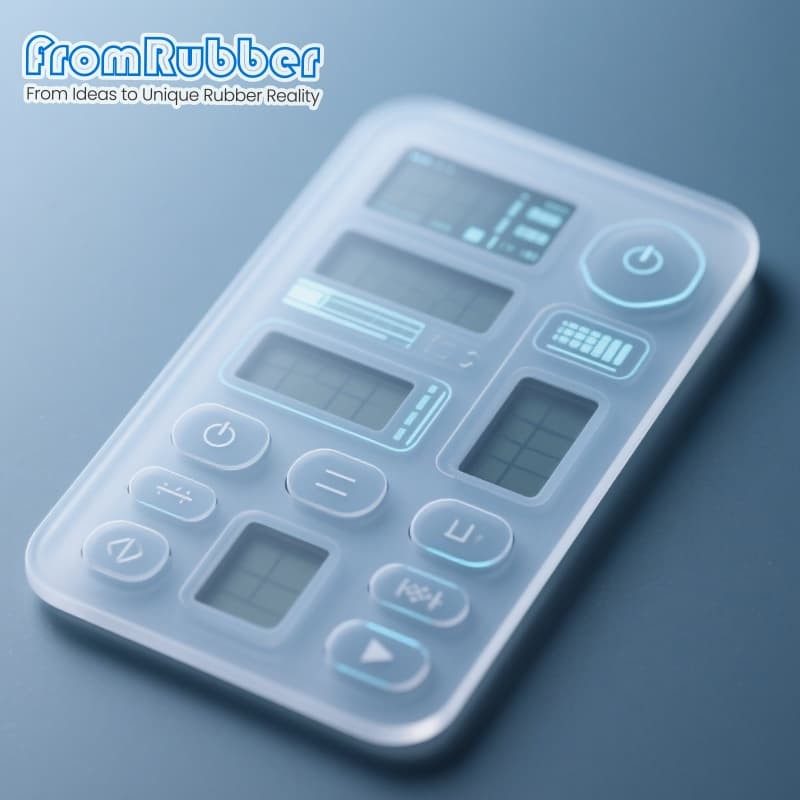
Most backlit panel programmes fail on optics, not on electronics. The LED layout looks fine in a simulation, the artwork looks fine on screen, and the first moulded part shows a bright spot under one icon and a dark corner under another. A blank or clear panel is the cheap way to find that out: no print, no final texture, just the material and the light channels, so the only variable visible is the light path. Used properly, a prototype panel answers three questions before tooling - where the hot spots are, whether the material transmits enough light at the thickness you need, and how much force the finished stack will need. With no printed legend in the way, you can measure the light distribution directly: photograph the panel at the lowest brightness the product will use, and compare corners to centre. Hot spots that disappear at full brightness are exactly the ones a customer sees at night. It also tests the material. A clear or milky silicone transmits differently at different thicknesses, and the difference between a 1.5 mm and a 2 mm window can be the difference between a readable icon and a dull one. That number is worth having before the artwork is fixed, because it constrains the window geometry. A prototype mould is usually a single cavity, cut quickly and often trimmed by hand. It is excellent for geometry, light transmission and feel. It is poor evidence for production colour repeatability, cycle time, gate position or the exact surface finish, because the tool that makes those decisions has not been built yet. Two specific traps: a prototype part that is hand-trimmed will look better than production on the edges, and a single-cavity tool will not reveal the cavity-to-cavity variation that appears at volume. Both are normal, and neither should be used to sign off the production drawing. Blank or clear panel over the real PCB and LEDs. Photograph at minimum and maximum brightness; check uniformity and the colour through the material. The same panel, printed or not, assembled at production stack height. Measure force-travel per key; compare with the specification, not with a feeling. Cycle the prototype to the press count, then re-check force and contact resistance. This is the step that catches a bad adhesive or a thin actuator boss. Each step can be run on the same prototype set if the panel is designed to be printed after the optical trial - which is one more reason to keep the artwork as a separate approval gate. A 2D outline with the key positions, the LED positions from the PCB, the required thickness and the material you want to trial. Artwork is optional at this stage; if you have it, send it as a separate layer so the optical trial can run without it. Say what the prototype has to prove. "Check the light" and "check the feel" lead to different tools and different lead times, and a prototype that tries to prove both at once usually proves neither. Prototype tooling cost and purpose are covered in why keypads need a prototype mould and in prototype versus production mould. The validation stage itself is written up in tooling validation. For shape trials, yes - a machined or printed block is enough. For optics it is not: light transmission and surface finish come from the mould, so an optical trial needs a moulded sample in the intended material. Enough to run three tests and keep one reference part untouched. Teams usually regret ordering two: one gets assembled, one gets photographed, and nothing is left for comparison. Not exactly. Prototype tools run at different temperatures and often without the final texture, so treat colour as indicative and fix it with a production colour standard after sign-off. Rarely. A single-cavity prototype is normally cut for speed, not for cycle life or multi-cavity balance. Plan for a second tool, and budget it at the start rather than at the end. Optical trials, feel trials and life trials need different samples. Tell us which question comes first, and we will propose a prototype build and a test sequence that answers it before production tooling is released.A blank or clear panel exists to show you the light before you commit the artwork
What a blank panel can tell you
Optics first, artwork later
What a prototype tool cannot tell you
Read the sample for what it is
A three-step validation plan
Step one
Optics
Step two
Touch
Step three
Life
What to send for a prototype panel
Enough to be useful, less than a production release
Specification on this series
Questions from product teams
Can a prototype be made without any tooling?
How many prototypes should we order?
Will the prototype colour match production?
Can the prototype become the production tool?
Send the LED layout and say what has to be proven