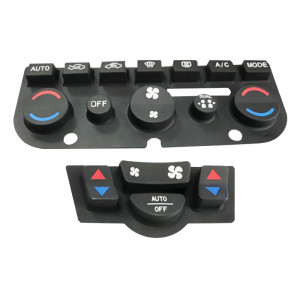
IP67 Waterproof Silicone Membrane Keypads Rubber Panel with Buttons
Item specifics
- Design
- Follow 3D Drawing Or Physical Object
- Process
- Molding
- Feature
- Button Matrix,Conductive,IP68 Rated
- MOQ
- 2000pcs
- Application
- industrial, medical & automotive applications
Review
Description
The first digit, 6, means dust-tight. The second, 7, means the assembly survives temporary immersion without water entering in harmful quantity. Neither number describes silicone - they describe how the overlay, the bond, the tail and the housing behave together when the whole unit is put under water. That is why a keypad can be made from a fully waterproof material and still leak: the water never had to cross the rubber. It came in at the perimeter, down the tail, or through the joint where the panel meets the enclosure. The perimeter bond. An adhesive line that is too narrow, interrupted at a corner, or laid onto a textured or contaminated land will pass water long before the silicone does. Bond width and surface finish are the two variables that matter. The tail exit. The flexible circuit leaves the sealed volume through a slot. If the tail is not potted, gasketed or clamped, that slot is an open door - and it is usually on the underside, where water collects. The housing interface. The keypad seals to the enclosure, not to the world. A gasket land that is out of flat, or a screw that distorts the housing locally, breaks the seal at exactly that point. A useful habit: draw the water path on the assembly drawing, from outside to the PCB. Every crossing you draw has to have a seal on it. A thicker overlay, a heavier bond line and a compressed perimeter gasket all raise the force needed to move a key. Push the seal too far and the panel becomes stiff; relax it for feel and the seal stops conforming. The workable range is narrower than most first designs assume, and it is found by measuring, not by eye. Two practical moves help. Keep the sealing function on a separate flange or land rather than under the key field, so the two requirements do not compete on the same area. And specify the actuation force after the panel is bonded and clamped, because the sample measured on a bench is not the product. Gasket, bond, tail clamp, screws at the specified torque. A bare panel in a tank proves the material, not the product. Depth and duration that match what is being claimed, with the unit at the temperature extremes it will see. Water on the inside face of the overlay is a failure even if the PCB is dry. Where it pooled tells you which path to change. The panel will be serviced. Re-clamp and re-test at least twice; seal performance after maintenance is part of the product. Give the bond a flat, continuous land with a defined width - interrupted or stepped lands are where lifting starts. Route the tail downward with a drip loop, and clamp it so cable movement does not load the bond. Provide a controlled vent or a breathable membrane so temperature cycling does not pump air through the seal. And keep the screw pattern away from the sealing land, or the clamp load will distort the very surface that has to stay flat. None of these is expensive at the drawing stage. All of them are tooling changes later. How the whole panel is drawn and inspected is covered in membrane switch keypad assembly. If the panel is being bonded to a housing, the adhesive joint is the subject of overlay panels with adhesive backing. Yes, if the overlay is bonded directly to a flat housing land with a continuous adhesive perimeter, and the tail is sealed separately. It is the cheapest route and the least tolerant of a poor housing surface. If it sees temperature cycling, yes - otherwise pressure changes pump air through the weakest joint and draw moisture in. A breathable membrane vent keeps the rating and stops the pumping. Because the seal is only as good as its compression after re-clamping. Specify a gasket that recovers, a torque value and a sequence, and re-test after the first service. Yes, but it is a different build: the sealing land, gasket and tail clamp disappear, which changes thickness and therefore feel. Treat it as a variant with its own drawing. The seal lives where the panel meets the housing, so the housing has to be part of the conversation. Send the enclosure interface and the ingress requirement, and we will propose the bond, gasket and tail sealing as one system.IP67 on a membrane keypad is a property of the joint, not of the rubber
Three leak paths, and only one of them is the panel
Where water actually goes

Seal and feel pull in opposite directions
Every seal adds force

Test the assembly you ship
Assemble fully
Immerse to the claim
Open and look
Re-enter and repeat
Design rules that make the seal hold
Four decisions, made early
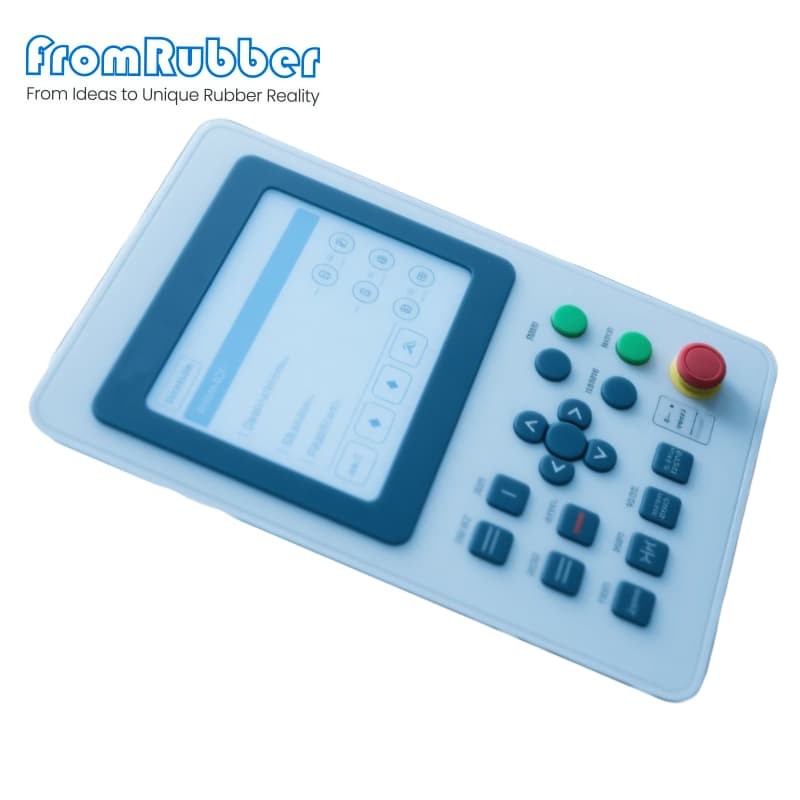
Specification on this series
Questions from design and quality teams
Can IP67 be achieved without a gasket?
Does a sealed keypad need a vent?
Why does the panel leak after service?
Can the same panel be offered in a non-sealed version?
Send the enclosure, not only the panel