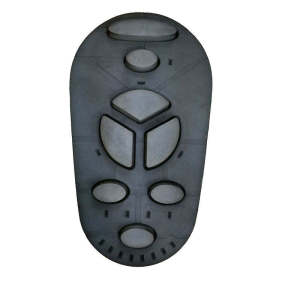
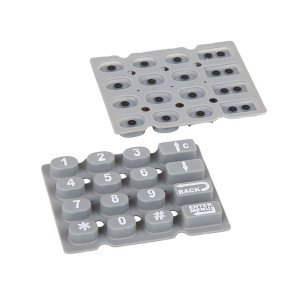
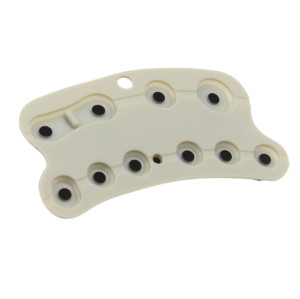
Tactile Feedback Silicone Rubber Keypad – Dome Switch Design,Backlit Options
Item specifics
- Design
- Follow 3D Drawing Or Physical Object
- Process
- Molding
- Feature
- Tactile Feedback,Backlit Options
- MOQ
- 2000pcs
- Application
- industrial, medical & automotive applications
Review
Description
A tactile silicone keypad does two jobs with one part. Mechanically it is the actuator that pushes a metal dome through its snap; optically it is the window the legend is read through. Both functions run through the same few millimetres of silicone, which is why changing the dome for a better click changes the light, and changing the window for a brighter icon changes the feel. Getting both right is a matter of fixing the geometry in the right order: dome first, then boss height, then window and light path - not the other way round. A dome is specified by the force it takes to collapse it, the distance it travels before it does, and the ratio between its peak and its contact force - the "click ratio" that the finger actually feels. A dome with a high peak and a low contact force feels crisp; one with a narrow ratio feels mushy even at the same nominal force. The moulded key has to transmit that force without absorbing it. A thick, stiff key top masks the snap; a thin one passes it through and feels sharp. That is why the key top thickness belongs in the same drawing as the dome. The boss on the underside of the key transfers the press to the dome. If it is too long, the dome is pre-loaded and the snap disappears before the customer touches it. If it is too short, the key bottoms out on the circuit before the dome collapses, and the press feels dead at the end of its travel. The correct height is not nominal - it is the height that keeps a small clearance at rest and still collapses the dome at the end of travel, across the tolerance band of keypad, dome and circuit. That calculation is the single most valuable thing to do before tooling. On a moulded keypad there is no separate light-guide layer: the silicone itself carries the light from an LED on the PCB to the legend. That is simpler and more robust than a film stack, and it puts two constraints on the design. The legend is a translucent window in an opaque coating. Density decides brightness; too dense and the icon is dim, too thin and it looks washed out in daylight. Translucent silicone transmits, but thickness matters. A thick key top spreads the light but dims it; a thin one is brighter and shows the LED as a spot. Light escaping sideways into the neighbouring key is the most common complaint. An opaque coating on the key walls, or a black moulded separator, fixes it at the tool. Raising the key top to spread the light makes the key softer and adds travel. Thickening the coat to sharpen the legend reduces brightness. Adding a light-blocking wall between keys adds stiffness to the panel and can change the force on the neighbouring key. The workable order is: fix the dome and boss for feel, then tune the light with window density and LED position, then deal with bleed by geometry rather than by adding layers. Reversing that order usually ends with a panel that clicks well but reads badly, or the other way round. Measure each key in the assembled panel, not a loose key. Record peak and contact force; compare with the dome datasheet rather than with a feeling. Uniformity is judged at the dimmest setting the product offers, in a dark room. Bright spots that vanish at full output are the ones users notice at night. Press to the claimed count, then re-check force and contact resistance. Silicone keys recover; the dome and the coating may not. Press one key and watch the adjacent key for movement or light bleed. A shared web transmits both. Backlighting a membrane panel instead of a moulded keypad is a different stack and is covered in backlit membrane switches. Dome versus carbon pill actuation is compared in conductive keypad buttons. Yes, within limits. Different domes under different keys give different forces, and the boss height can vary across the panel. Above three or four variants the tooling and the assembly control start to cost more than the benefit. Usually LED position or window density, occasionally key-top thickness. Check the distance from the emitter first - it is the variable that changes most across a panel. Not directly. It adds a coating and a translucent compound, which changes the material slightly, and it adds an LED that can fail. The mechanical life is set by the dome and the web. Sometimes, if there is room for the dome pocket and the boss can be shortened. More often the boss height changes, which means a tool change - check before promising a drop-in upgrade. Force, travel and click ratio come from the dome; the key geometry has to let them through. Send the target force and the illumination requirement, and we will propose a dome, a boss height and a window design as one stack.On a moulded keypad the key is both the actuator and the lens
Dome selection is three numbers, not one
Force, travel and snap
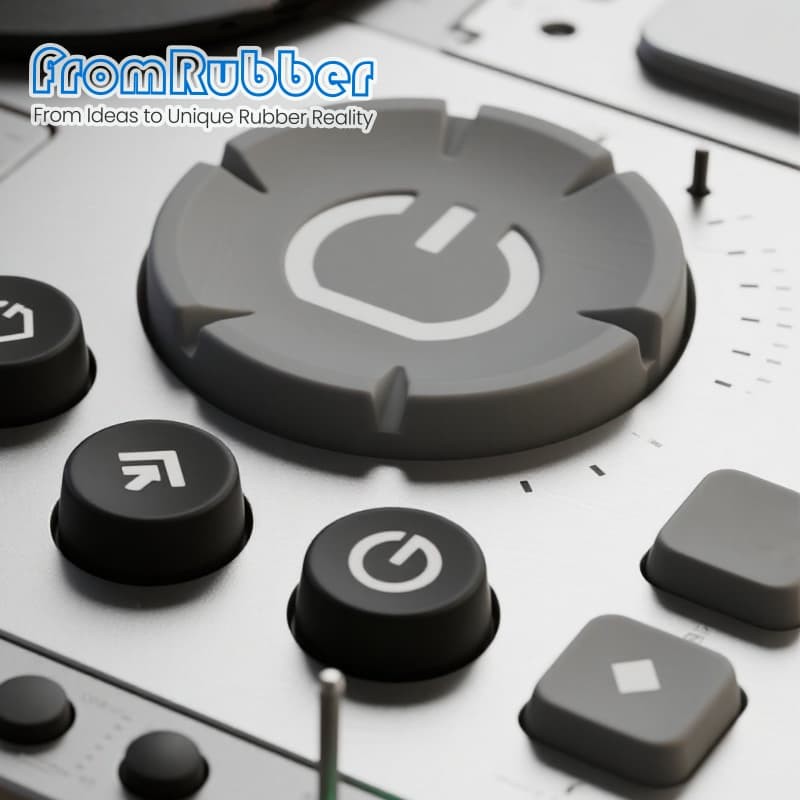
The actuator boss is where feel is lost
One dimension decides everything
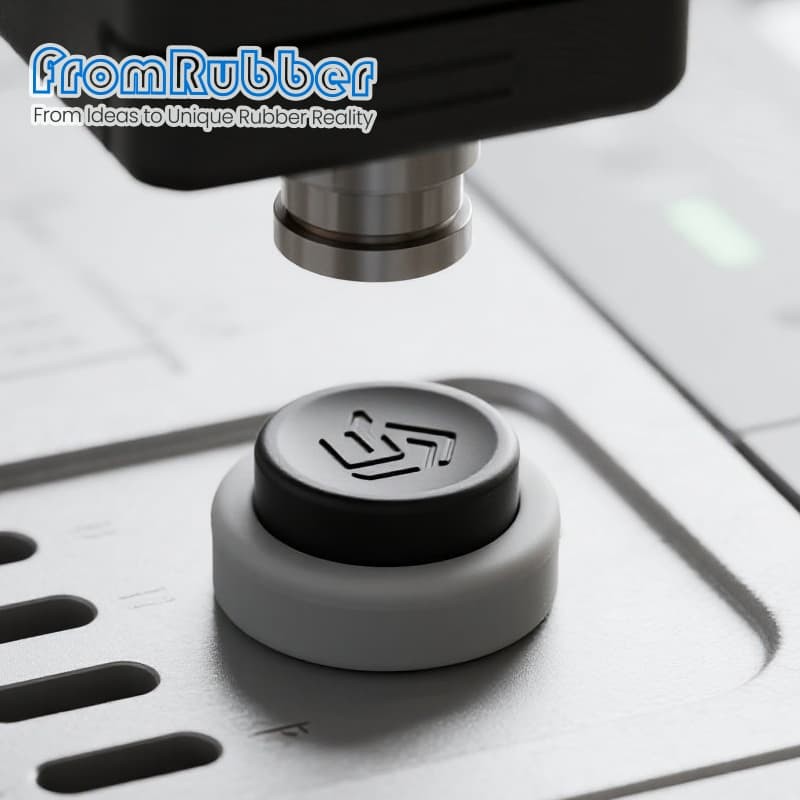
Light through the key body, not through a film
Window ink
Key body
Bleed
Force and light compete for the same millimetre
Where the compromise lands
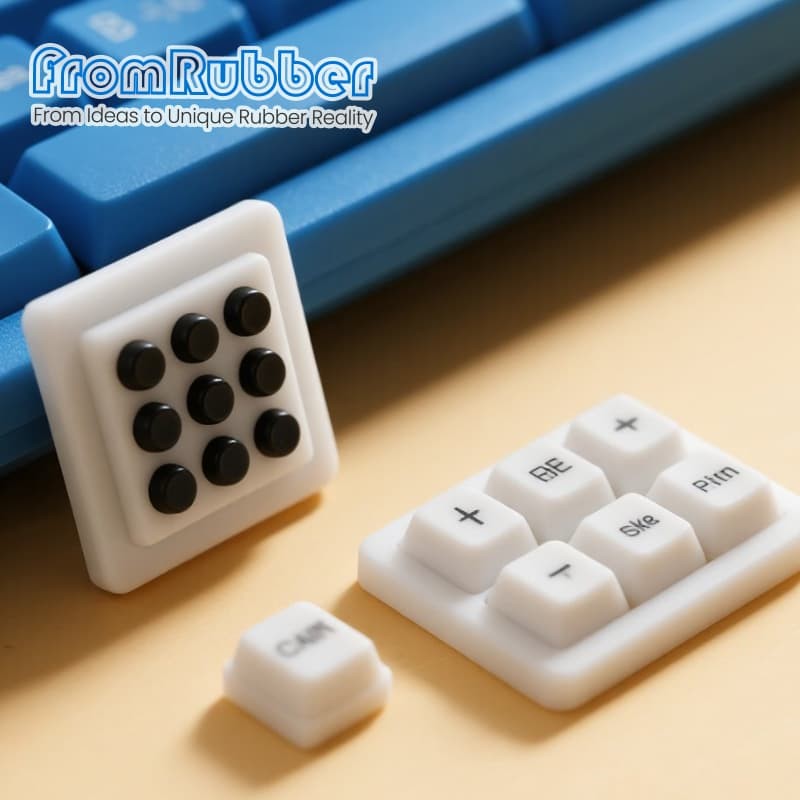
Validate both, with the same parts
Force-travel on the assembly
Photograph at minimum brightness
Cycle and re-measure
Check the neighbour

Specification on this series
Questions from panel designers
Can the feel be tuned per key?
Why is one legend dimmer than the rest?
Does backlighting shorten the key life?
Can a metal dome be fitted to an existing keypad tool?
Send the dome you want to feel